
Is that a flashlight in your hand?
or many years now I've been using alternate sources of light in my photography most notably flashlights.
It started many years ago while walking down the isles in Costco and I came across one of the first reasonably priced LED flashlights after asking permission my wife allowed me to add it to the basket. I consider this one of my first evolutions in lighting. At first I just kept the lights in my bag in case I needed it. Finally one day on a portrait shoot I pulled it out to see what I could do and was very surprised by the power and how the color temperature was very close to daylight. For the next several years I continued exploring this style of lighting. Fast forward to today and it's like we're in the golden age of lighting. LED flashlights are so powerful and inexpensive that they found a permanent place in my lighting kit. Recently I've been using flashlights made by “O Light” they have an extensive variety of lights on their website, if you're into flashlights it's worth checking out.
For many years now, I've been using alternate sources of light in my photography, most notably flashlights.
It started many years ago while walking down the isles in Costco when I came across one of the first reasonably priced LED flashlights; after asking permission, my wife allowed me to add it to the basket.
I consider this one of my first evolutions in lighting. At first, I just kept the lights in my bag in case I needed it. Finally, one day on a portrait shoot, I pulled it out to see what I could do and was very surprised by the power and how the color temperature was very close to daylight. For the next several years, I continued exploring this style of lighting. Fast forward to today, and it's like we're in the golden age of illumination. LED flashlights are so powerful and inexpensive. They have found a permanent place in my lighting kit. I recently started using flashlights made by a company named "O Light" they have a wide variety of lights on their website. If you're into flashlights, it's worth checking out.

Thanks for the BTS skip!

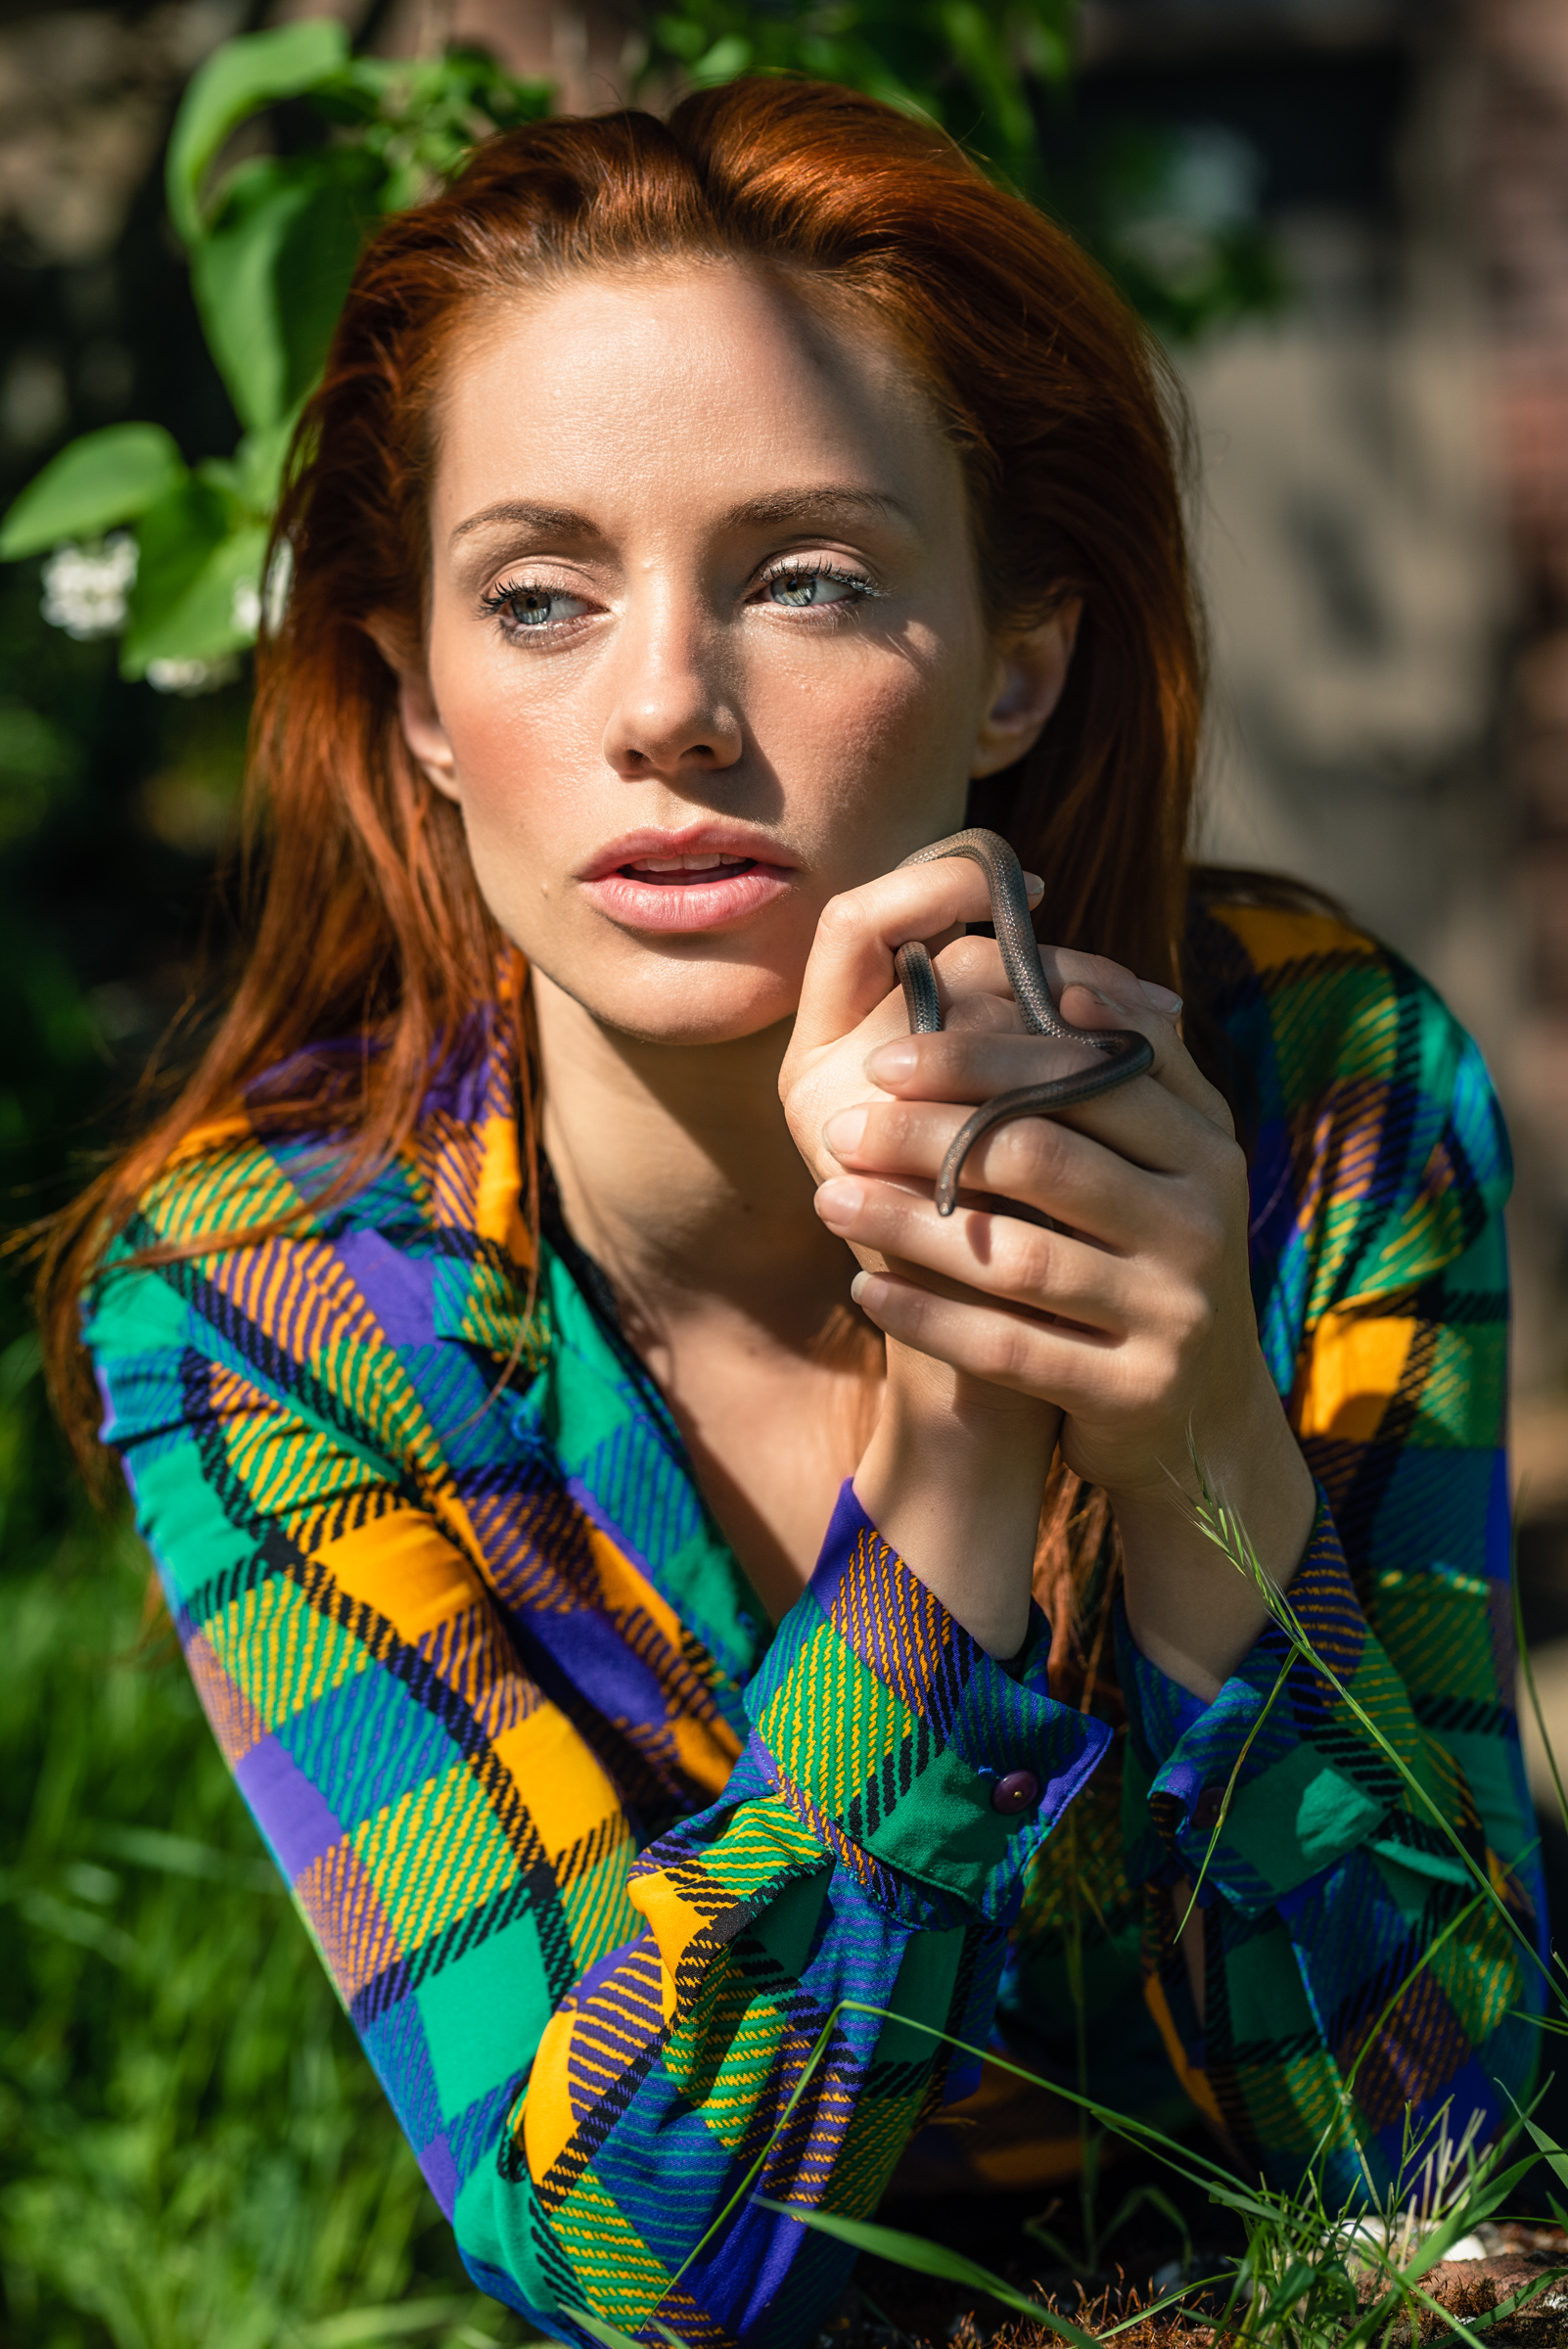
Marauder 2 by O Light
The flashlight I used on this particular day was the Marauder 2. Some of the crazy stats are an 800-meter spotlight beam from the central LED and a 14000-lumen floodlight beam from 12 surrounding LEDs.
An intuitive rotary knob switch to turn on the light and circle through 7 output levels.
It's undoubtedly an impressive light.
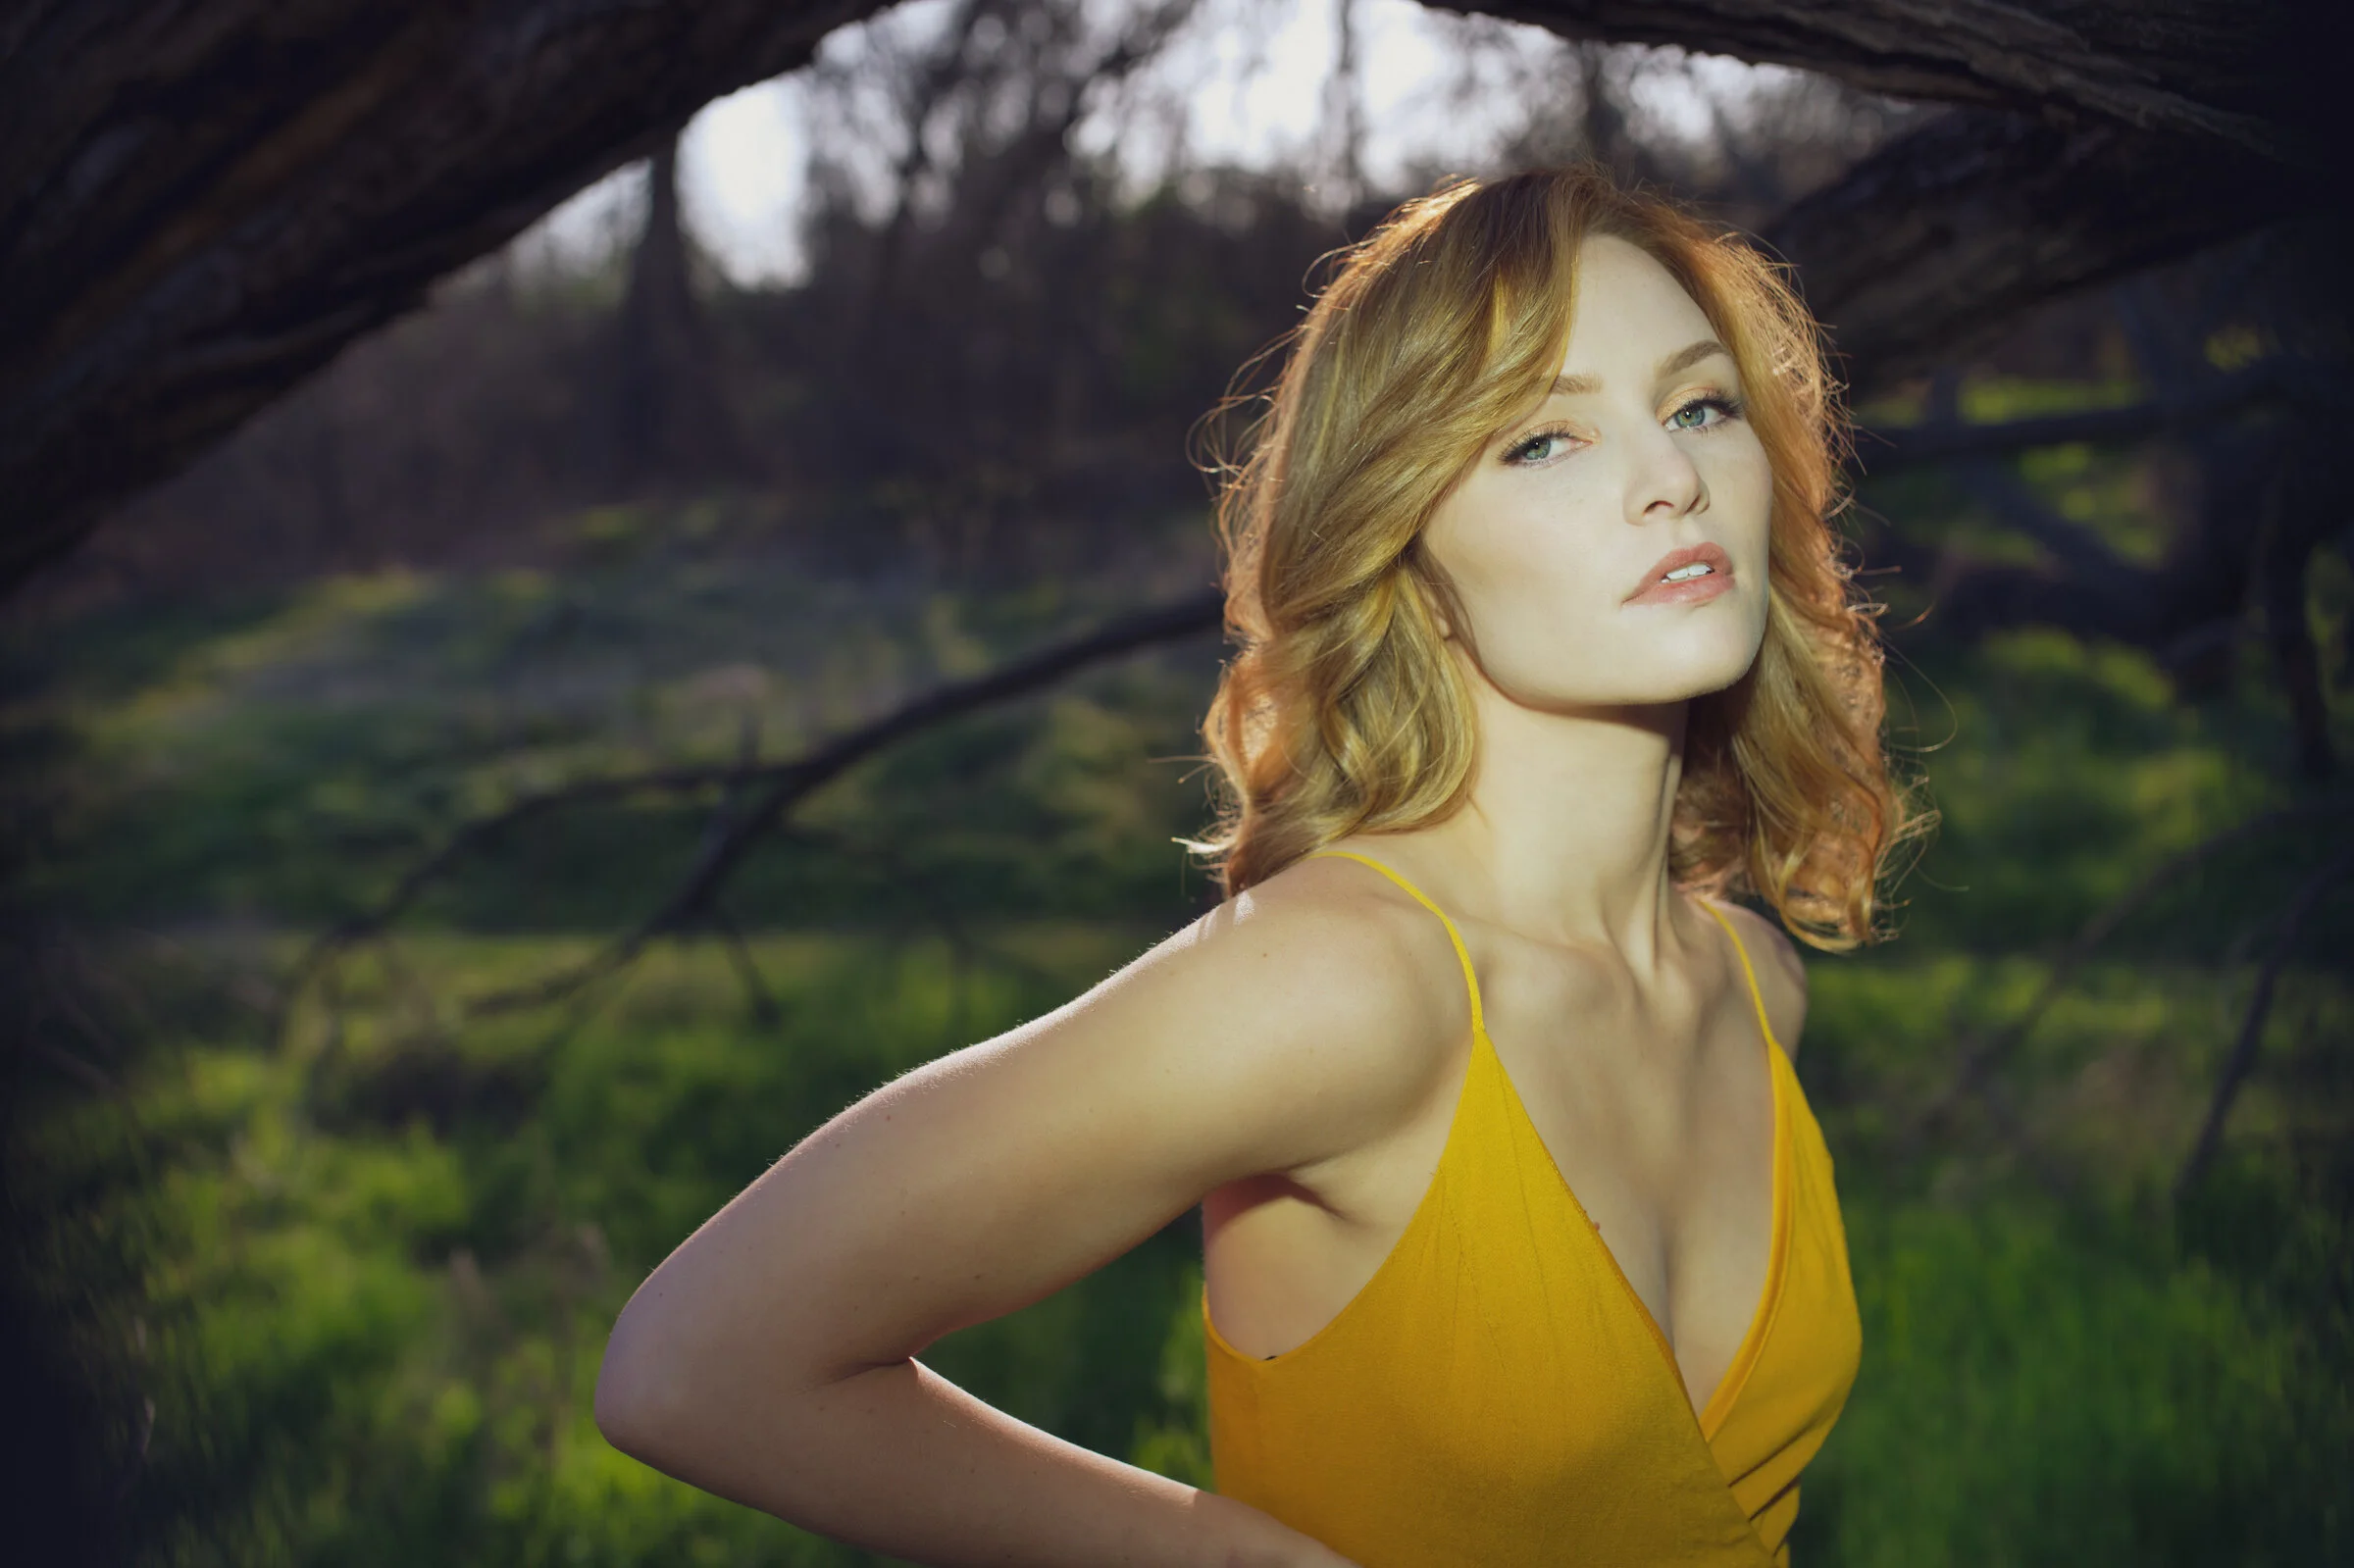
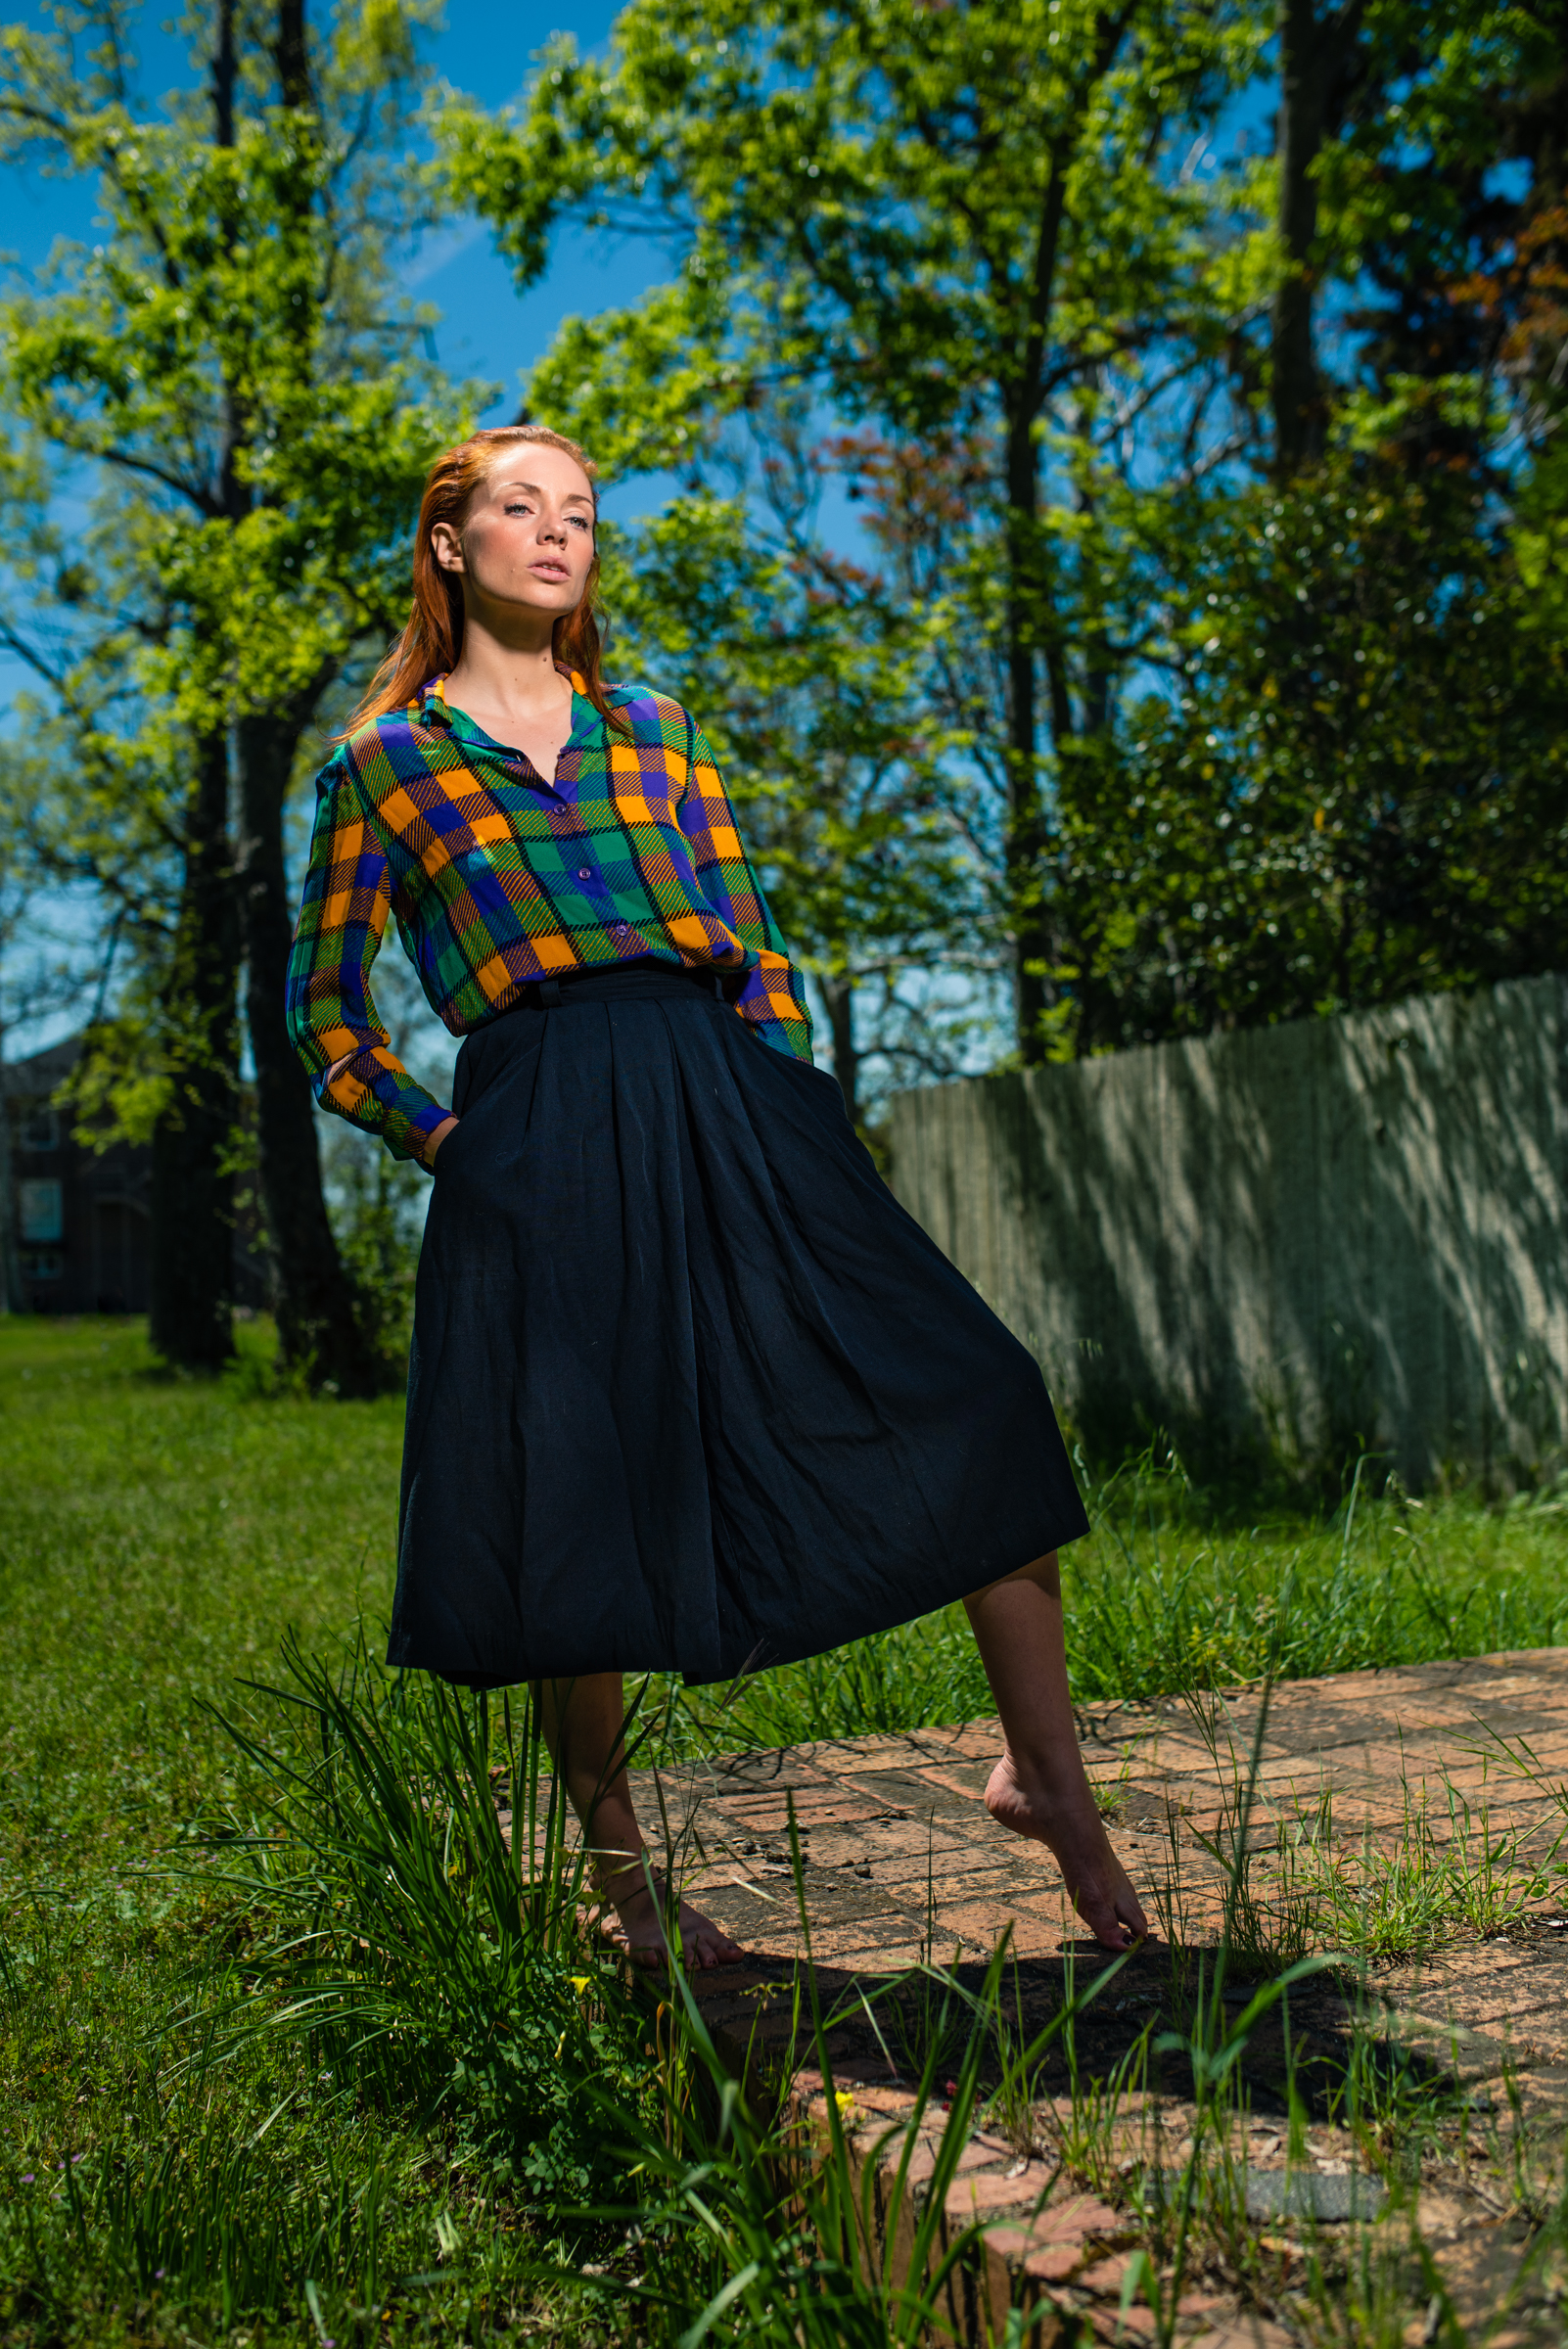
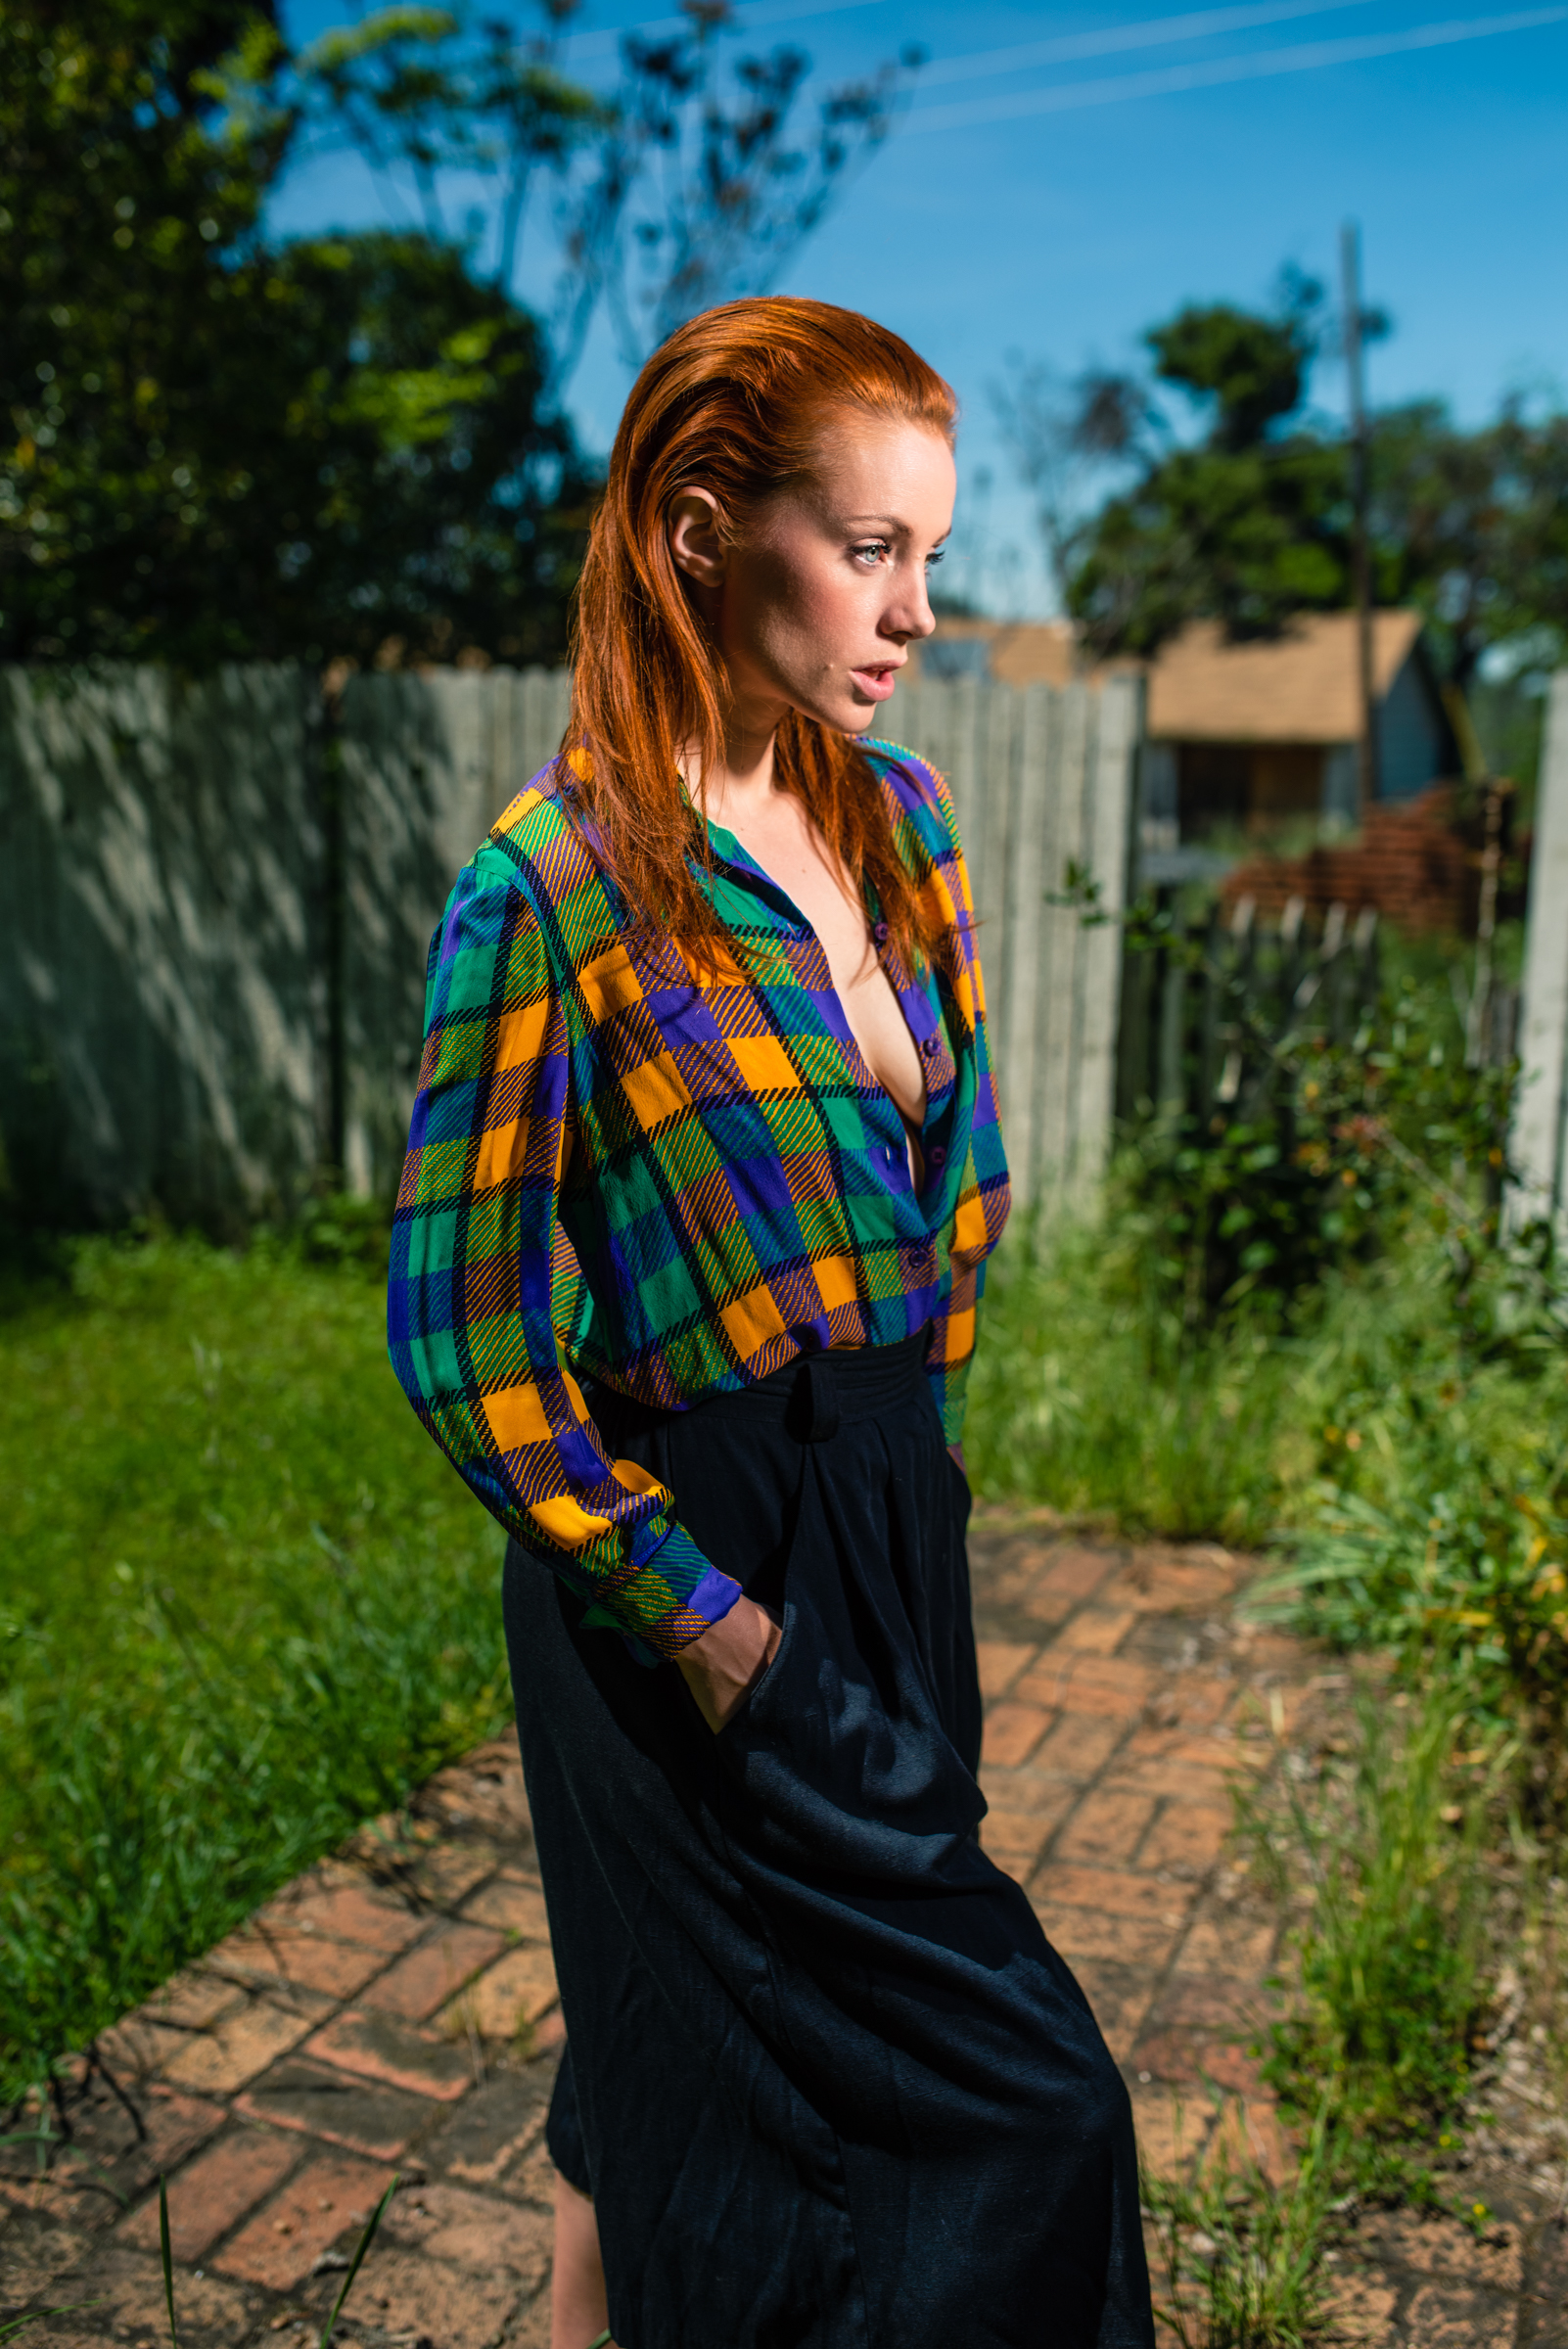
For this shoot, I spent the afternoon with my good friend Morgan, she and I have worked together quite a few times, and I always enjoy our sessions together. The goal for the shoot was to walk and find the light. The camera I'm using is a Nikon Z6 II with a sigma 35 mm 1.4 lens. I could talk extensively about how much I love that lens, but I'll save that for another time.
Below are my results in using the flashlight as the main light and the sun as a backlight.

ISO 50 • 1/640 • f 3.5
I found the color temperature pleasing, and it only required a little white balance adjustment to bring it back to daylight.

ISO 50 • 1/320 • f 3.5
I'm going to test some other flashlights from O Light soon, and I'll be sure and share the results with you all.

ISO 50 • 1/320 • f 3.5

Color Test
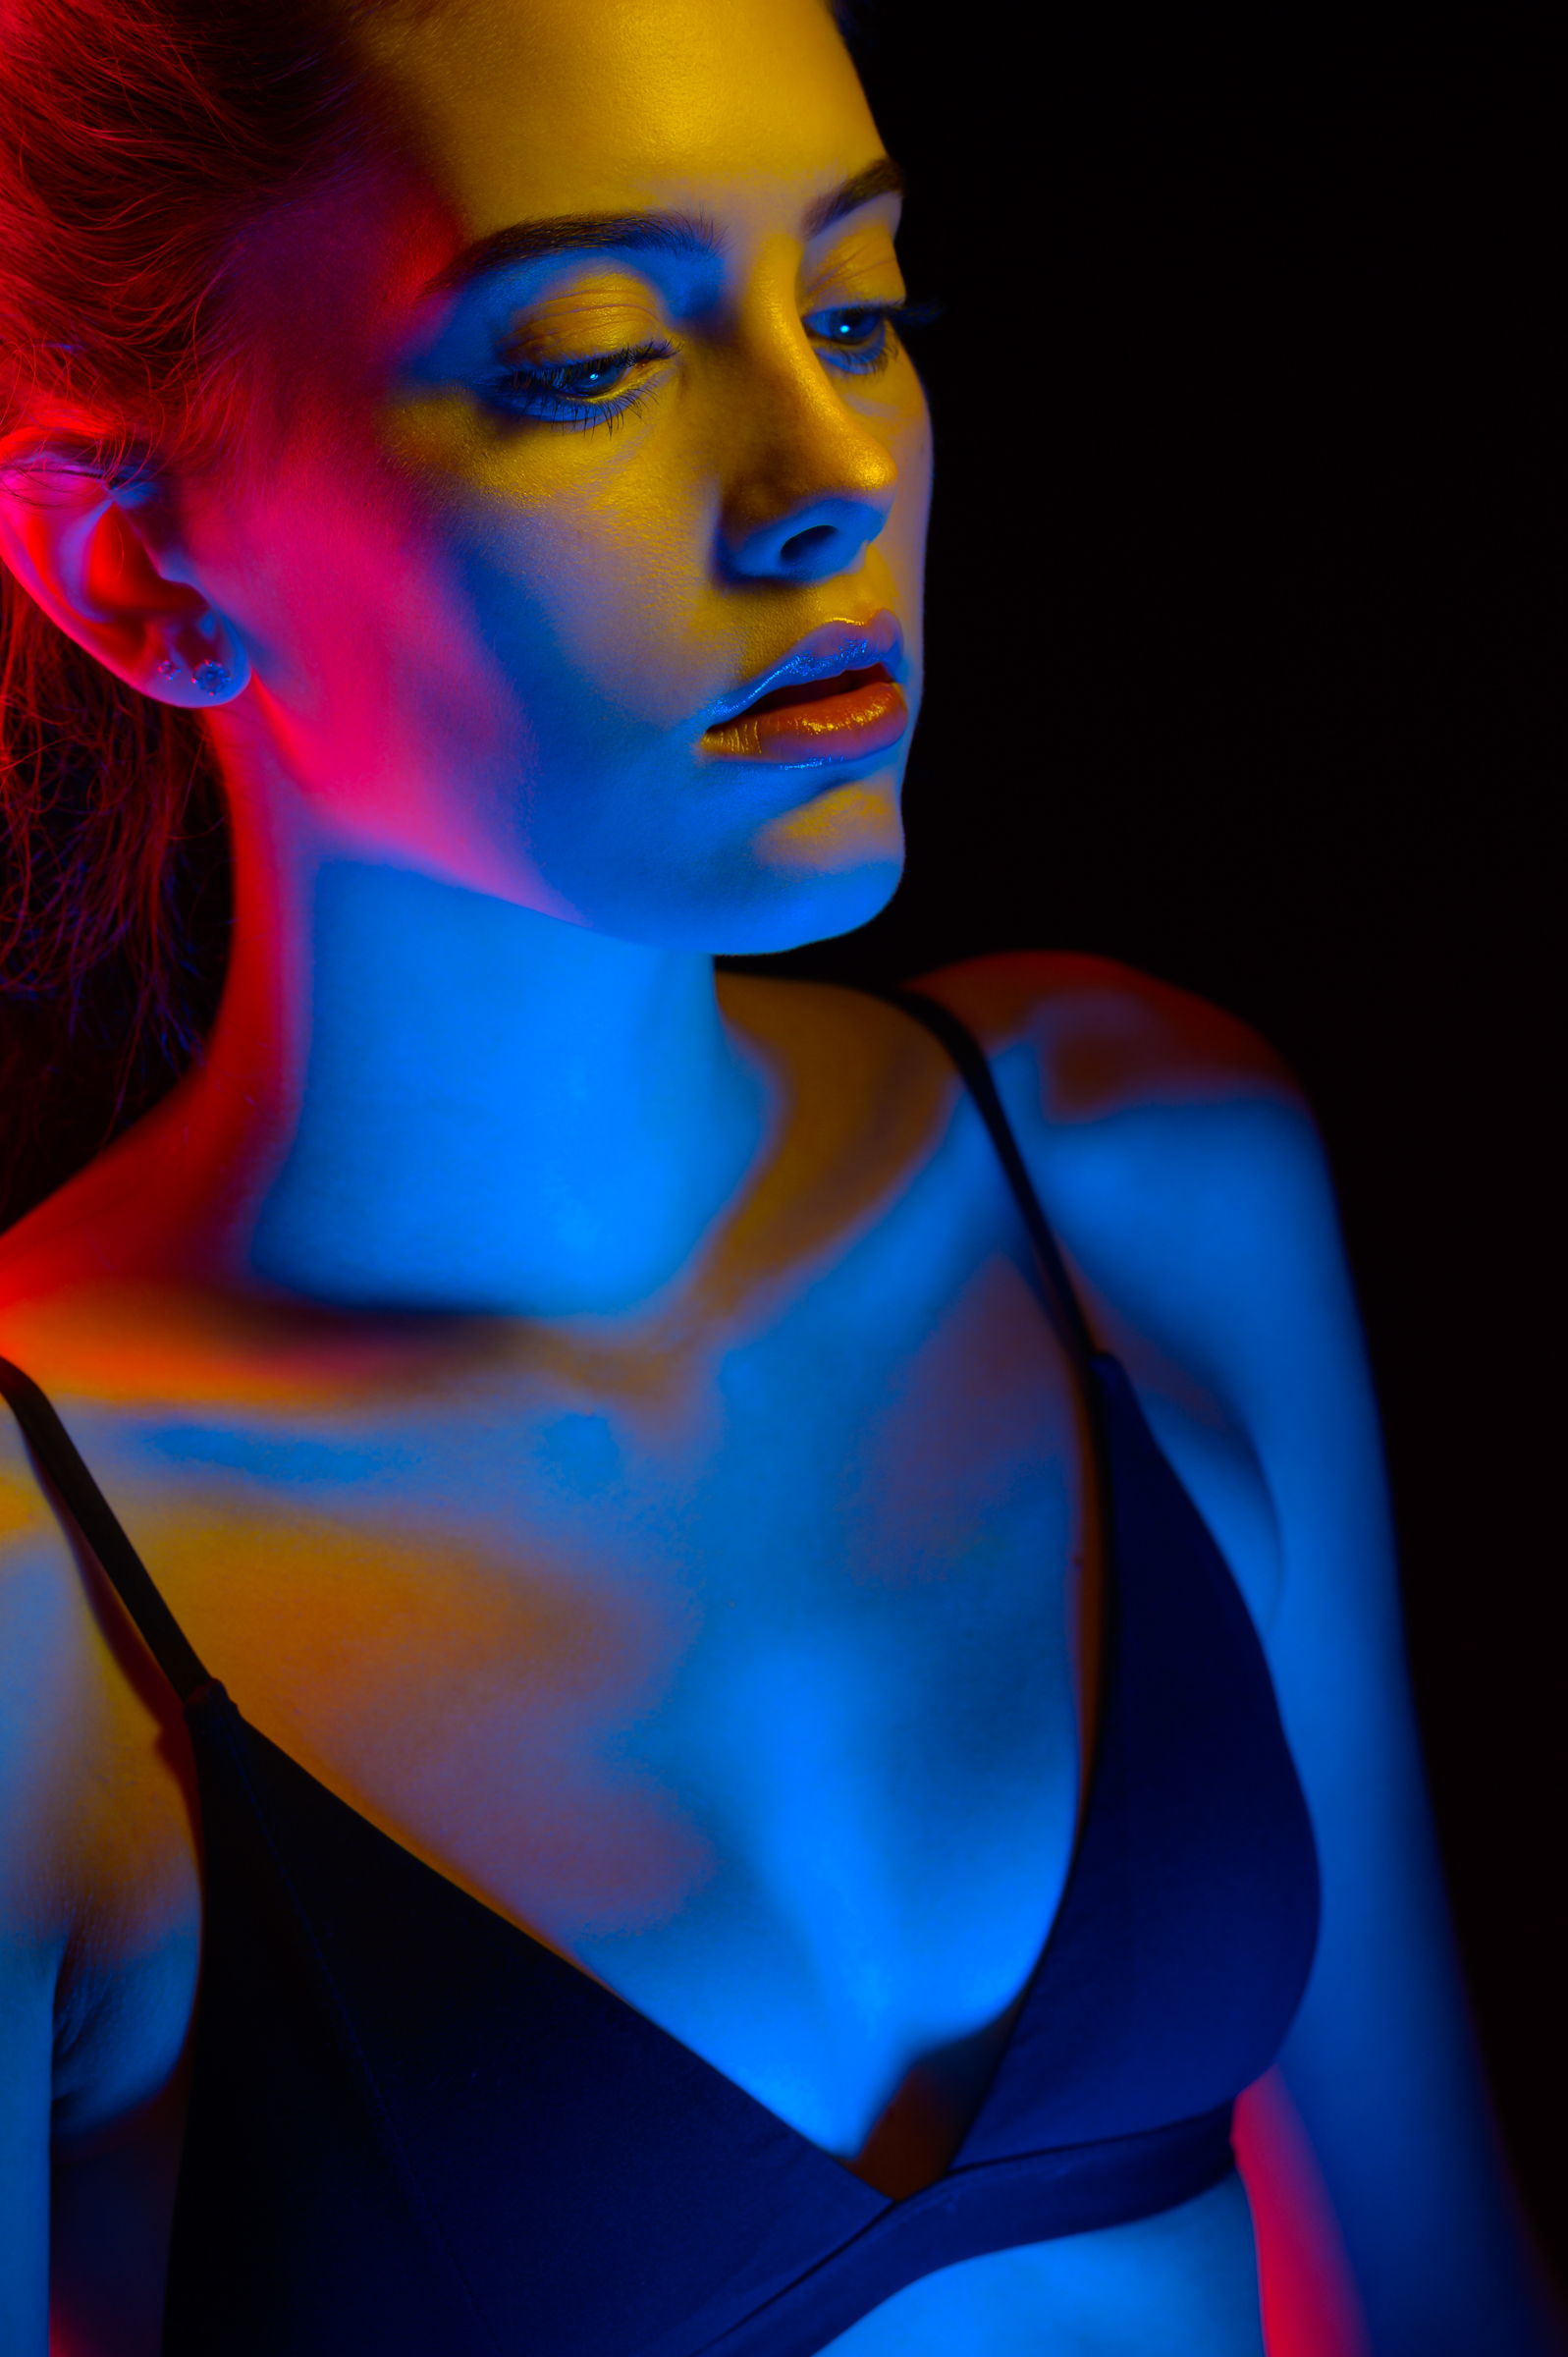
I received an assignment, and in the description, the art director requested super-saturated colors for all the images. The one thing about gels and colors there are a million different combos and saturation levels. So glad I tested, his version of saturation was WAY more than mine. These are the test that got us on the same page..
I received an assignment, and in the description, the art director requested super-saturated colors for all the images. The one thing about gels and colors there are a million different combos and saturation levels. So glad I tested, his version of saturation was WAY more than mine. These are the test that got us on the same page..
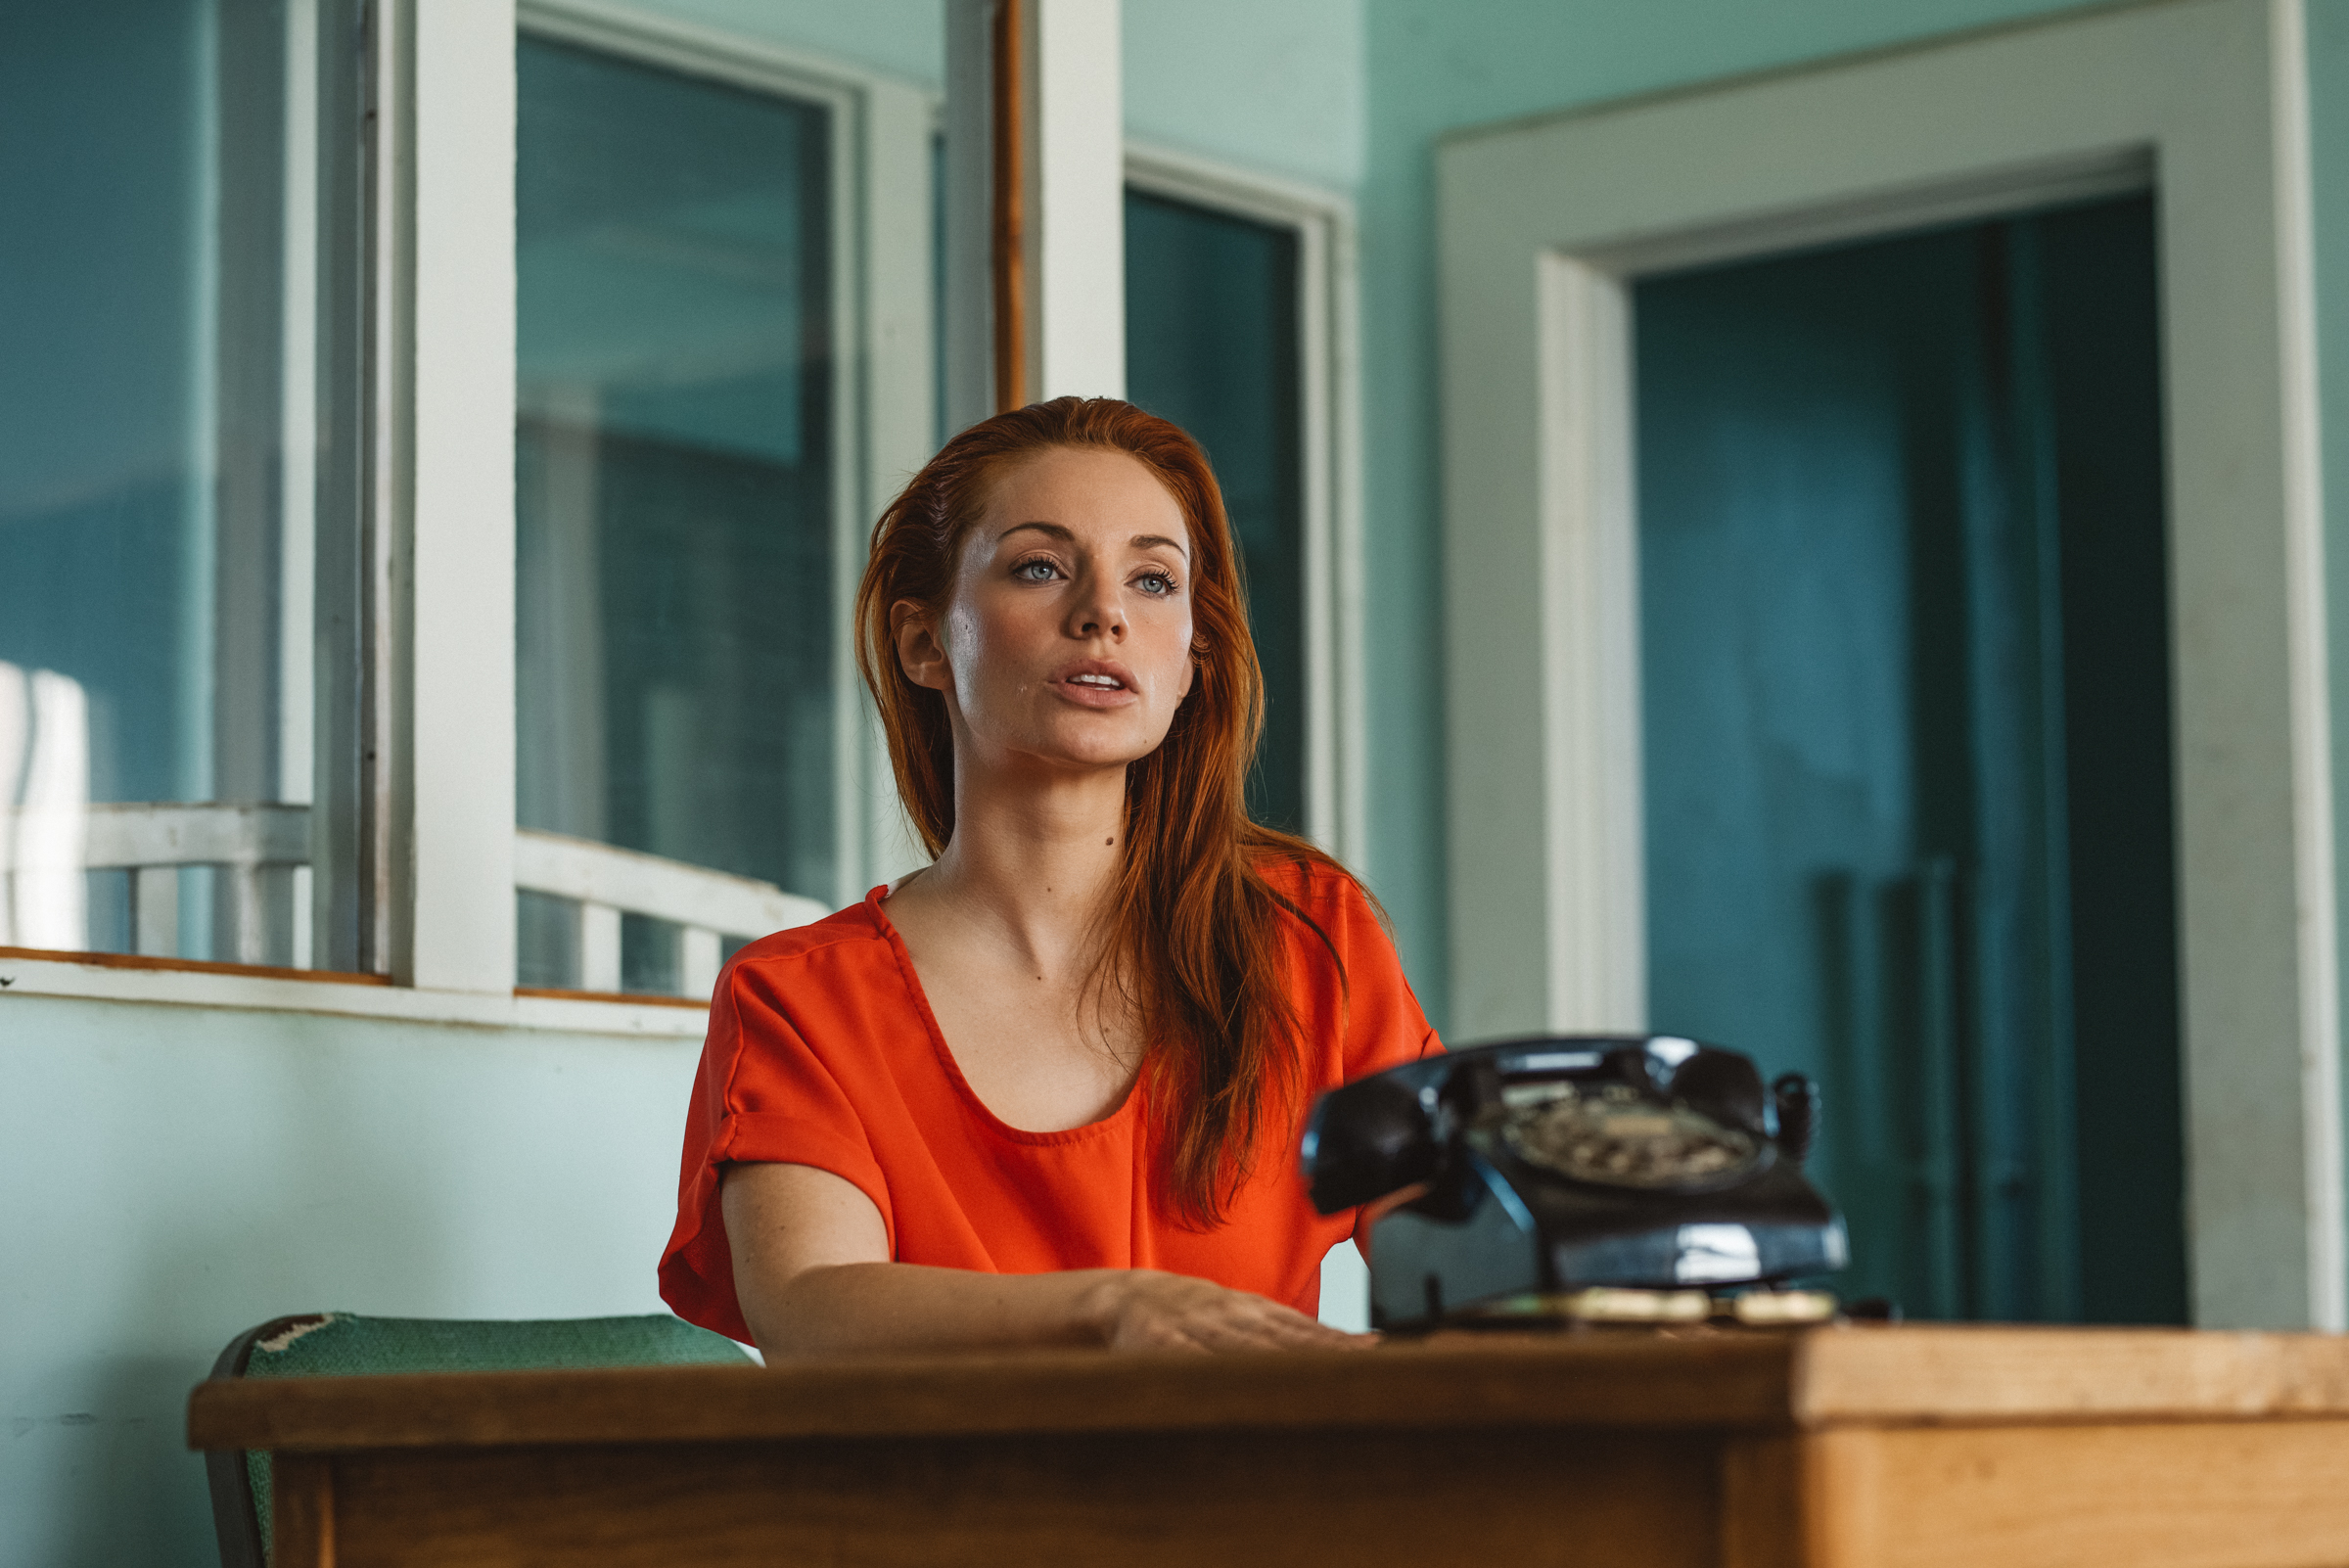
Light setup Phottix
Camera Nikon Z6
Lens Sigma 105
I am now shooting the assignment for the next two weeks.
Model: @trinwoodward


30 days with a 40
If you ever hang out with me you'll notice that for the most part, I am a prime lens shooter. Not that I don't like zoom lenses, but they don't have a great place in my bag for what I do. At the moment I have an 85mm prime and the 35mm prime, both from SIGMA.
If you ever hang out with me you'll notice that for the most part, I am a prime lens shooter. Not that I don't like zoom lenses, but they don't have a great place in my bag for what I do. At the moment I have an 85mm prime and the 35mm prime, both from SIGMA. Those two lenses seem to be able to cover everything I need to do from portrait to full body images. Lately, I've been thinking about adding something in the middle, probably a 50mm. Talking with the SIGMA rep, he suggested that I try out the brand new 40mm F1.4 DG HSM. He kindly offered to send it to me to use for a month, well, of course, I'll said yes! When I received the lens in the mail, the first thing that I noticed was this lens was a substantial piece of glass. The build quality on it is impressive, it definitely feels like a solid lens.
Knowing that I had the lens for 30 days, my goal was to put it in as many scenarios as I could to see how the lens performed.

I have to say that I'm very impressed as it has very minimal vignetting for a wide lens. It focuses very fast and is exceptionally sharp. I worked the lens quite a bit at F1.4 and it was always spot on.
I most certainly will be adding this lens to my bag in the near future.


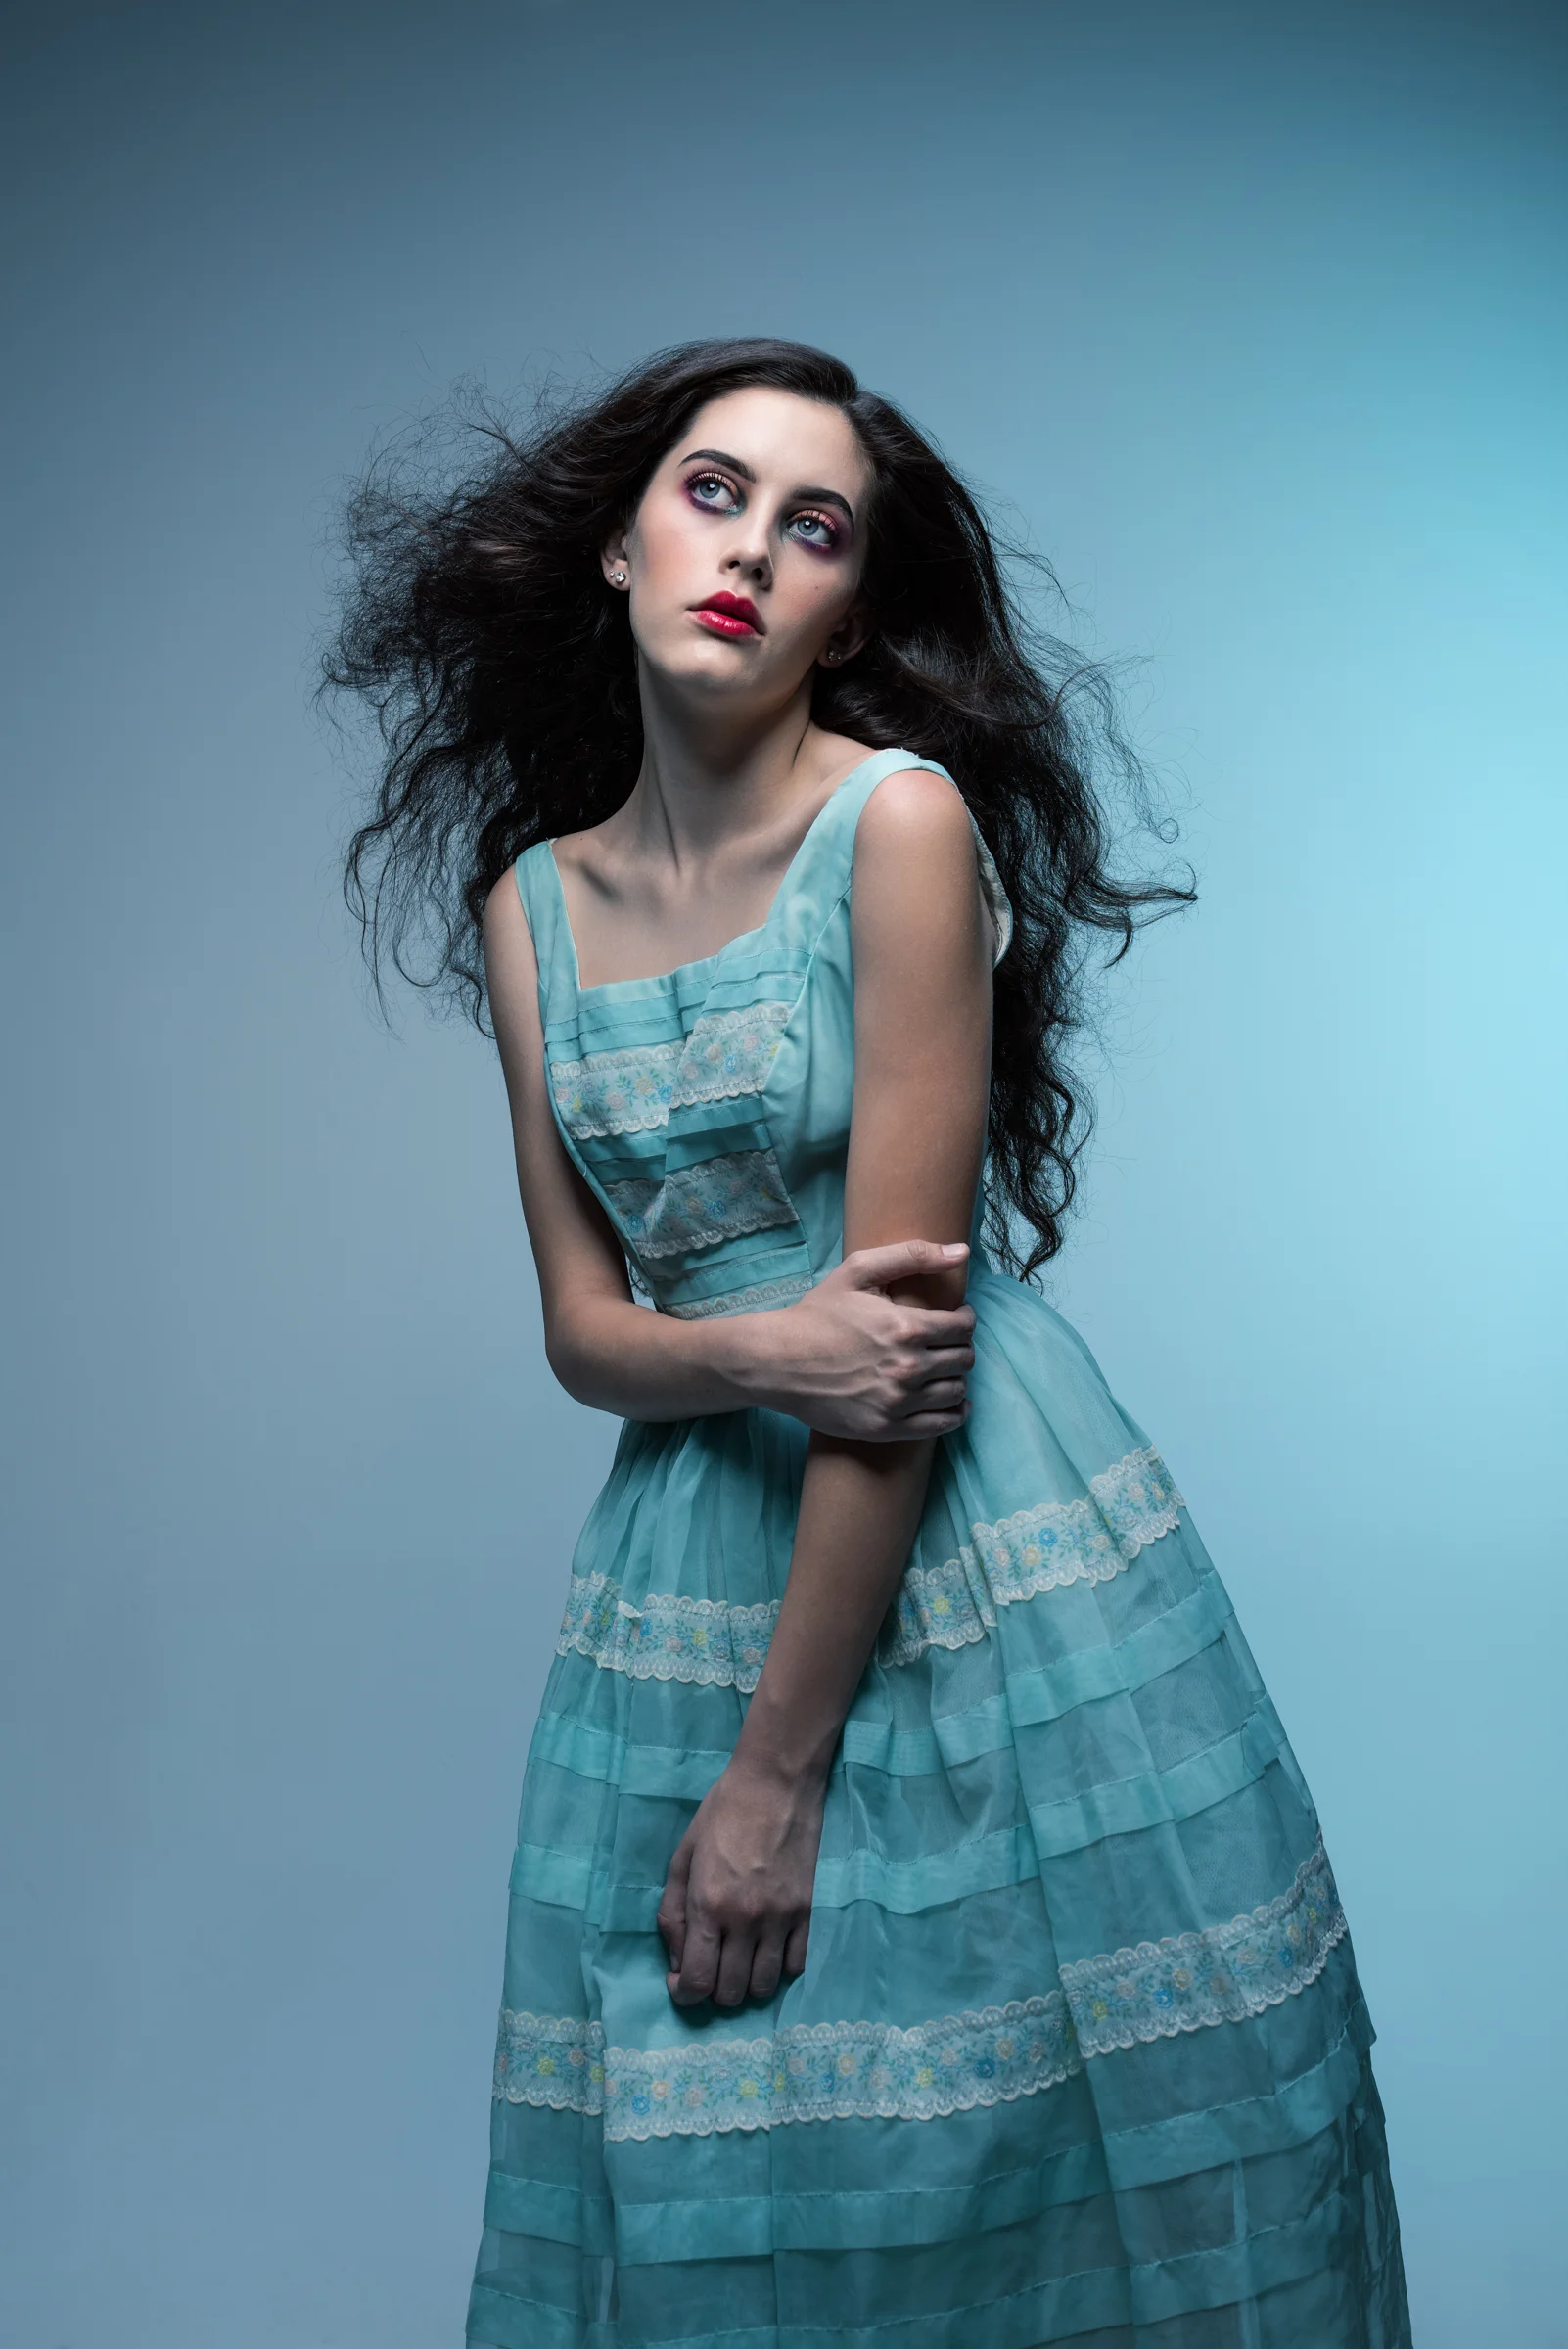


40mm F1.4 DG HSM in action with the amazing Anna Lisa Wagner

Photo Day - Early Session
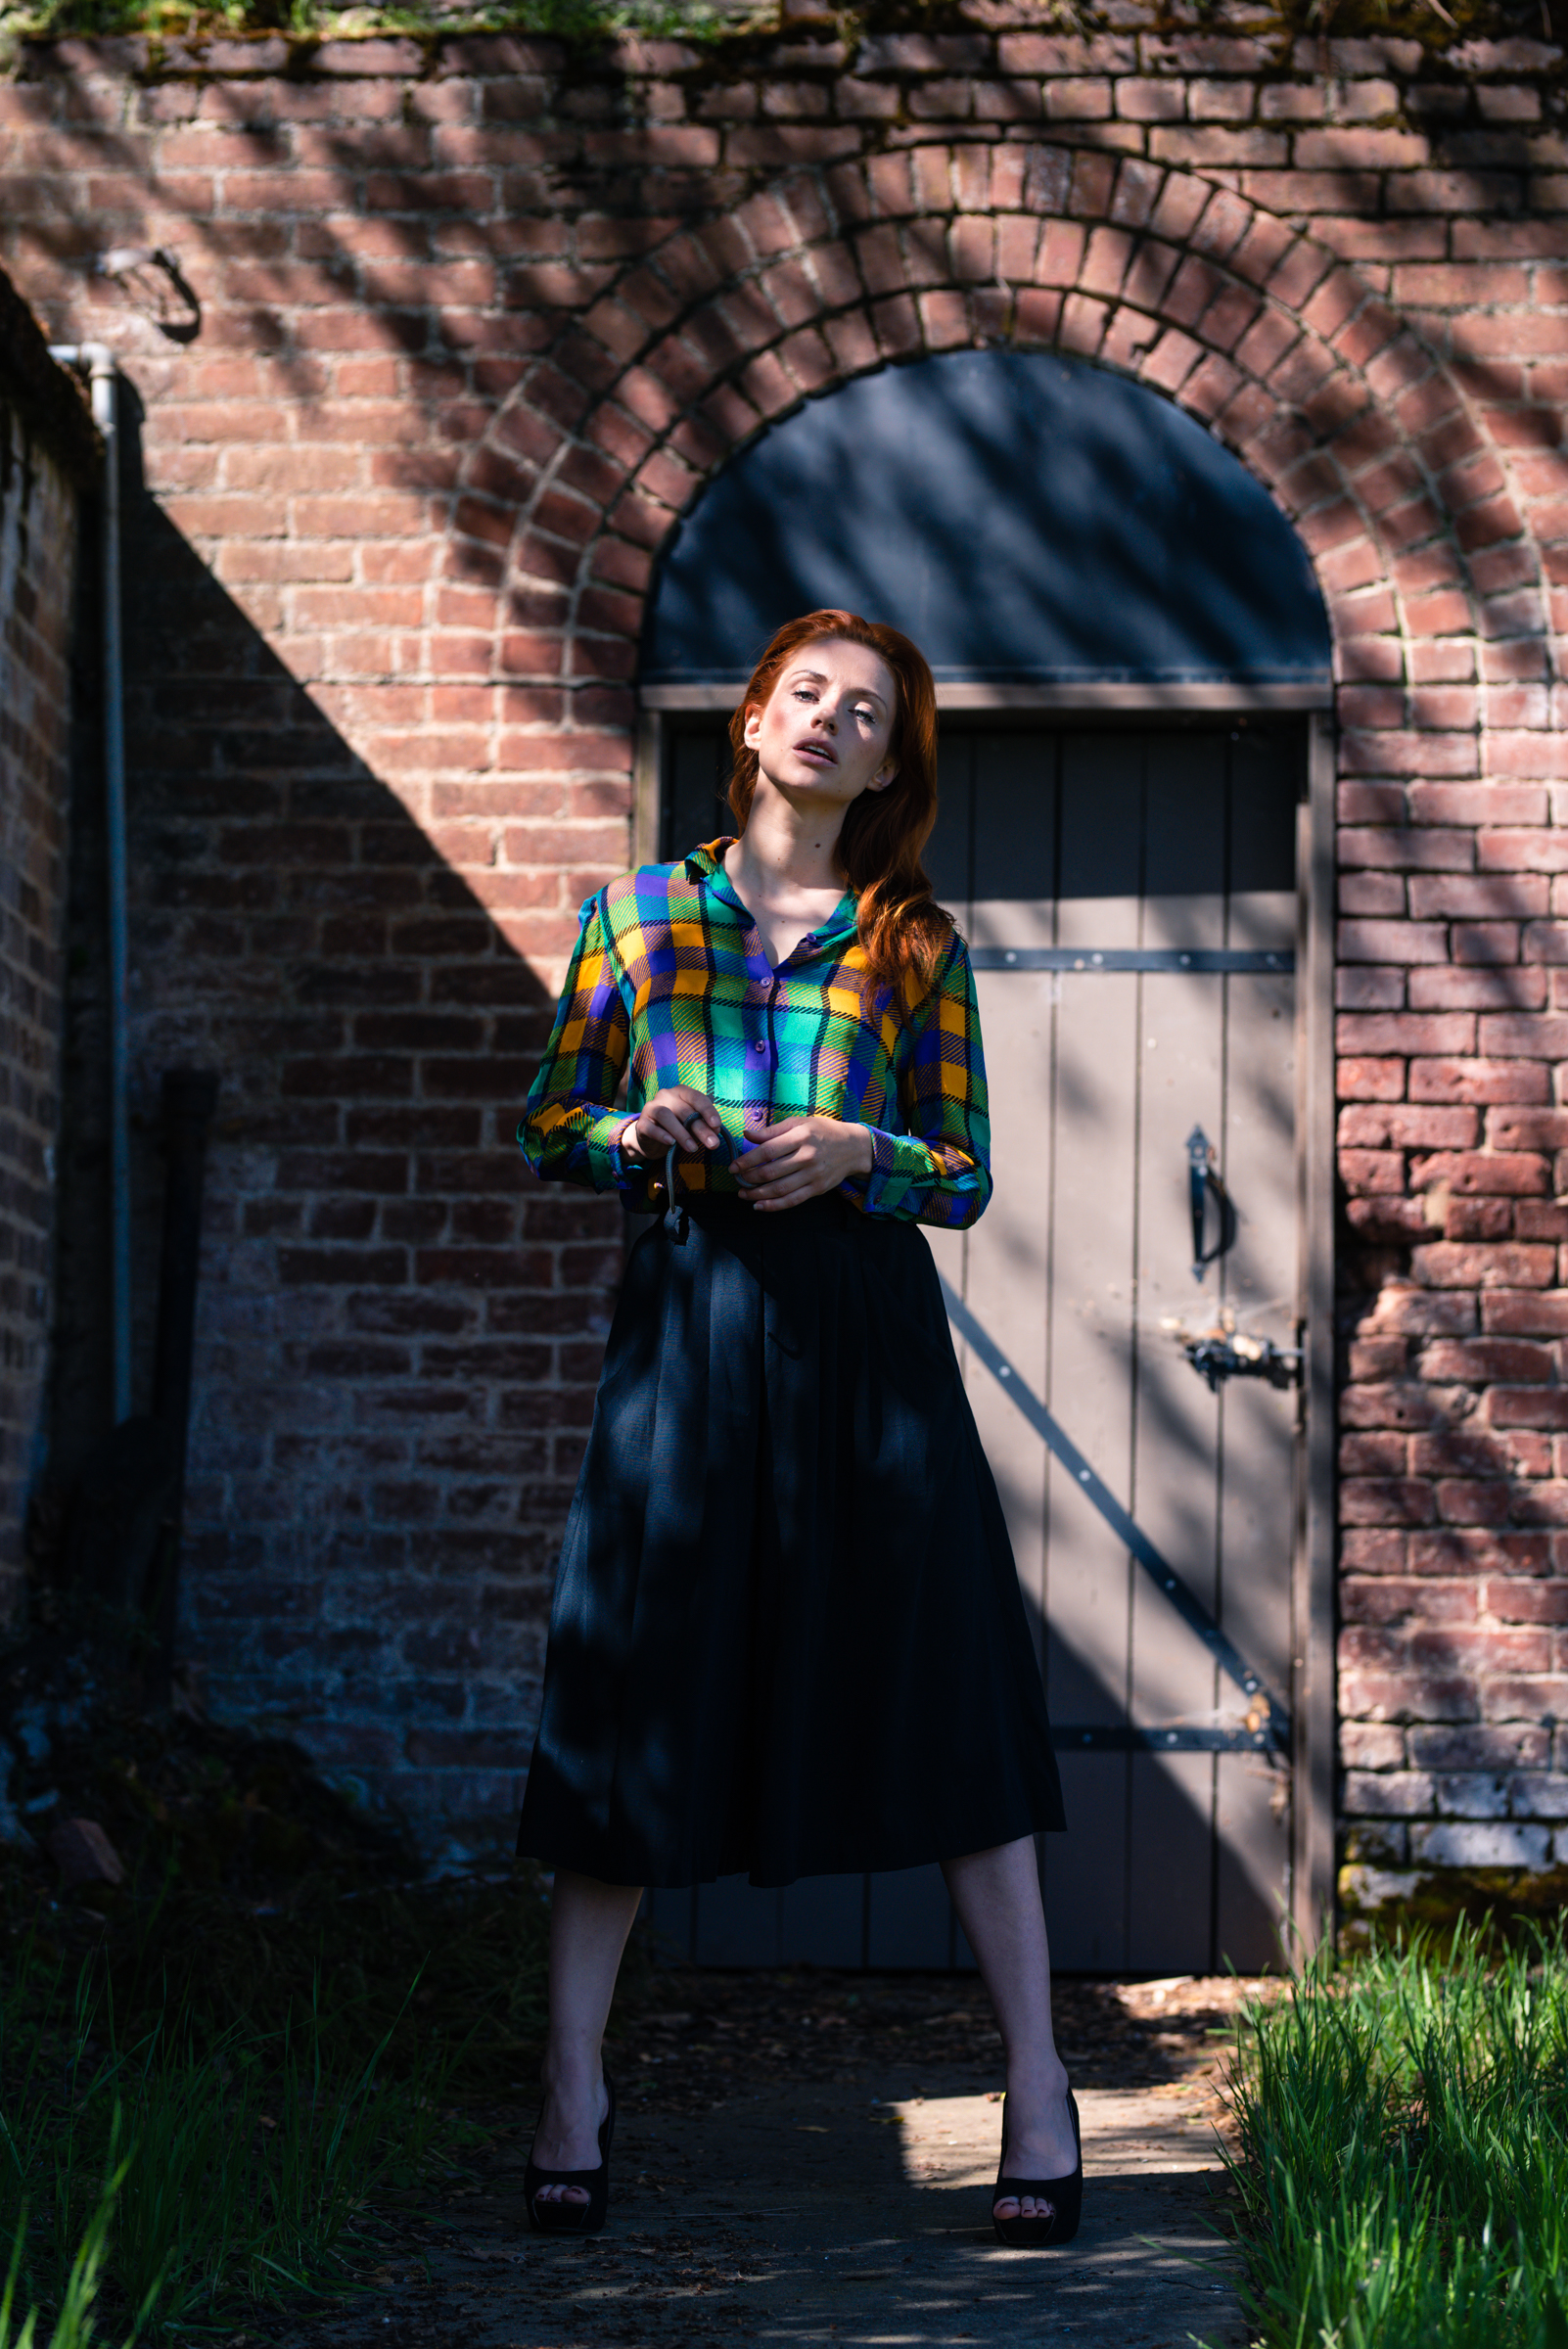
Sunday marked another great outing at the Preston Castle this was the first of three photo days this year. This one took full advantage of early morning light which is always spectacular.
Sunday marked another great outing at the Preston Castle this was the first of three photo days this year. This one took full advantage of early morning light which is always spectacular.
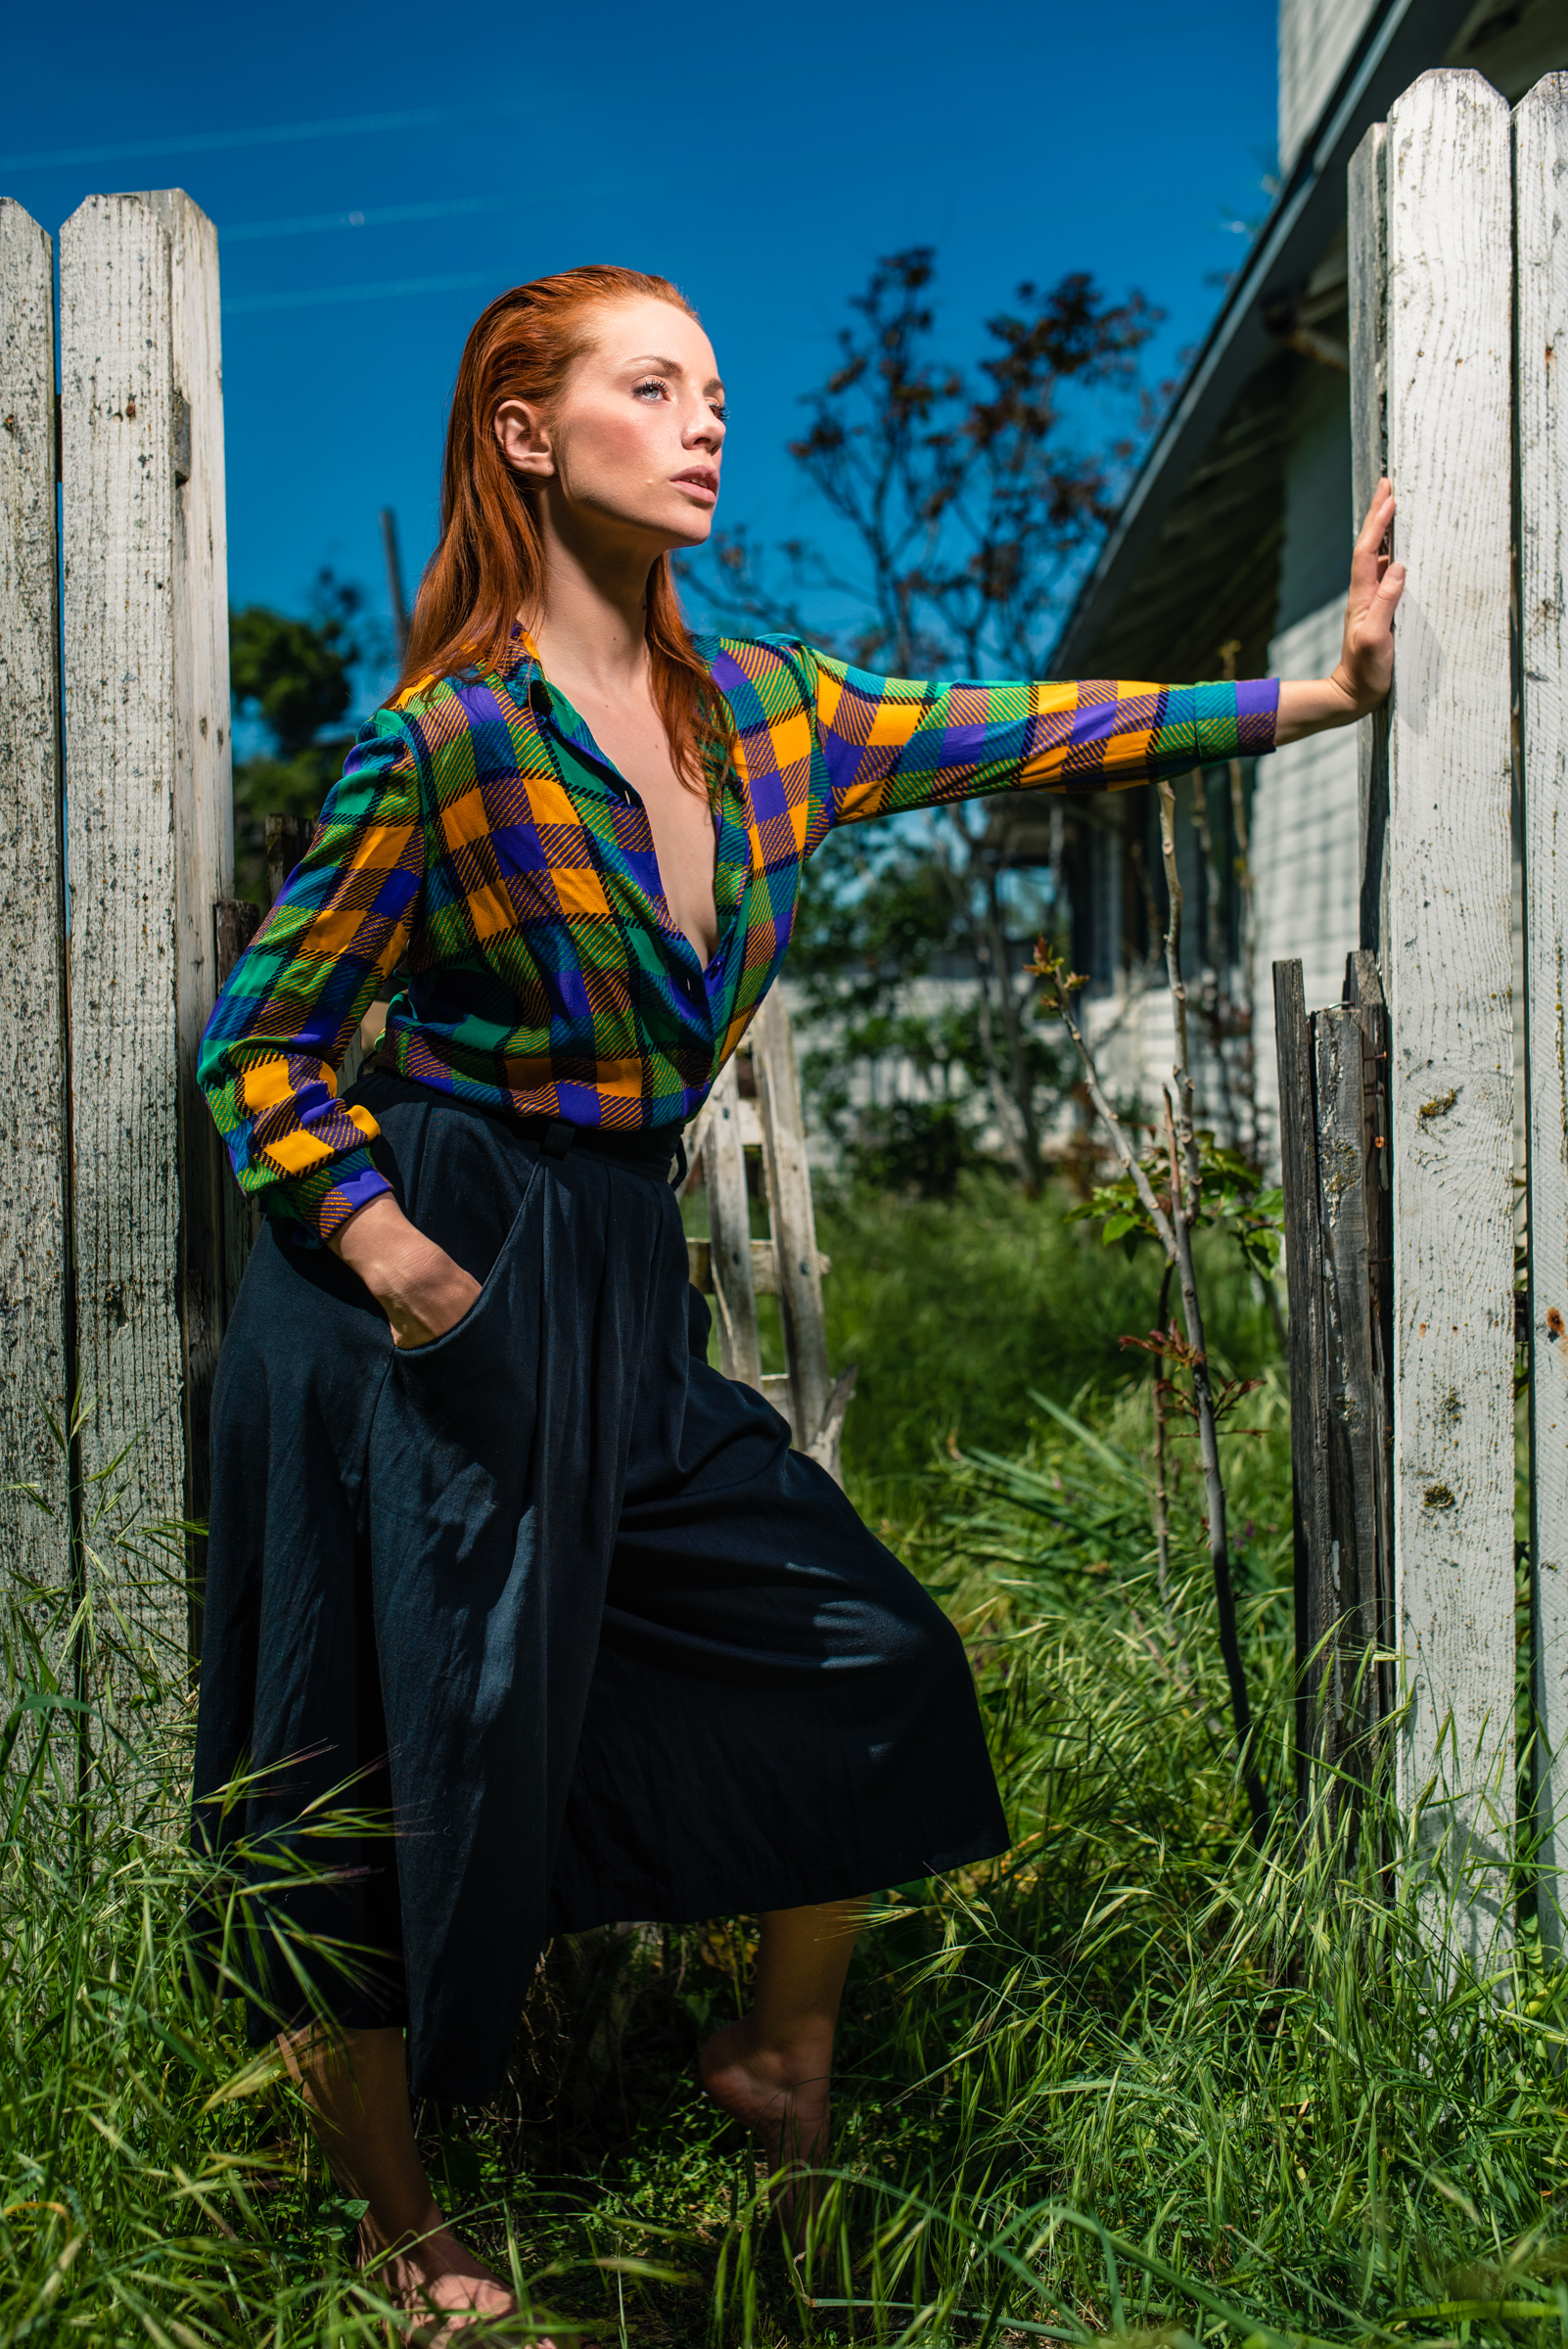
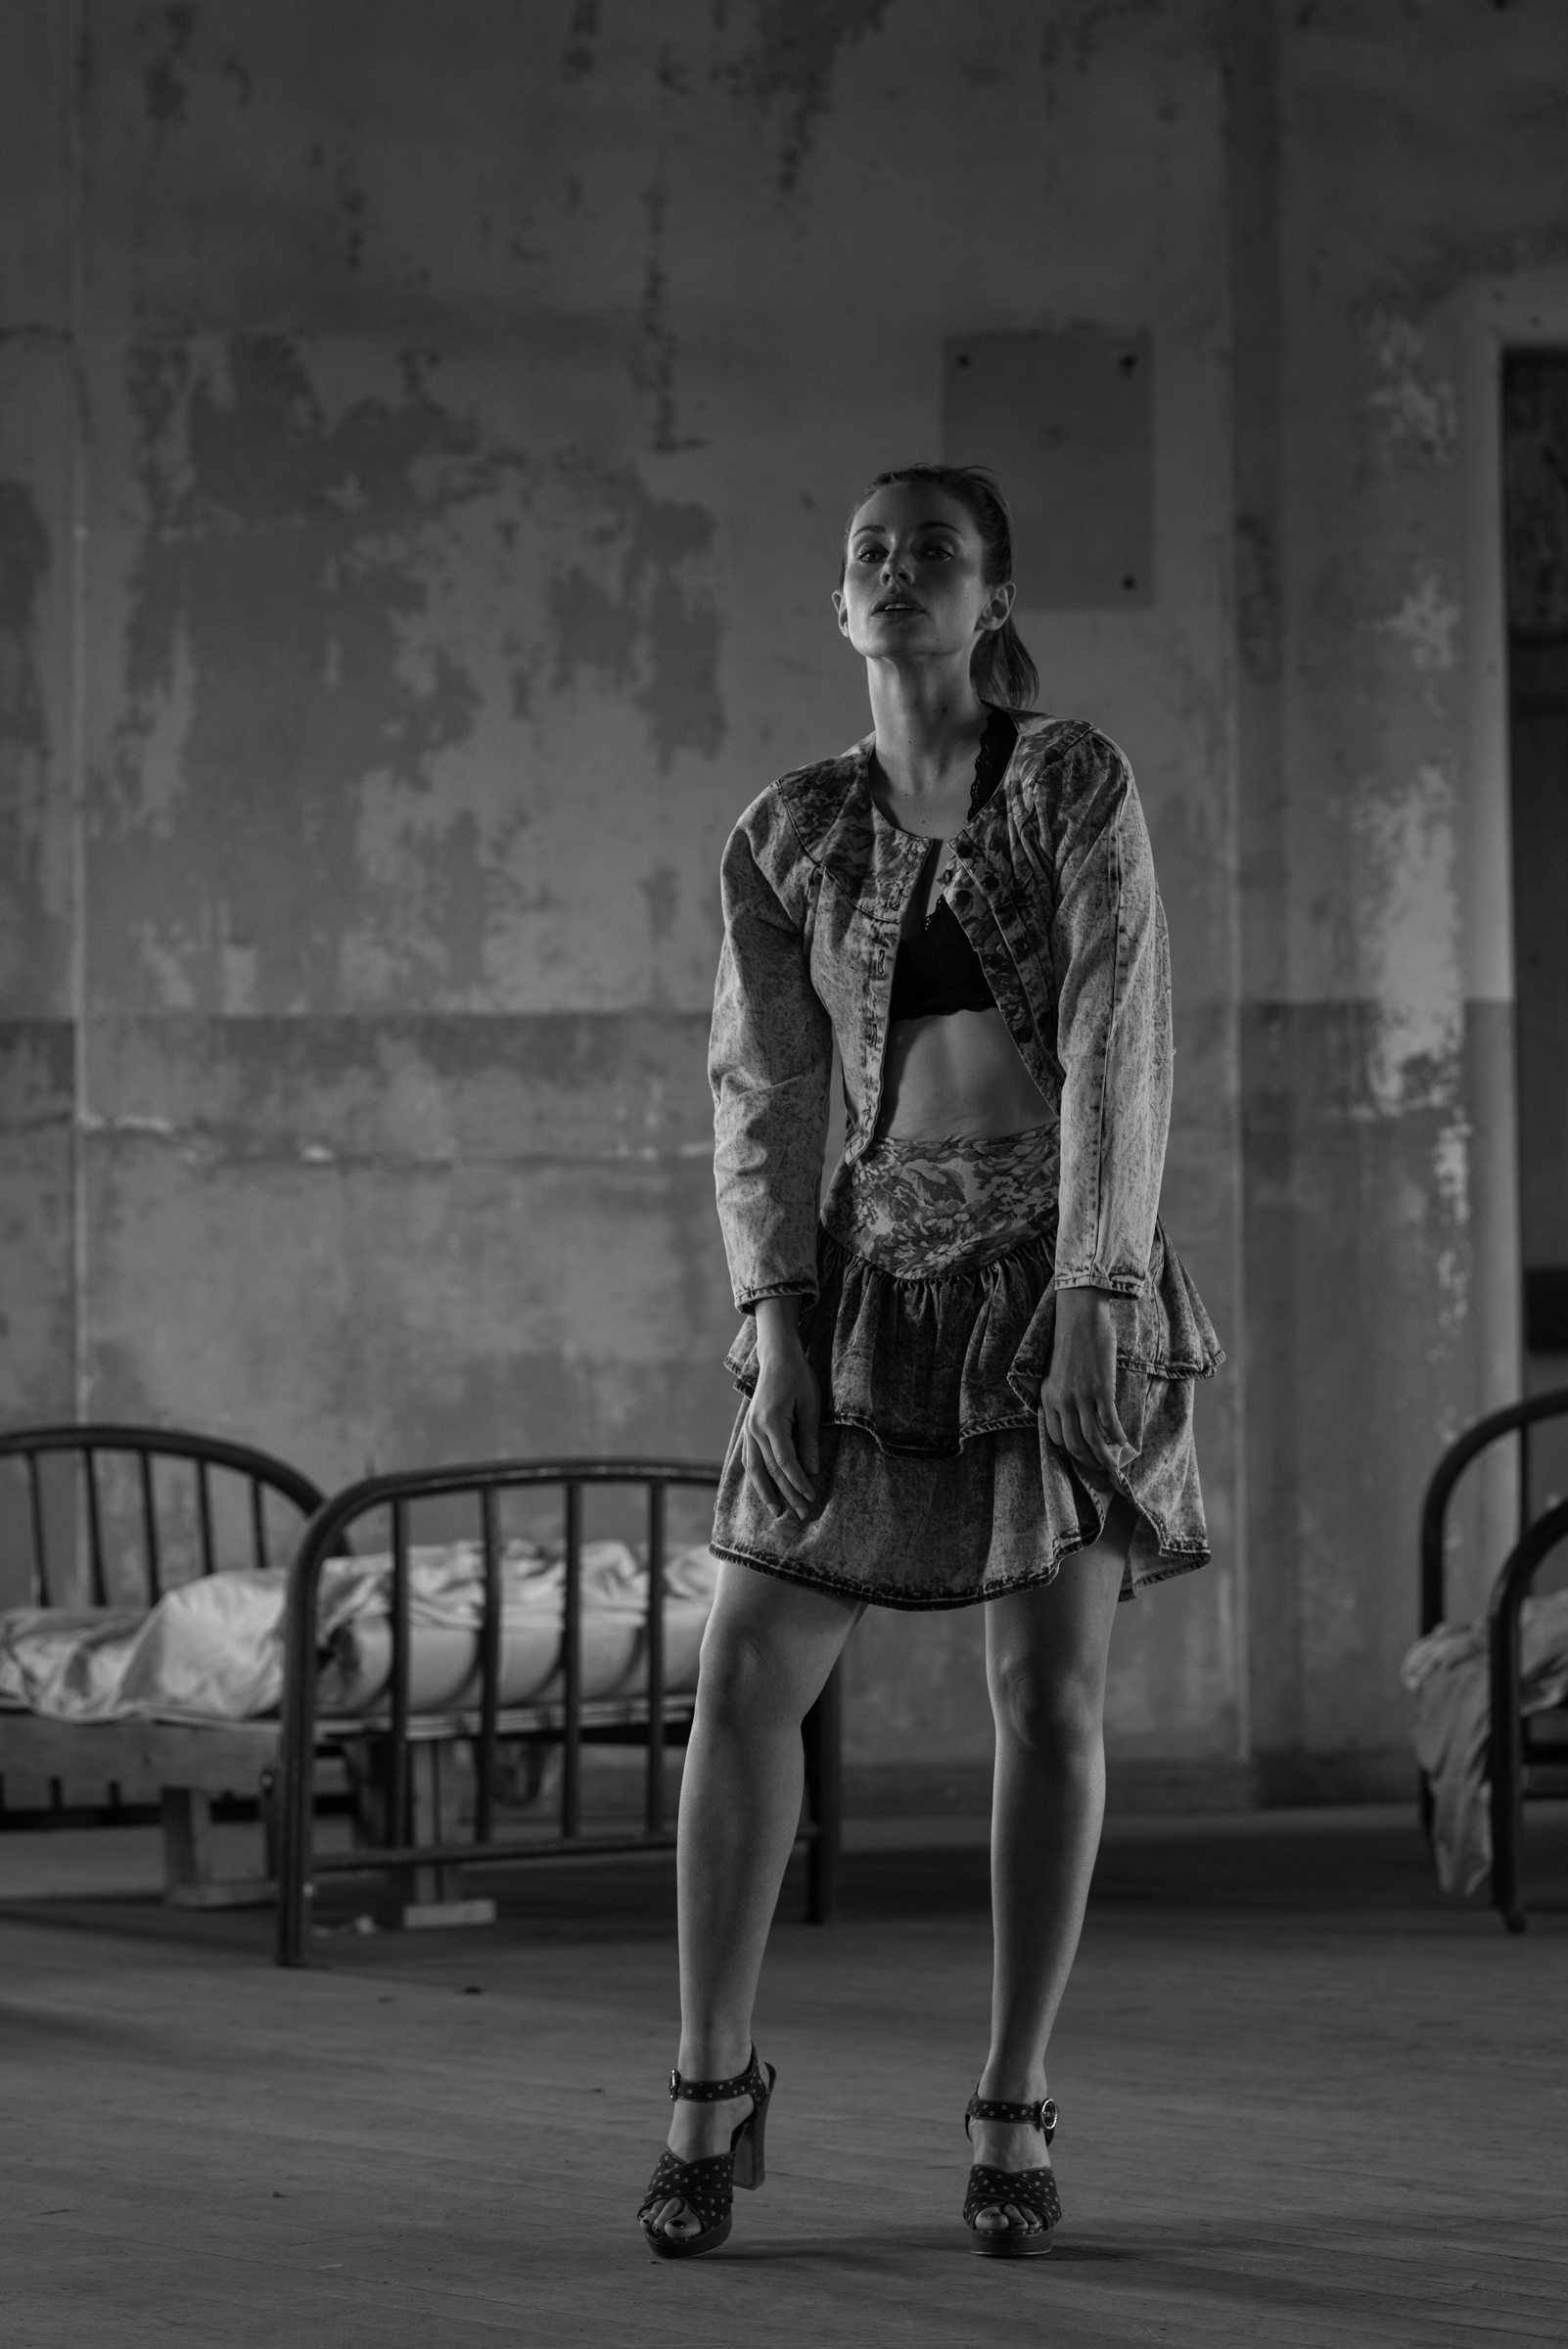
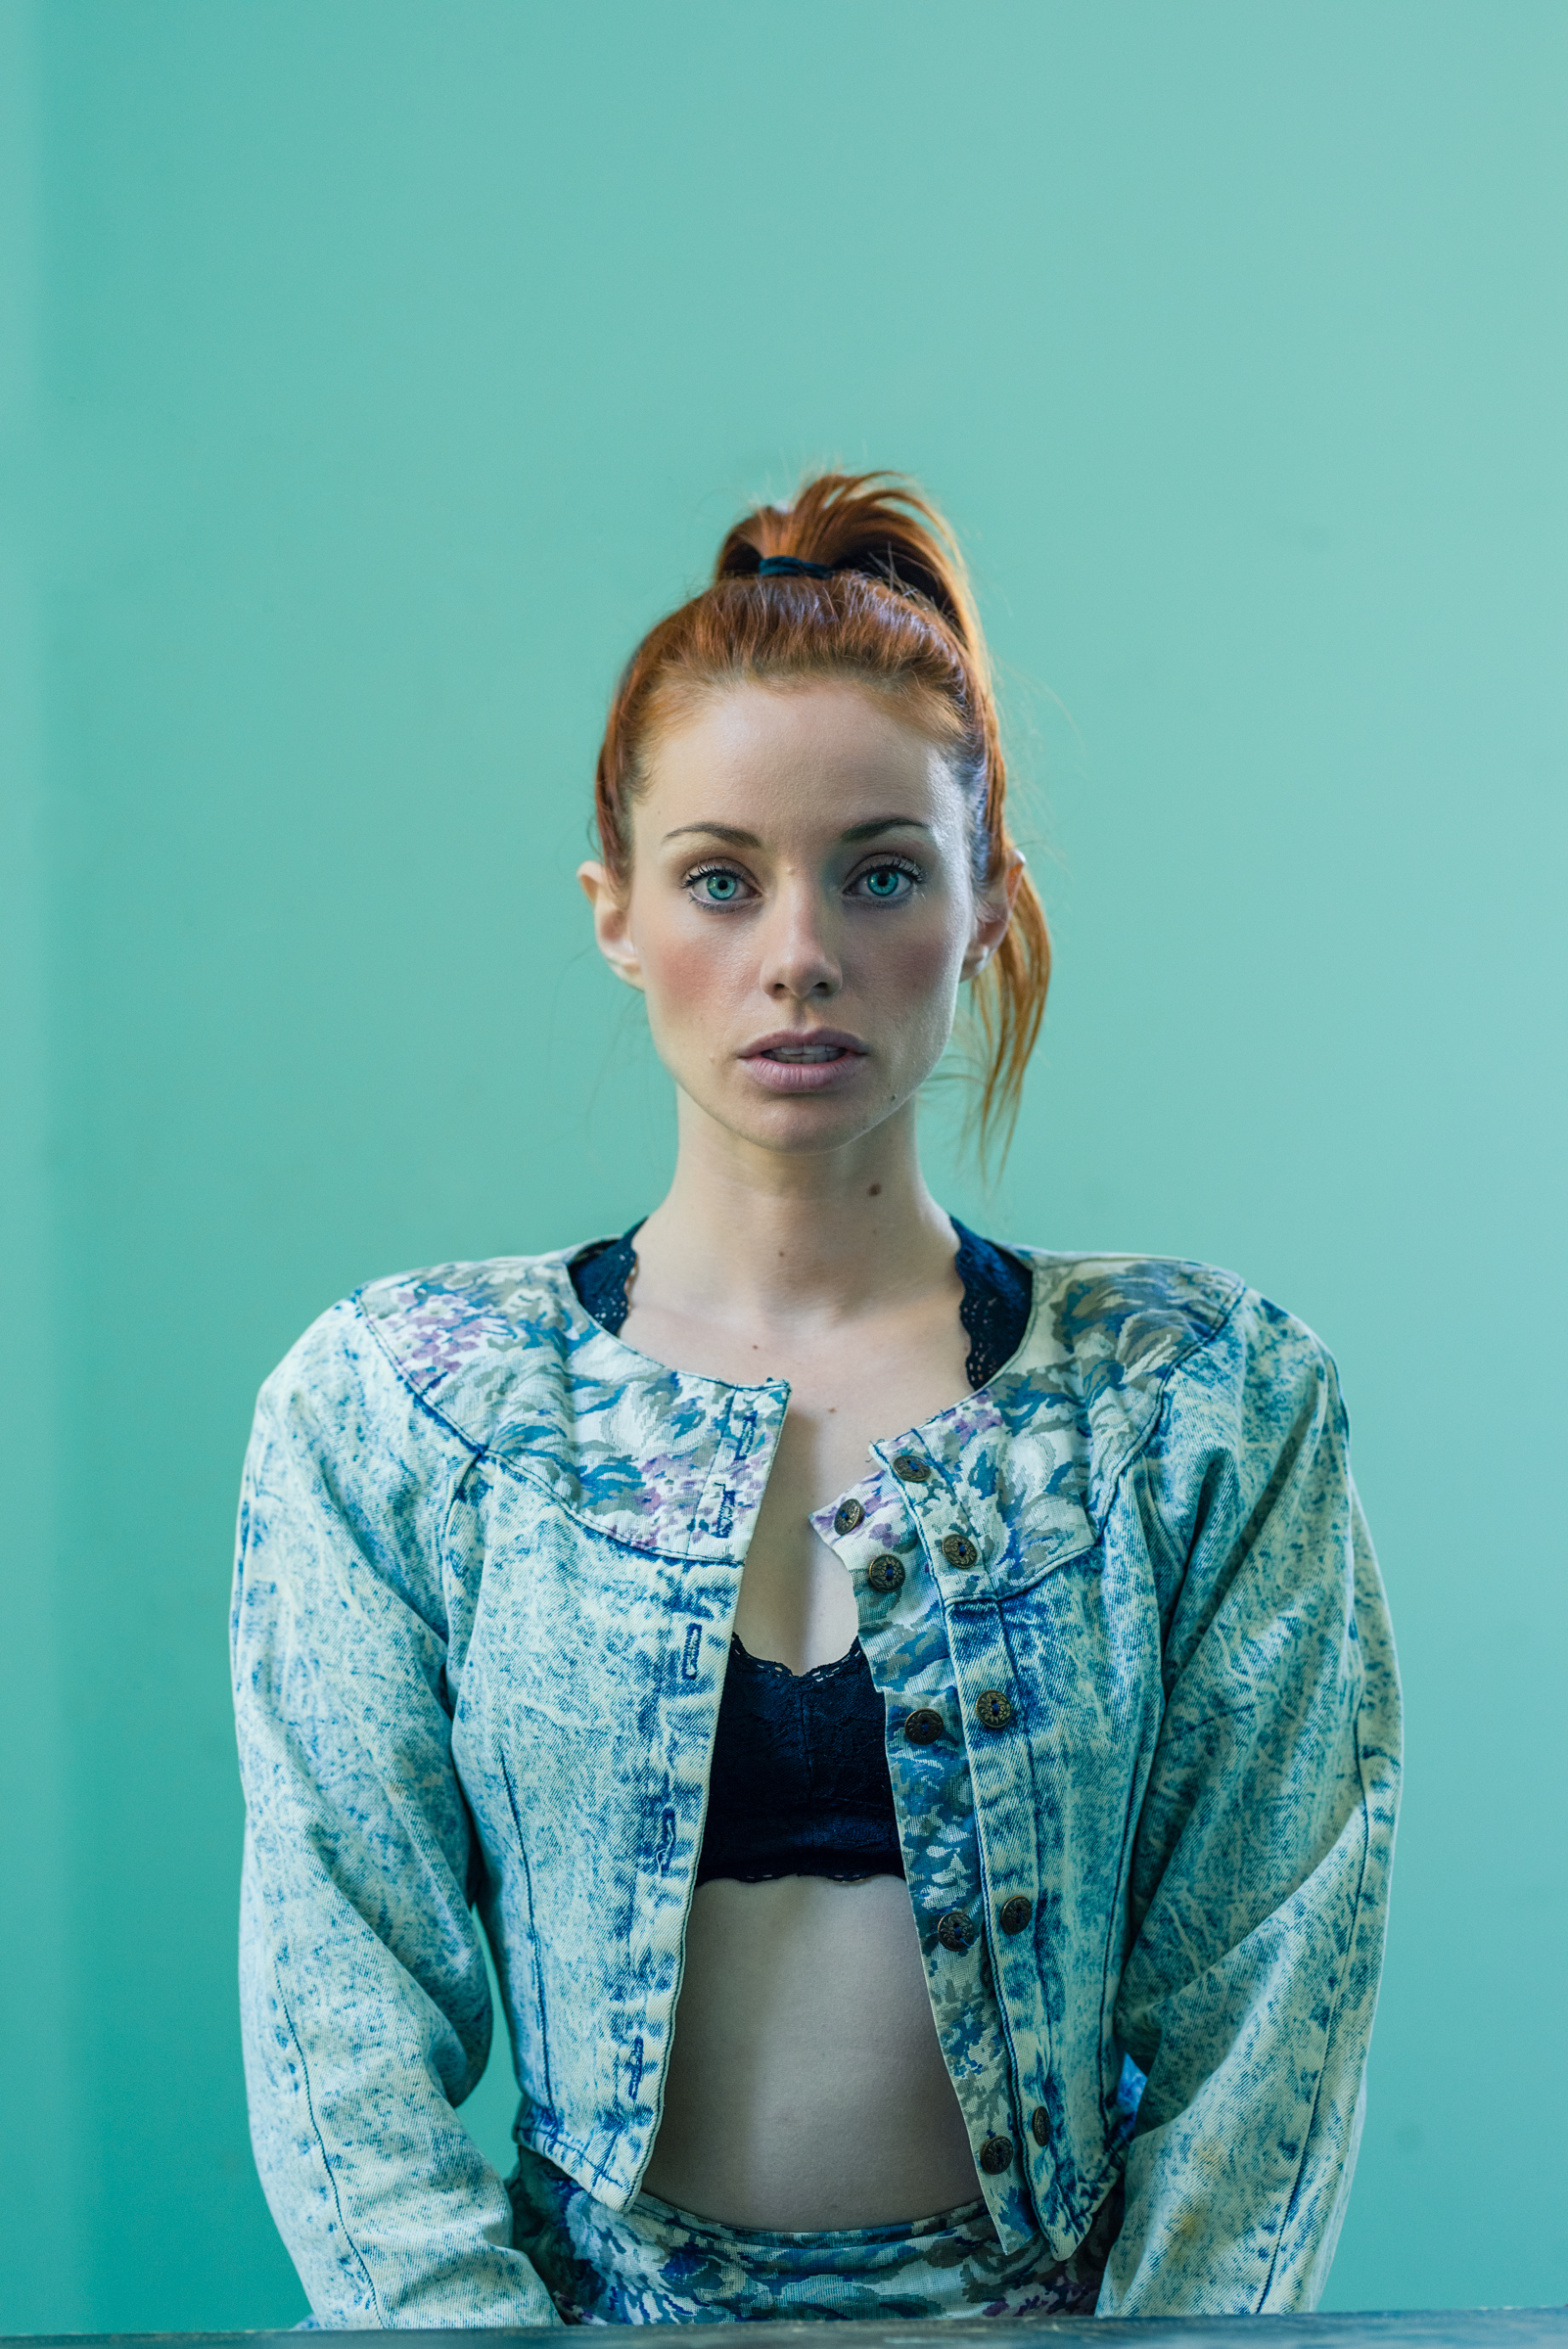
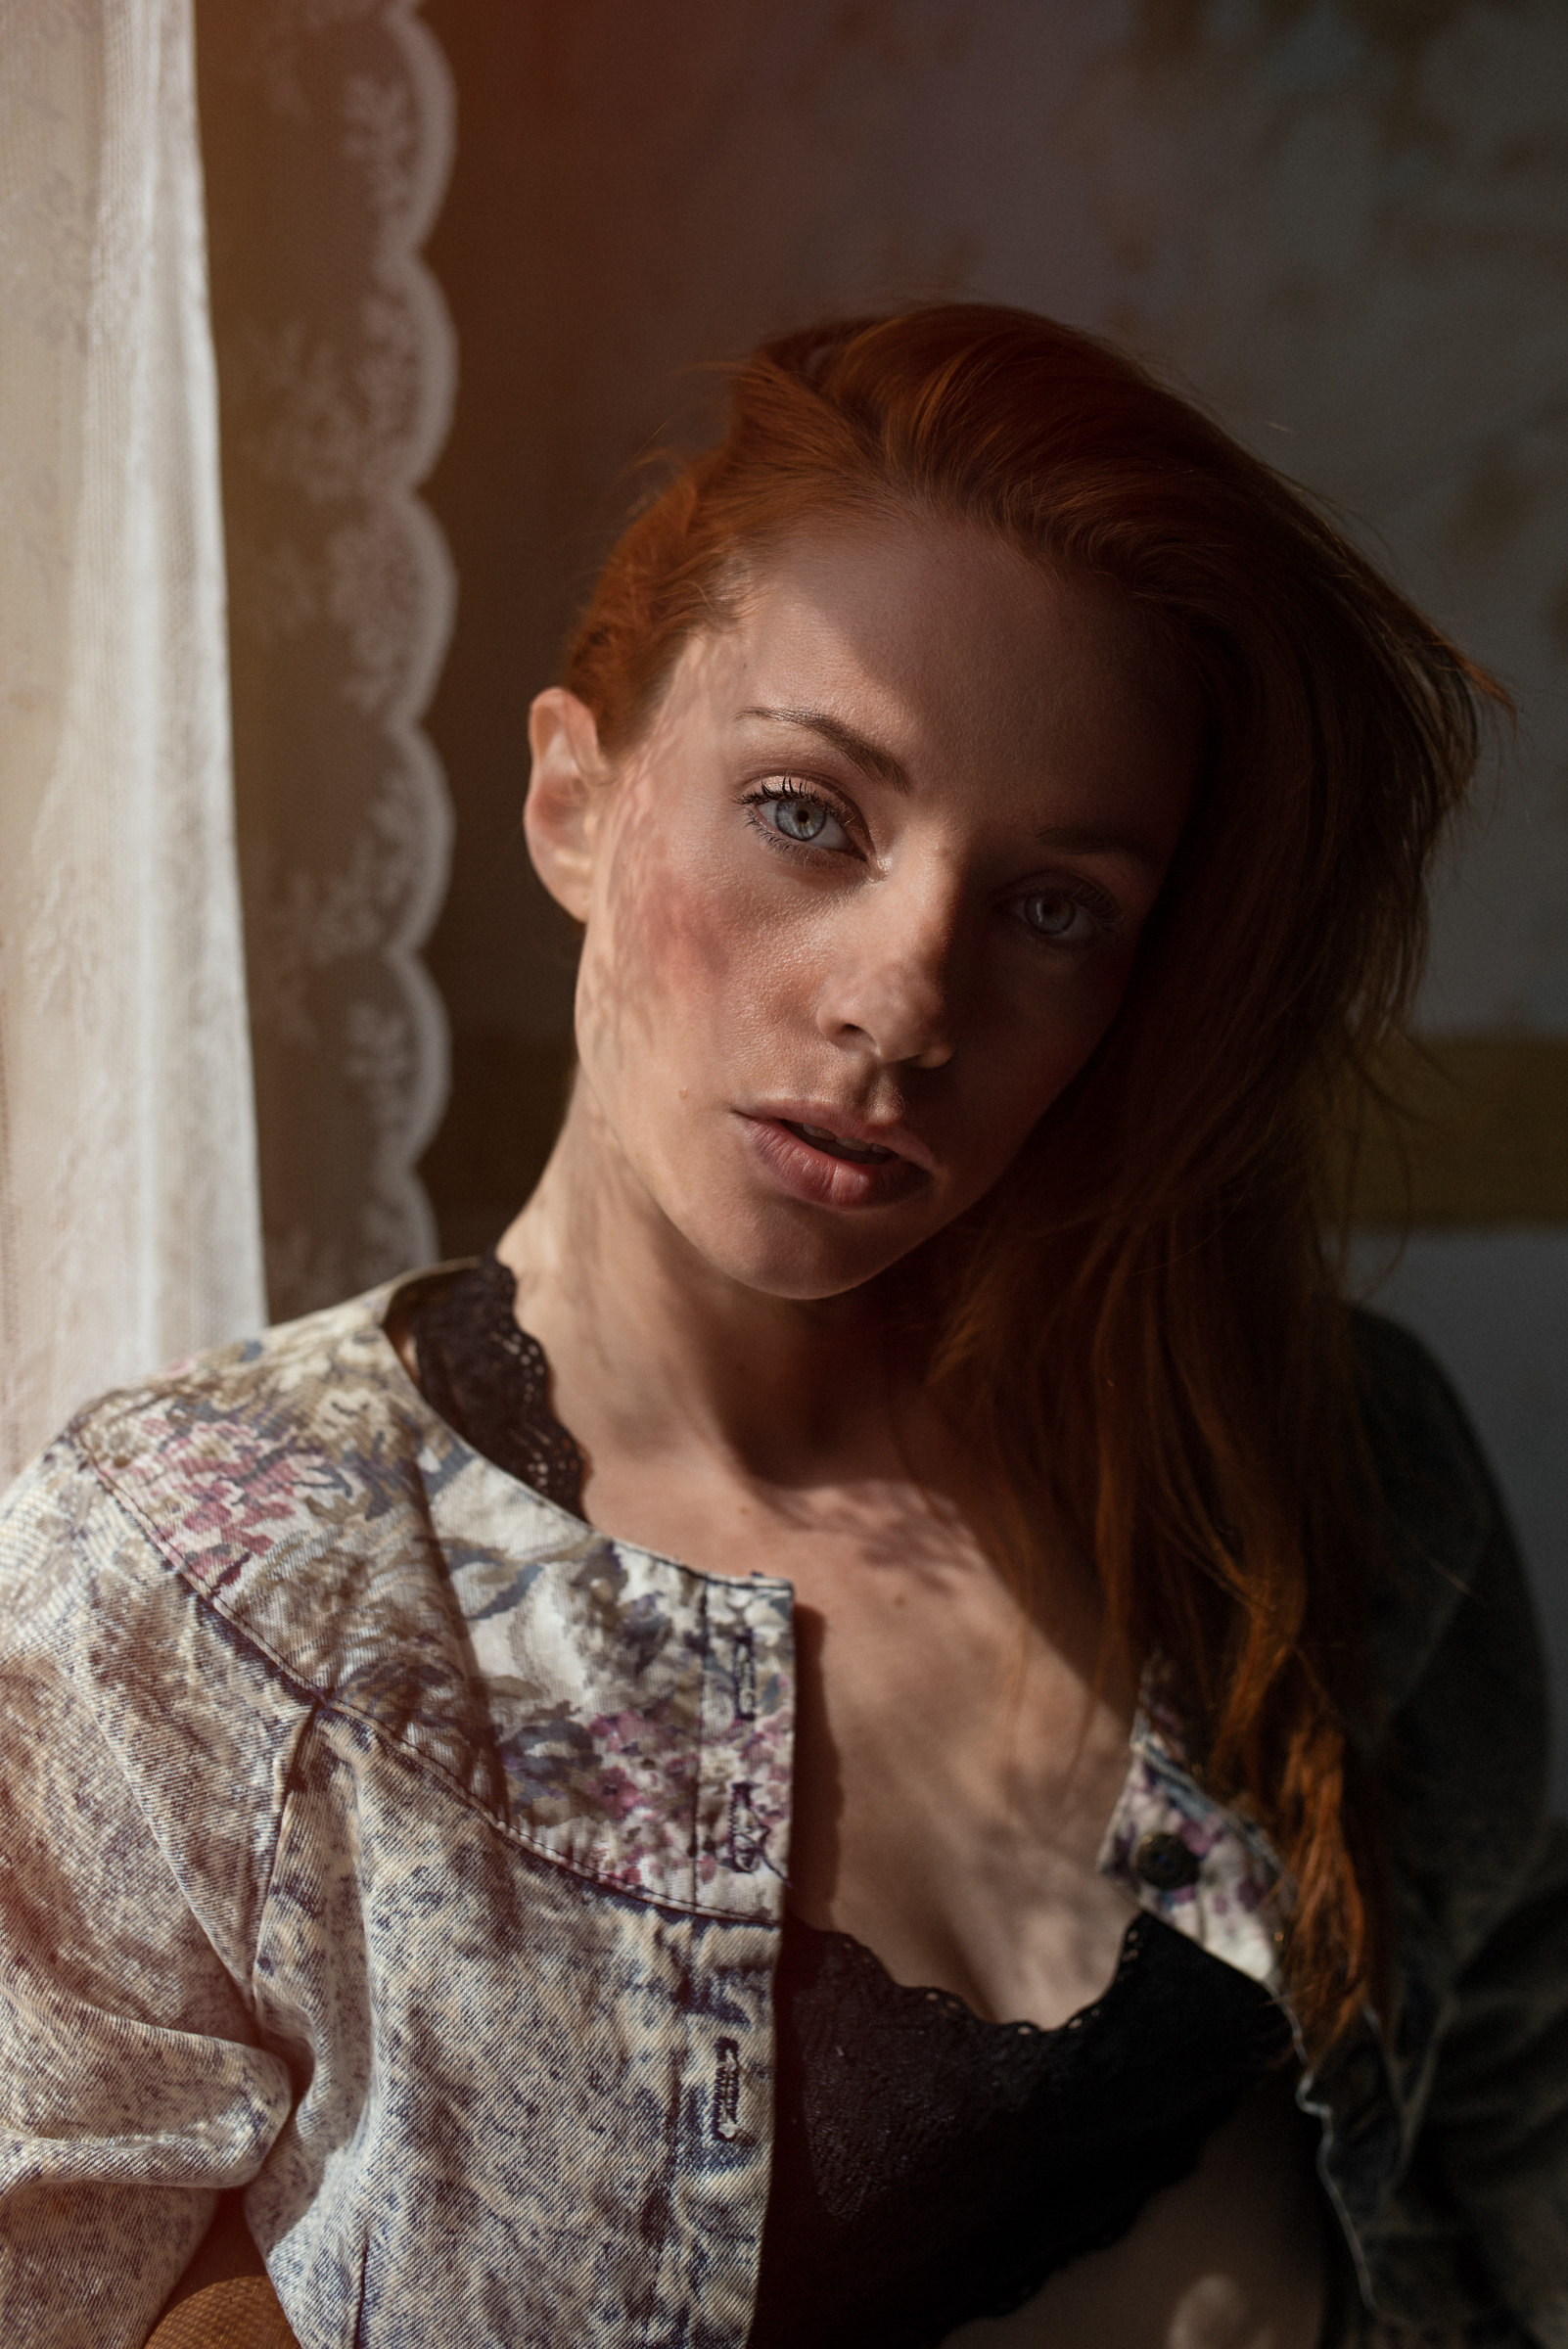
For this session, I was joined by model Julianna Steel. She and I have been friends for many years, and she’s always wonderful to work with, she also provides a vast collection of vintage outfits. For this outing I had two goals, one was to take full advantage of the existing light in the morning and the second was to make images at midday which is the hardest time to photograph.

Another challenge was one that Julianna brought forth. She said she could provide three different outfits for under $25. Sure enough, she came up with fantastic looks that came in at about $24.50.
All of the interior shots I used my Nikon D810 and switched between my Sigma 35 mm and my Sigma 85 mm. These lenses are so sharp and have such excellent color rendition.
Here are some of the sample images from the morning.


Indra in action
After we finished, we went across the street from the castle and photographed in an old abandoned house. It proved to be a perfect setting for the looks that Julianna made. For my lights I used my Phottix Indra 500 with the wide angle diffuser. These lights operate on a battery pack and take advantage of high-speed sync. Most of the time the light was at full power or just under that. I’m so pleased with how he’s like to perform. We shot for about an hour, and I still had full power on the battery pack. Average setting: ISO 100, f3.2 and 1/4000 sec

I’m looking forward to getting out and making more images this spring with a similar style.

More of the natural light images below
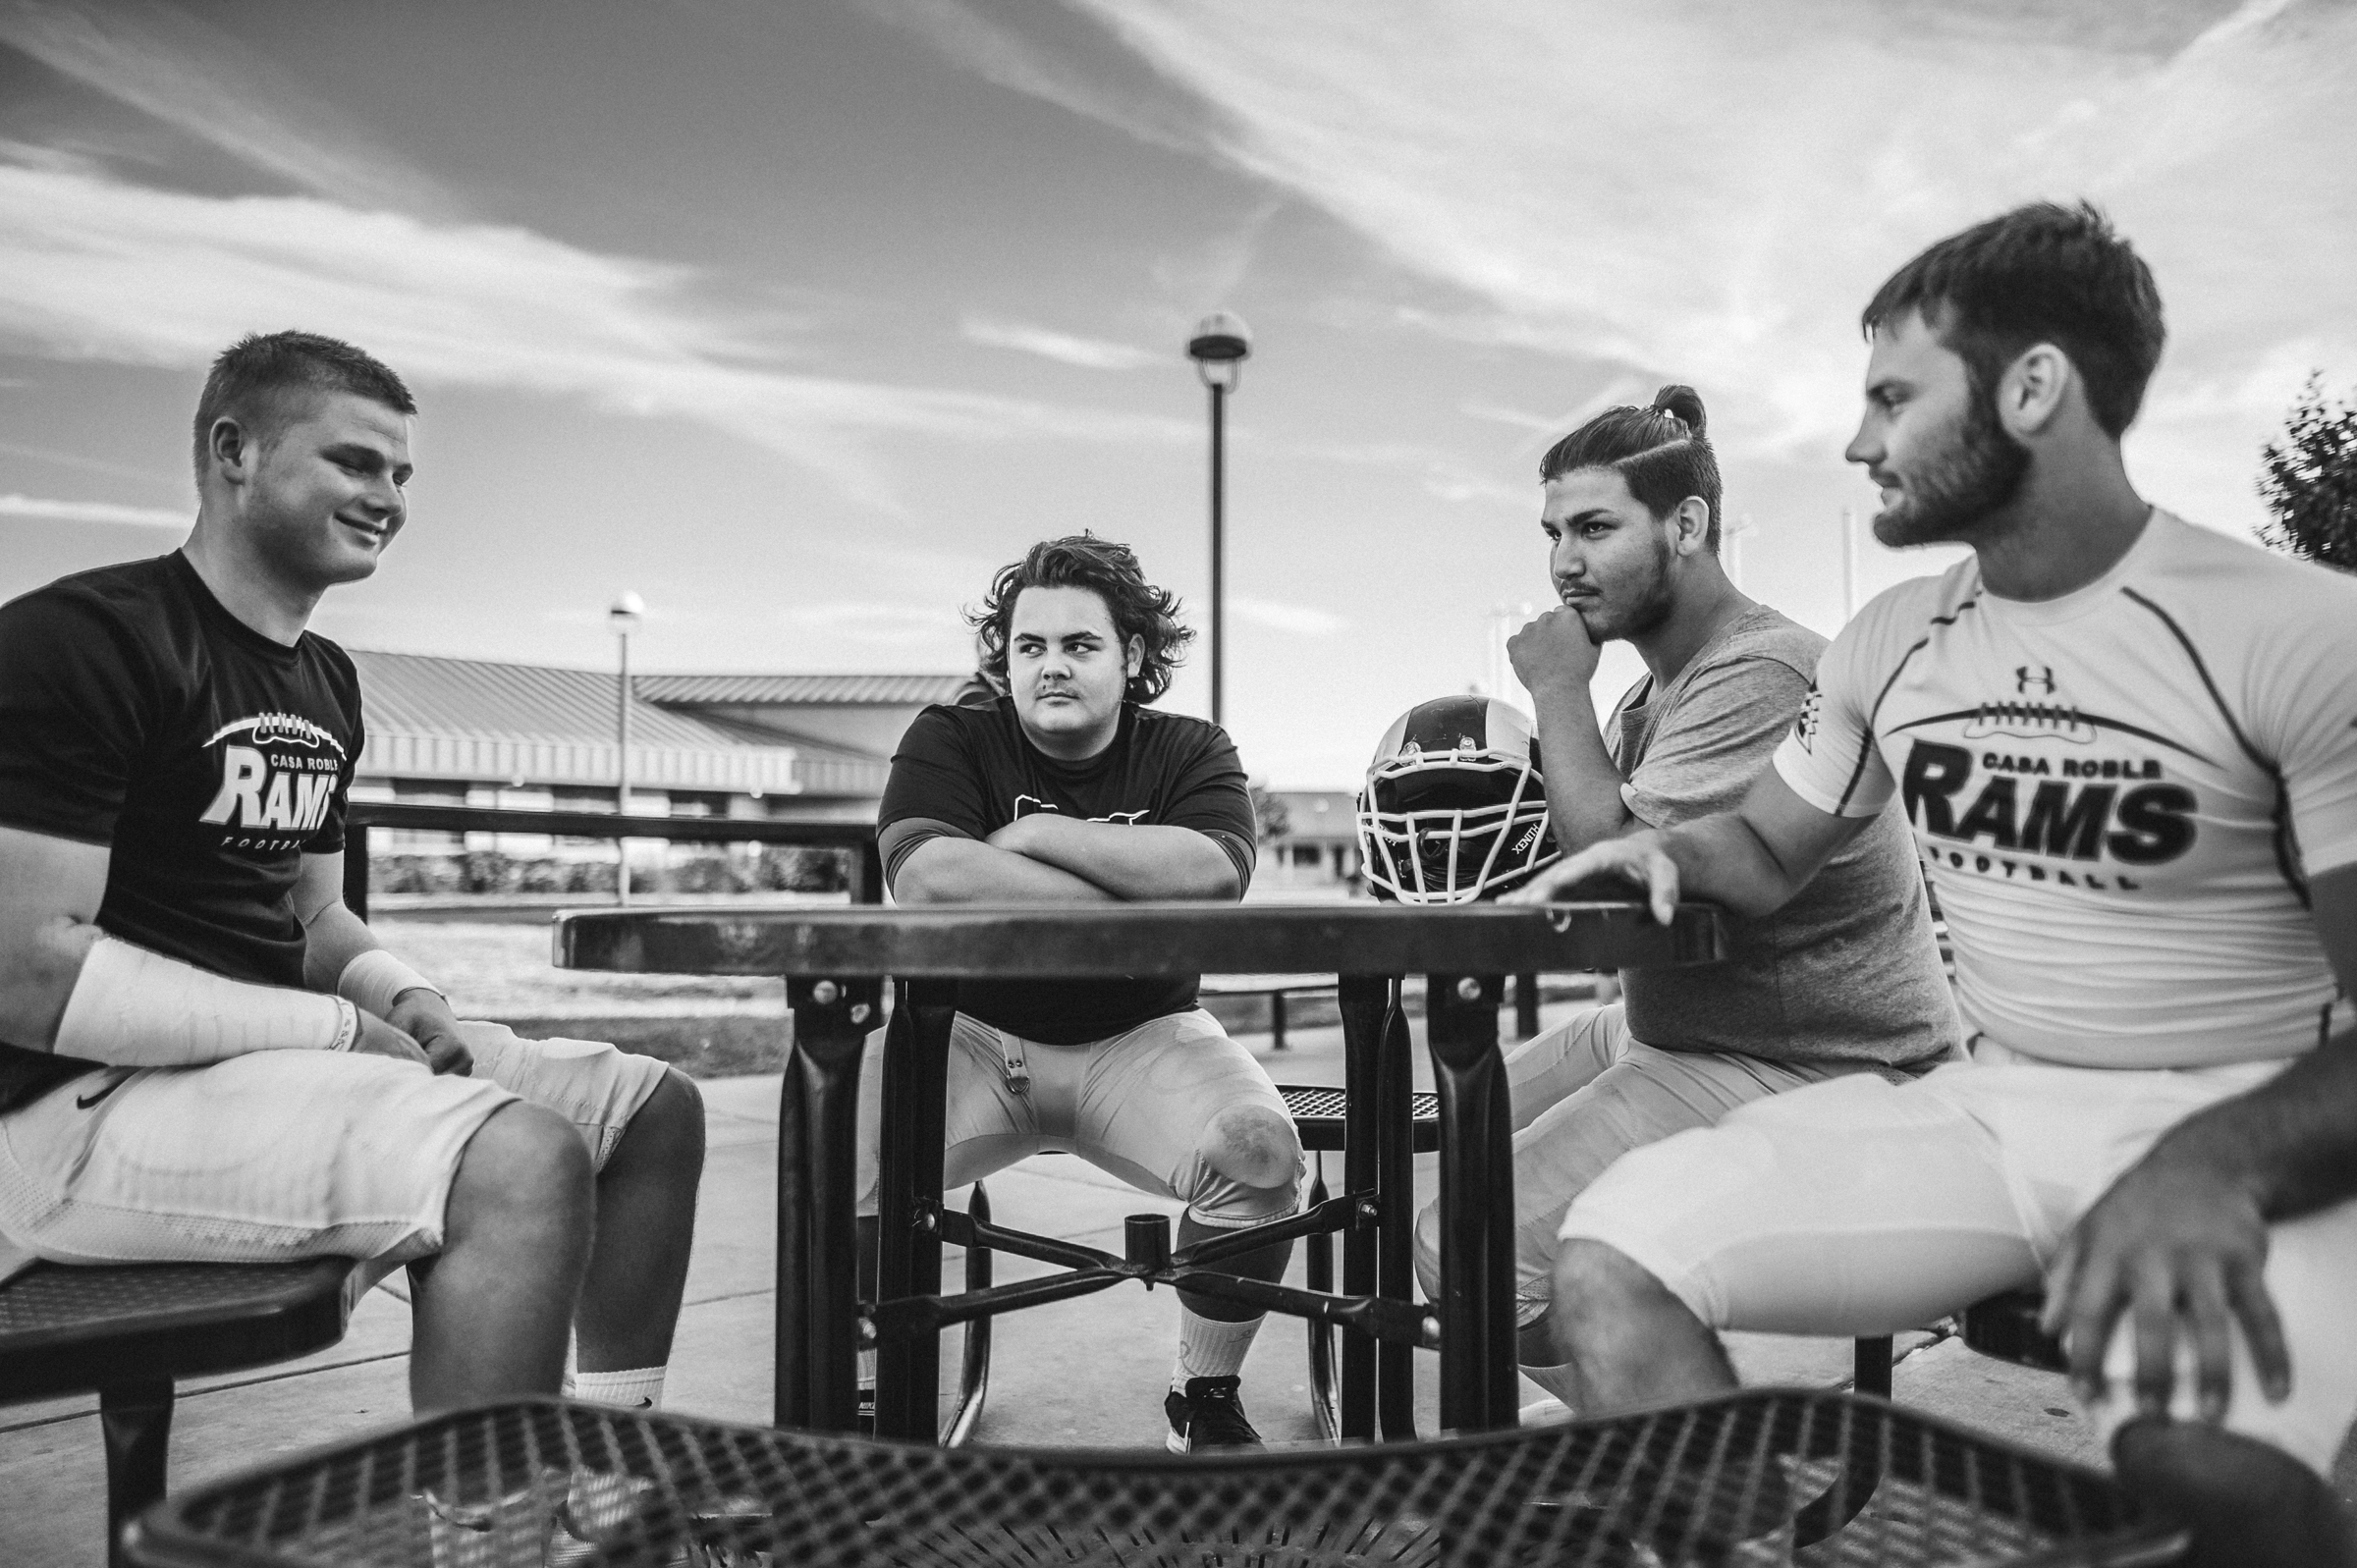
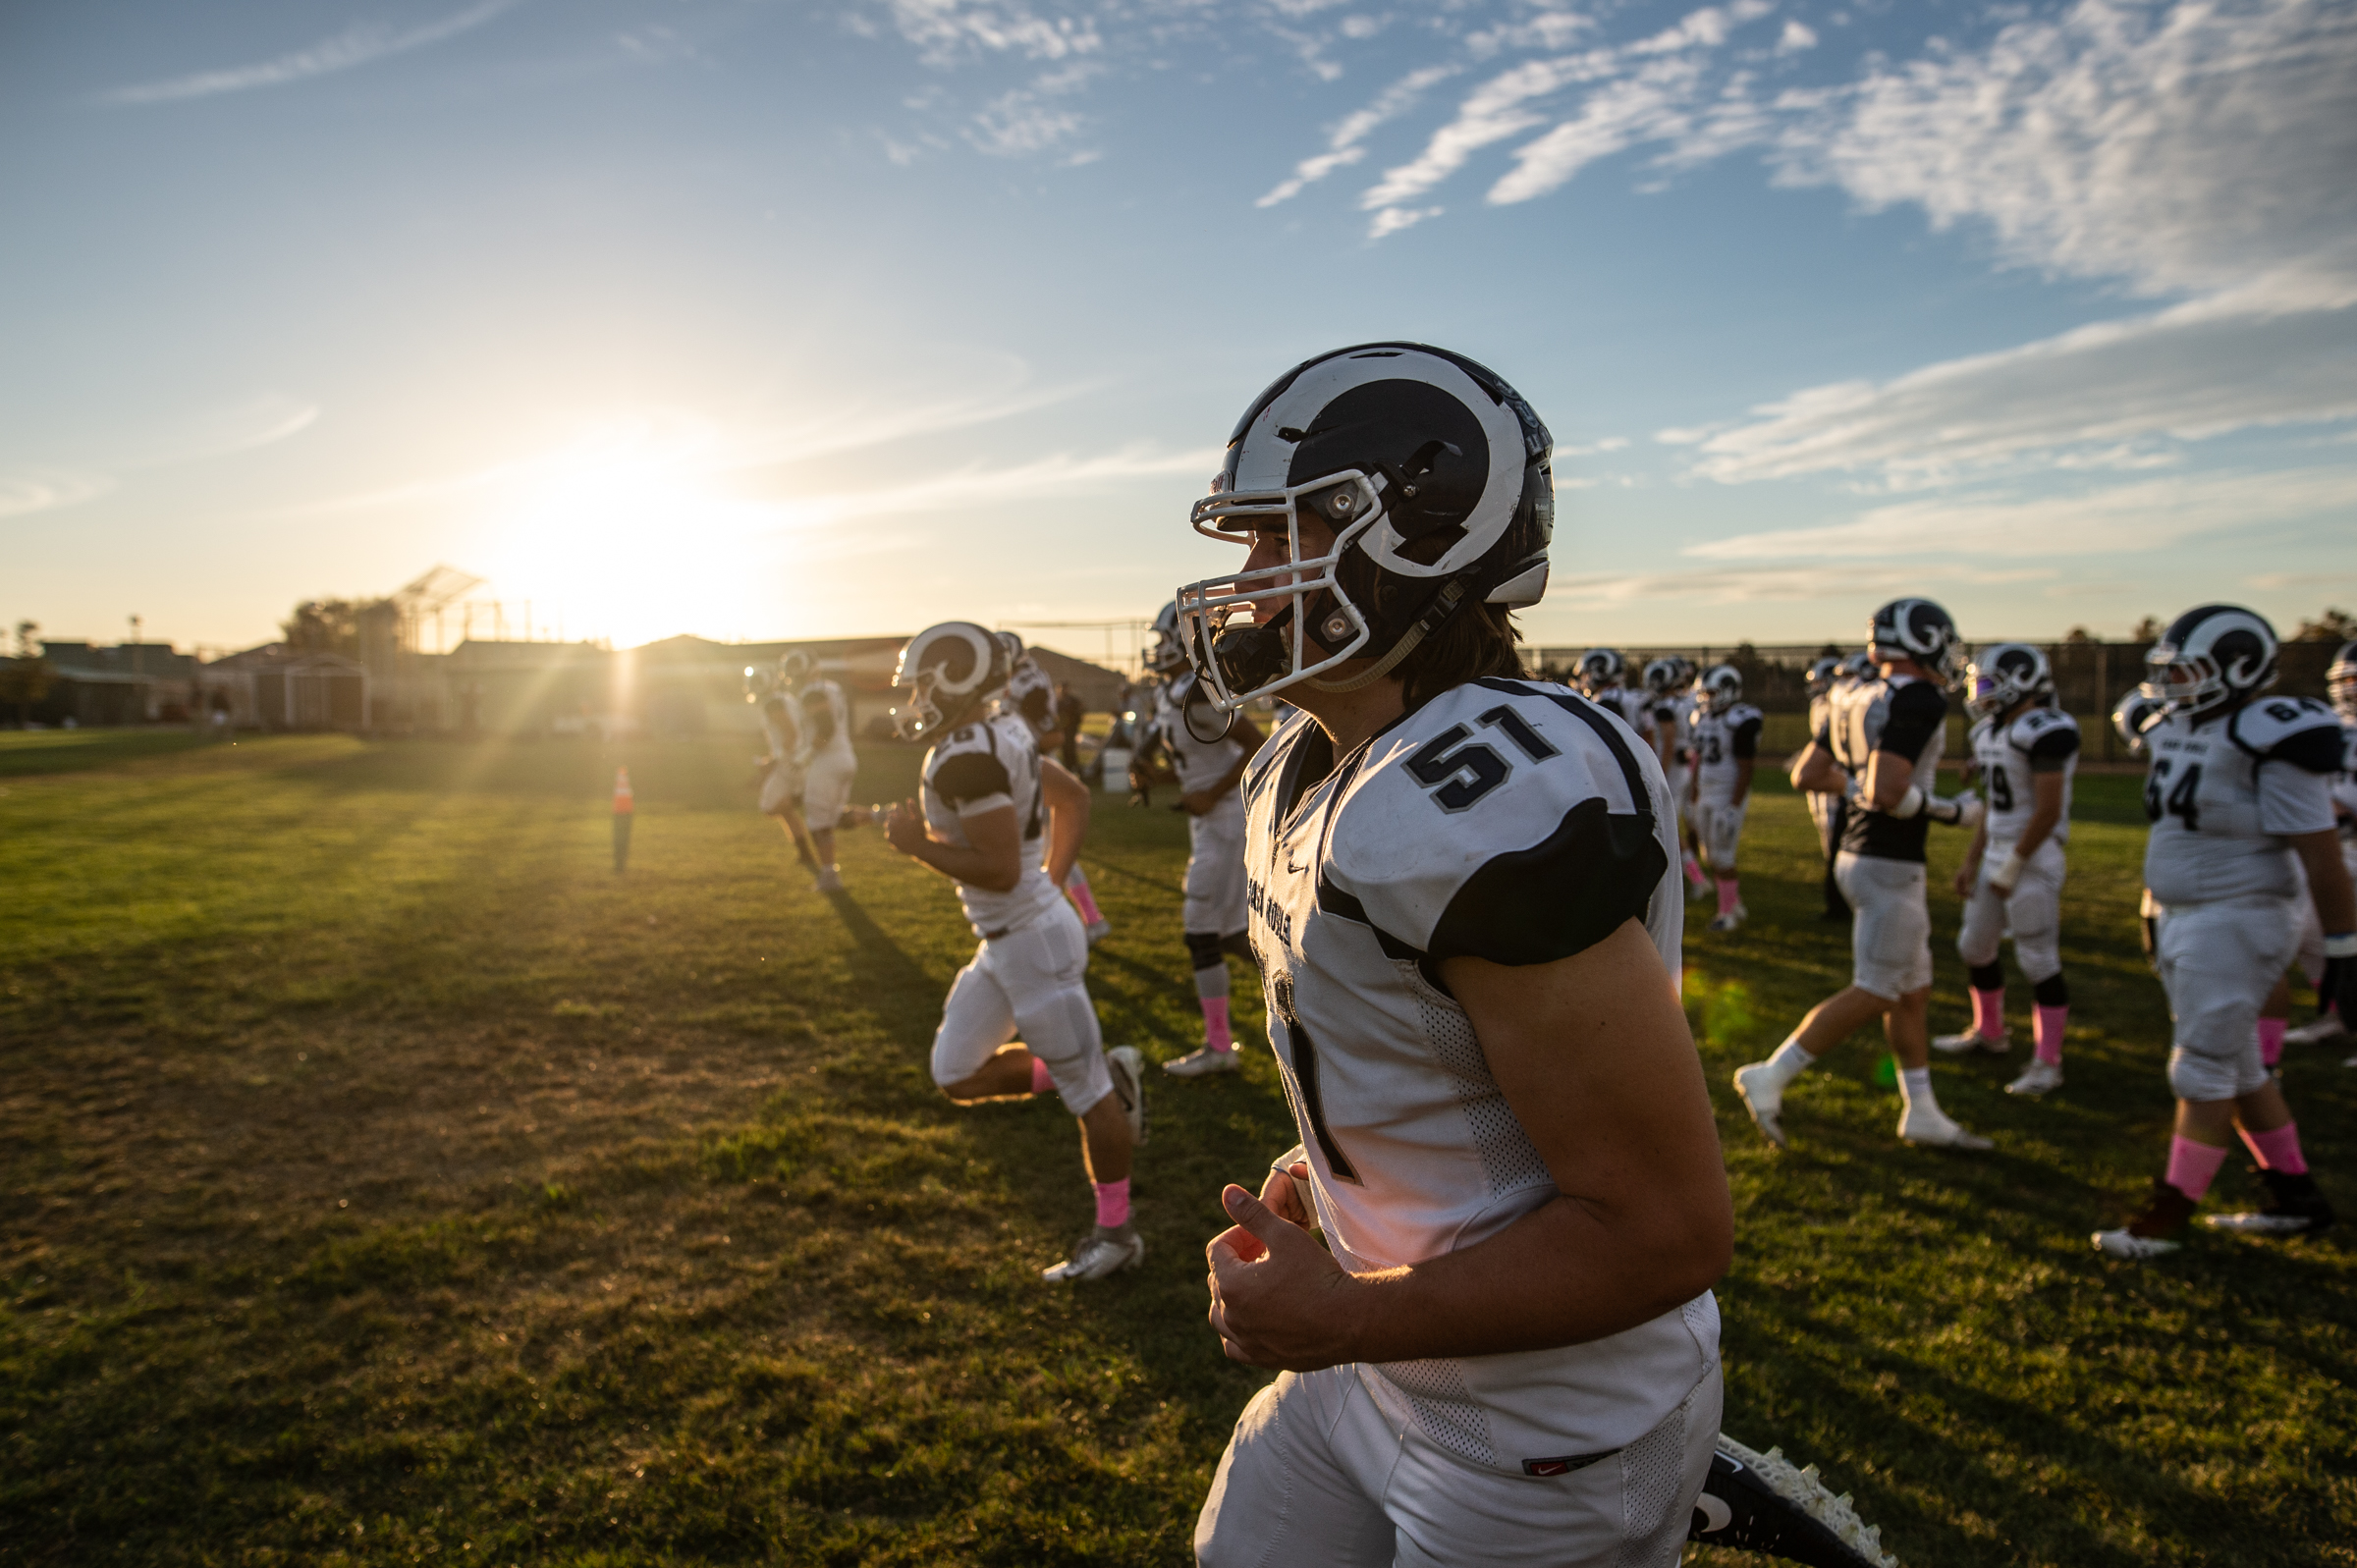
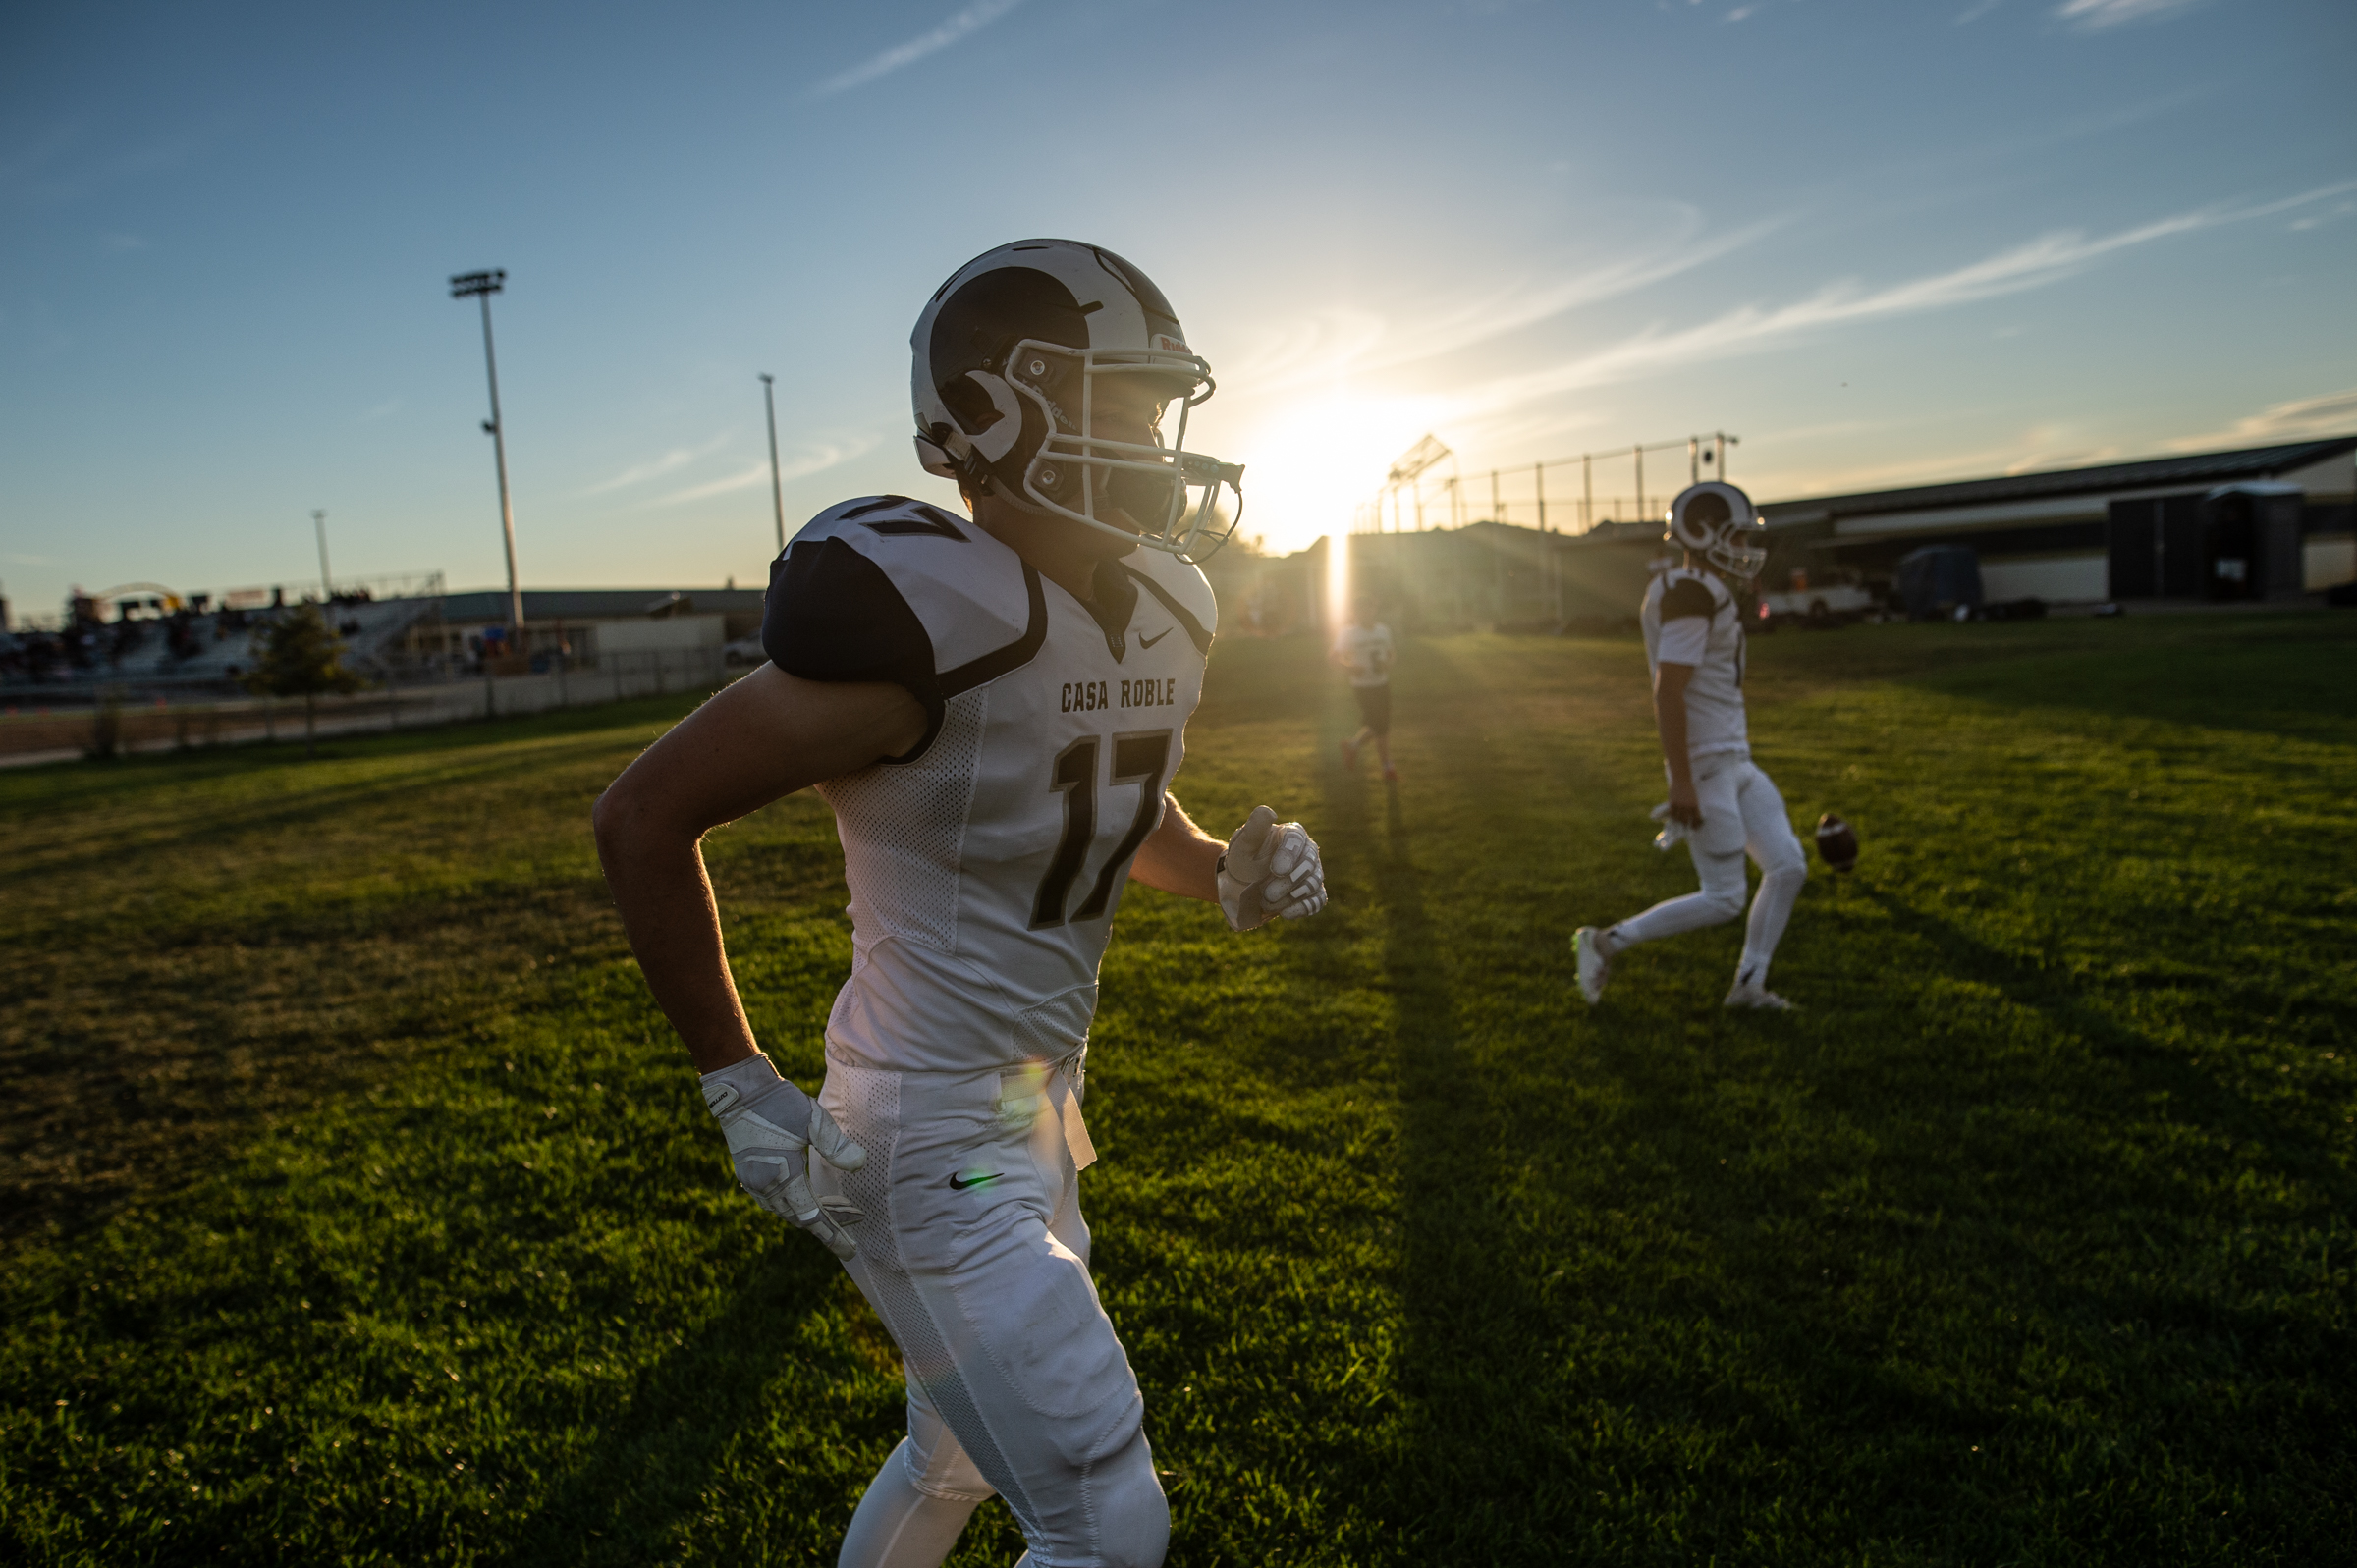
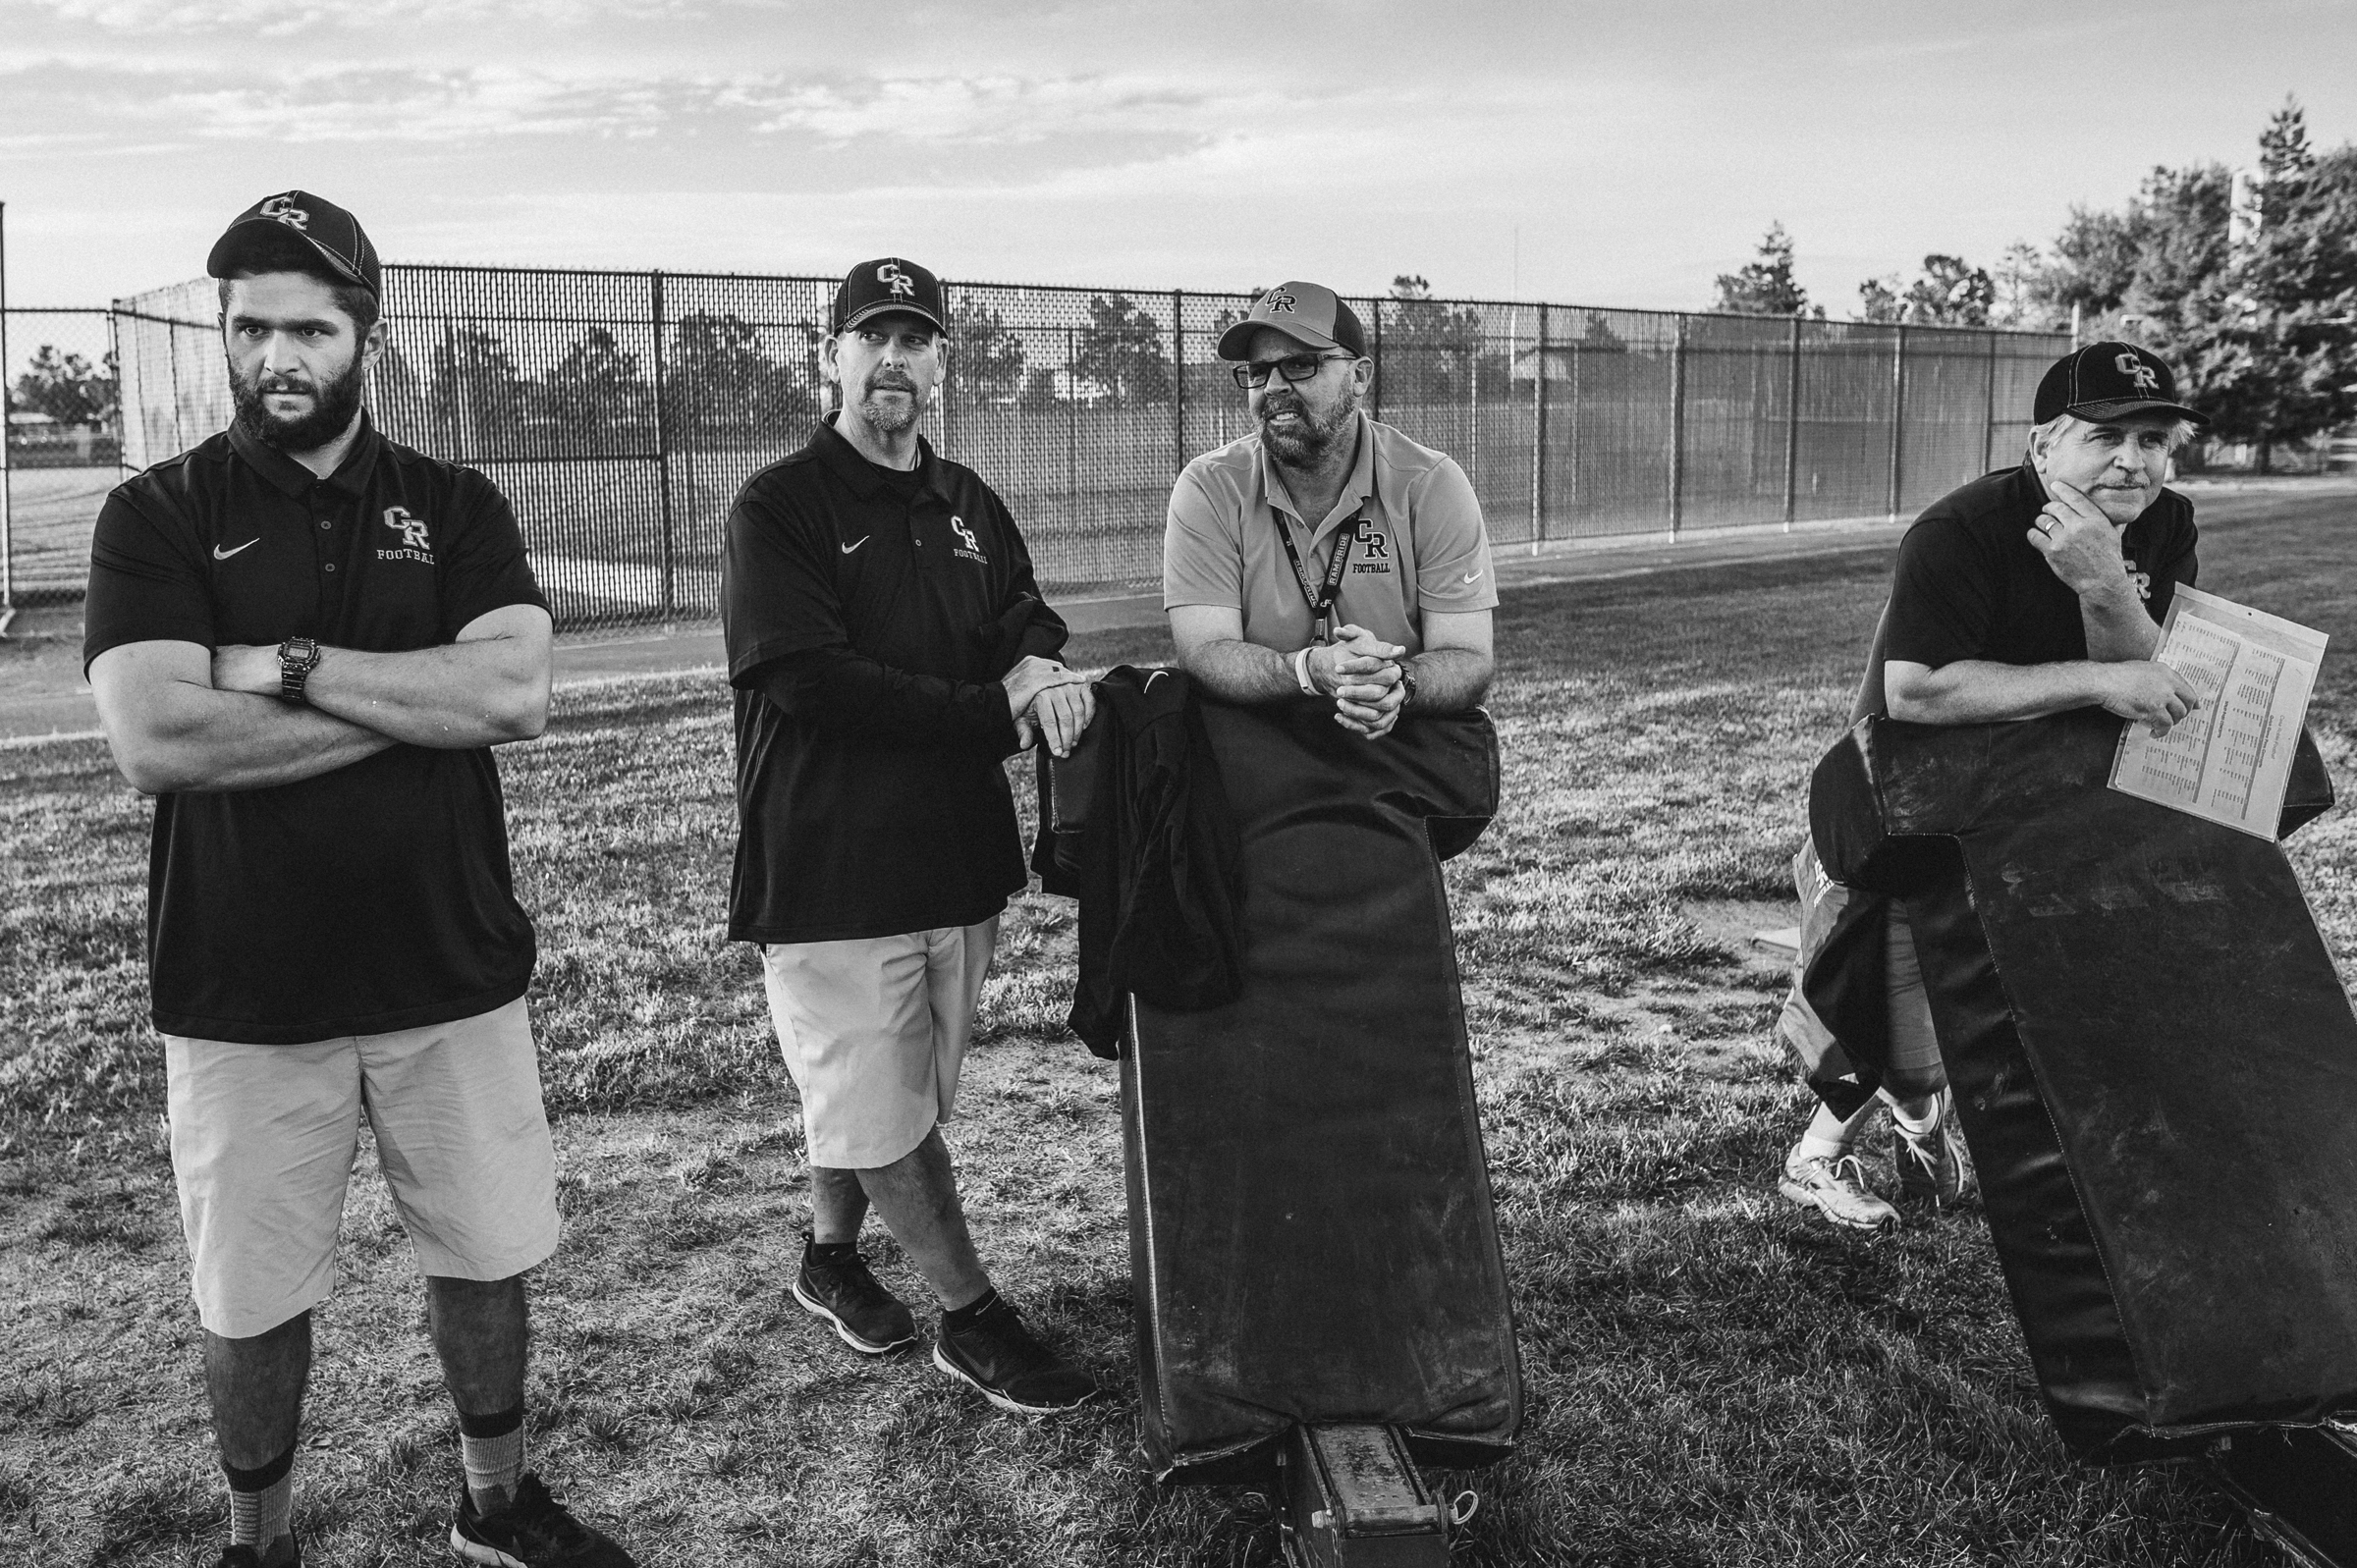
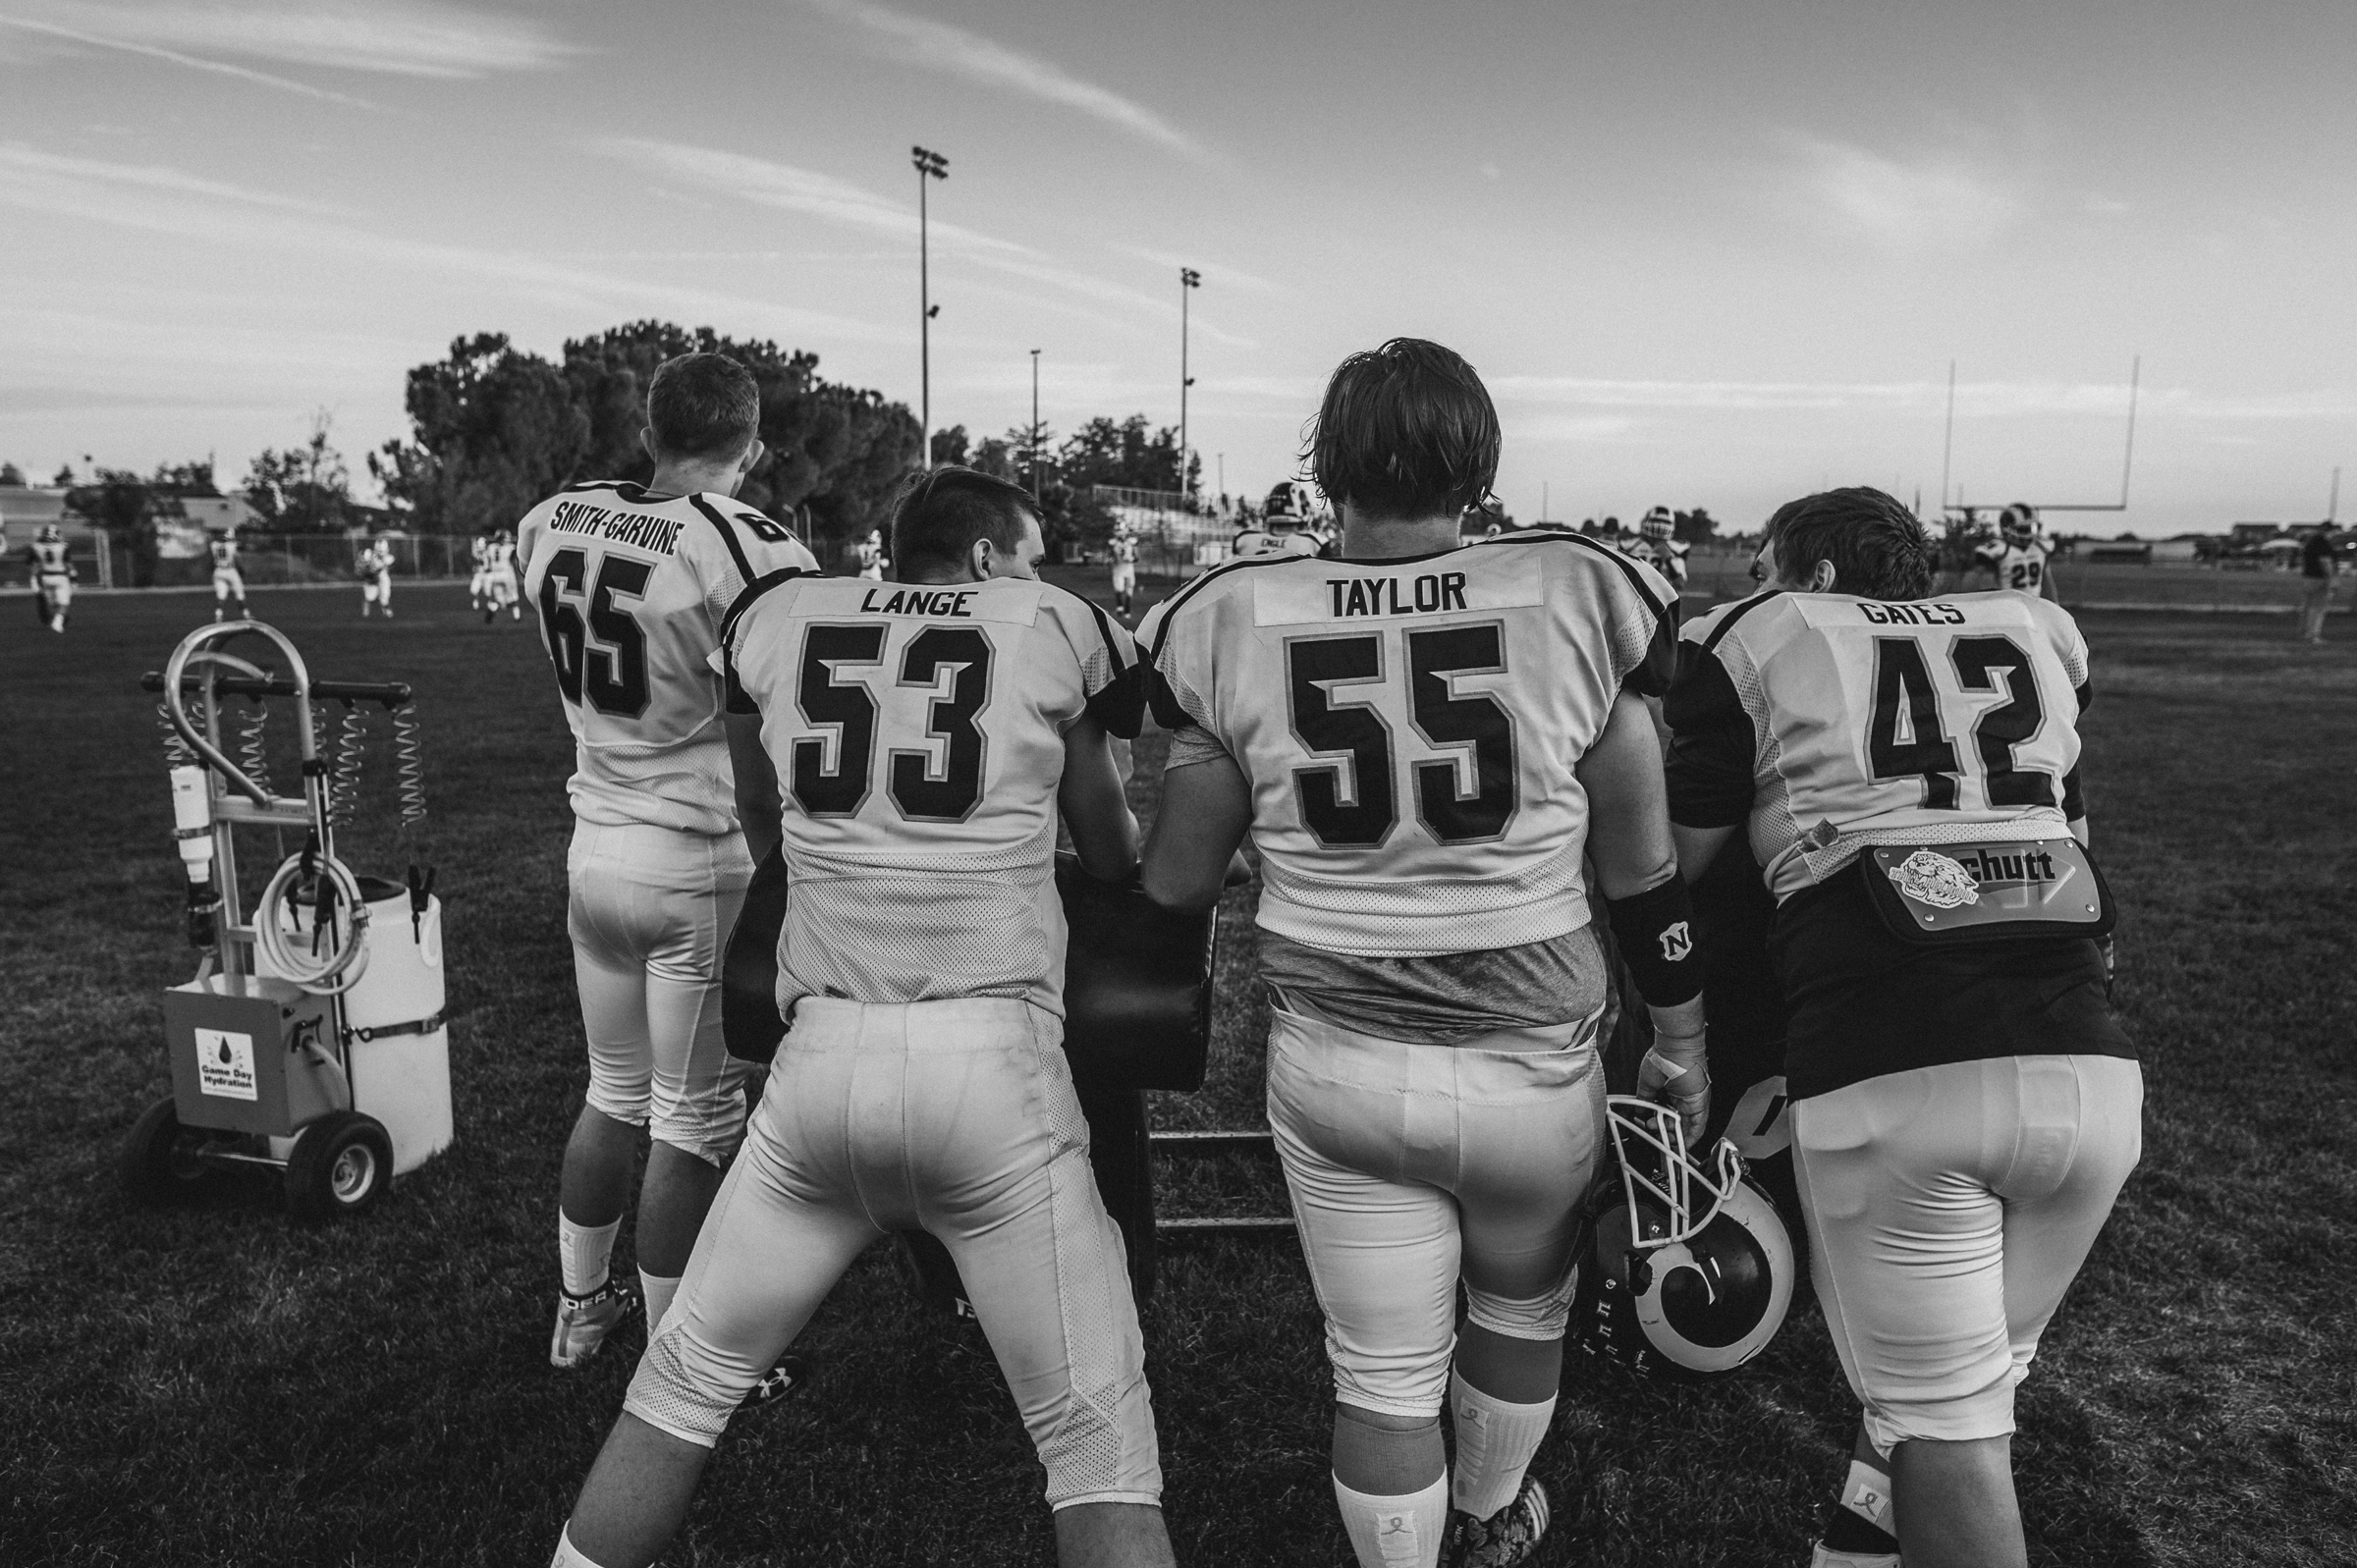
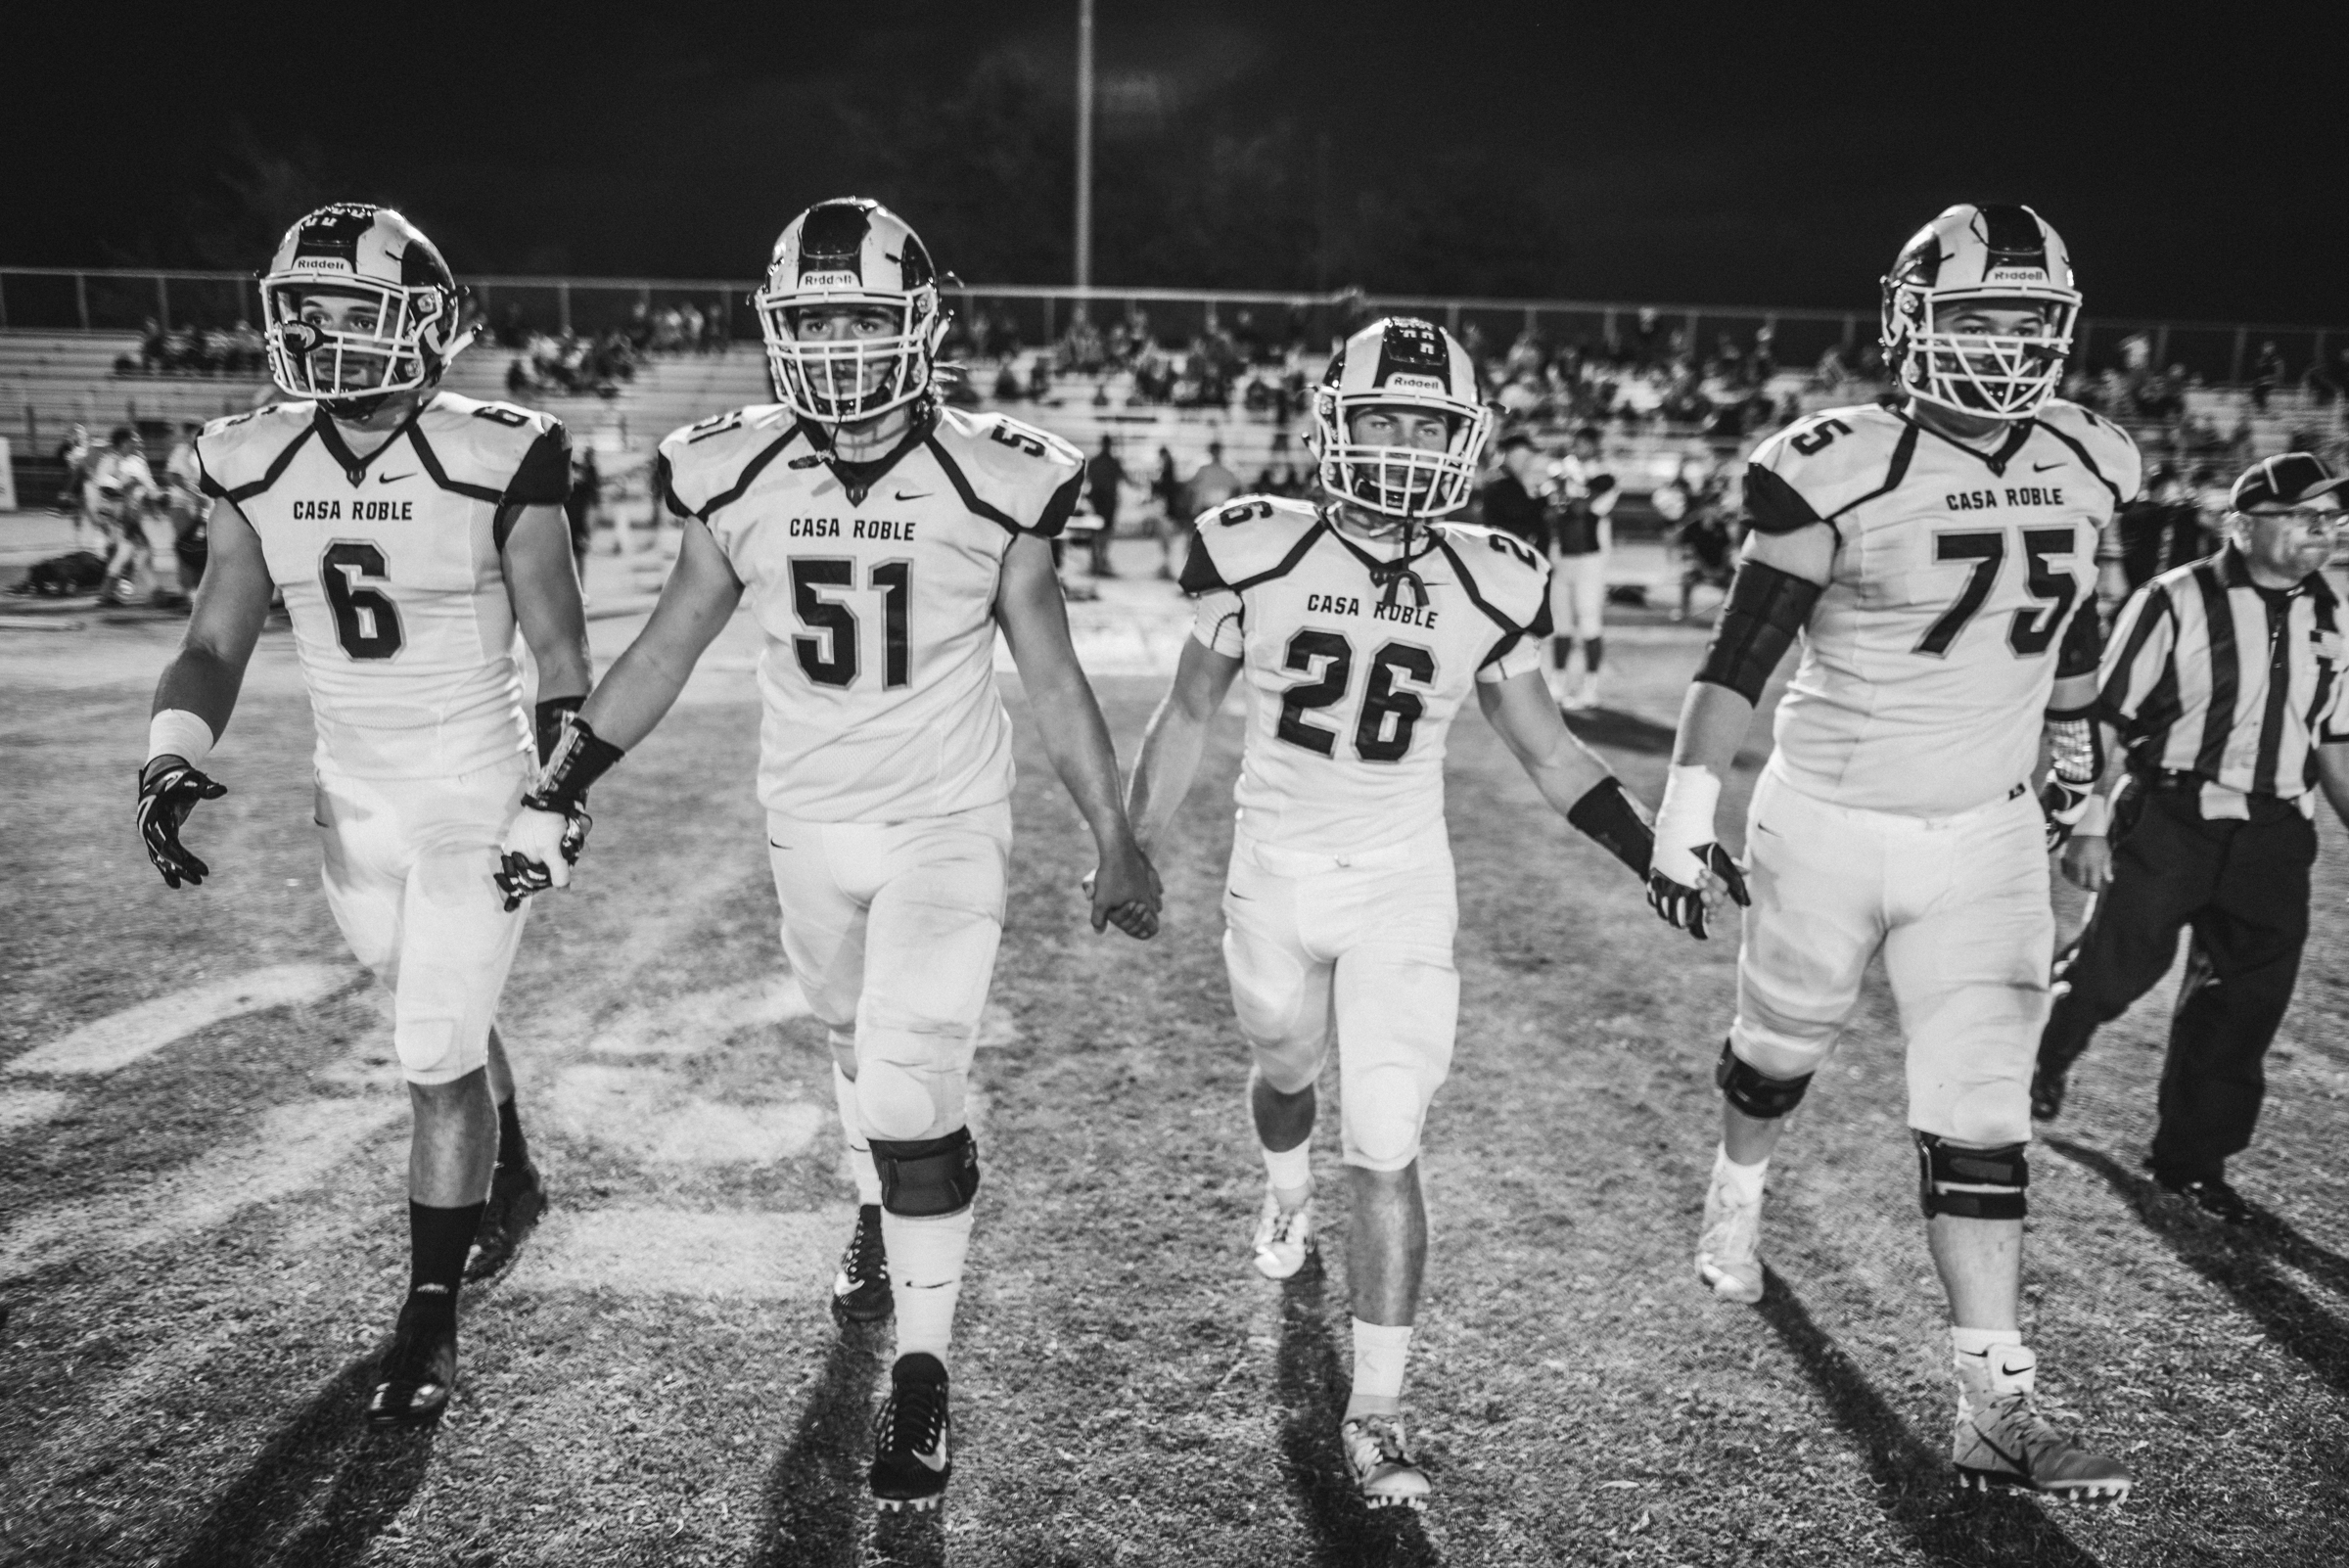
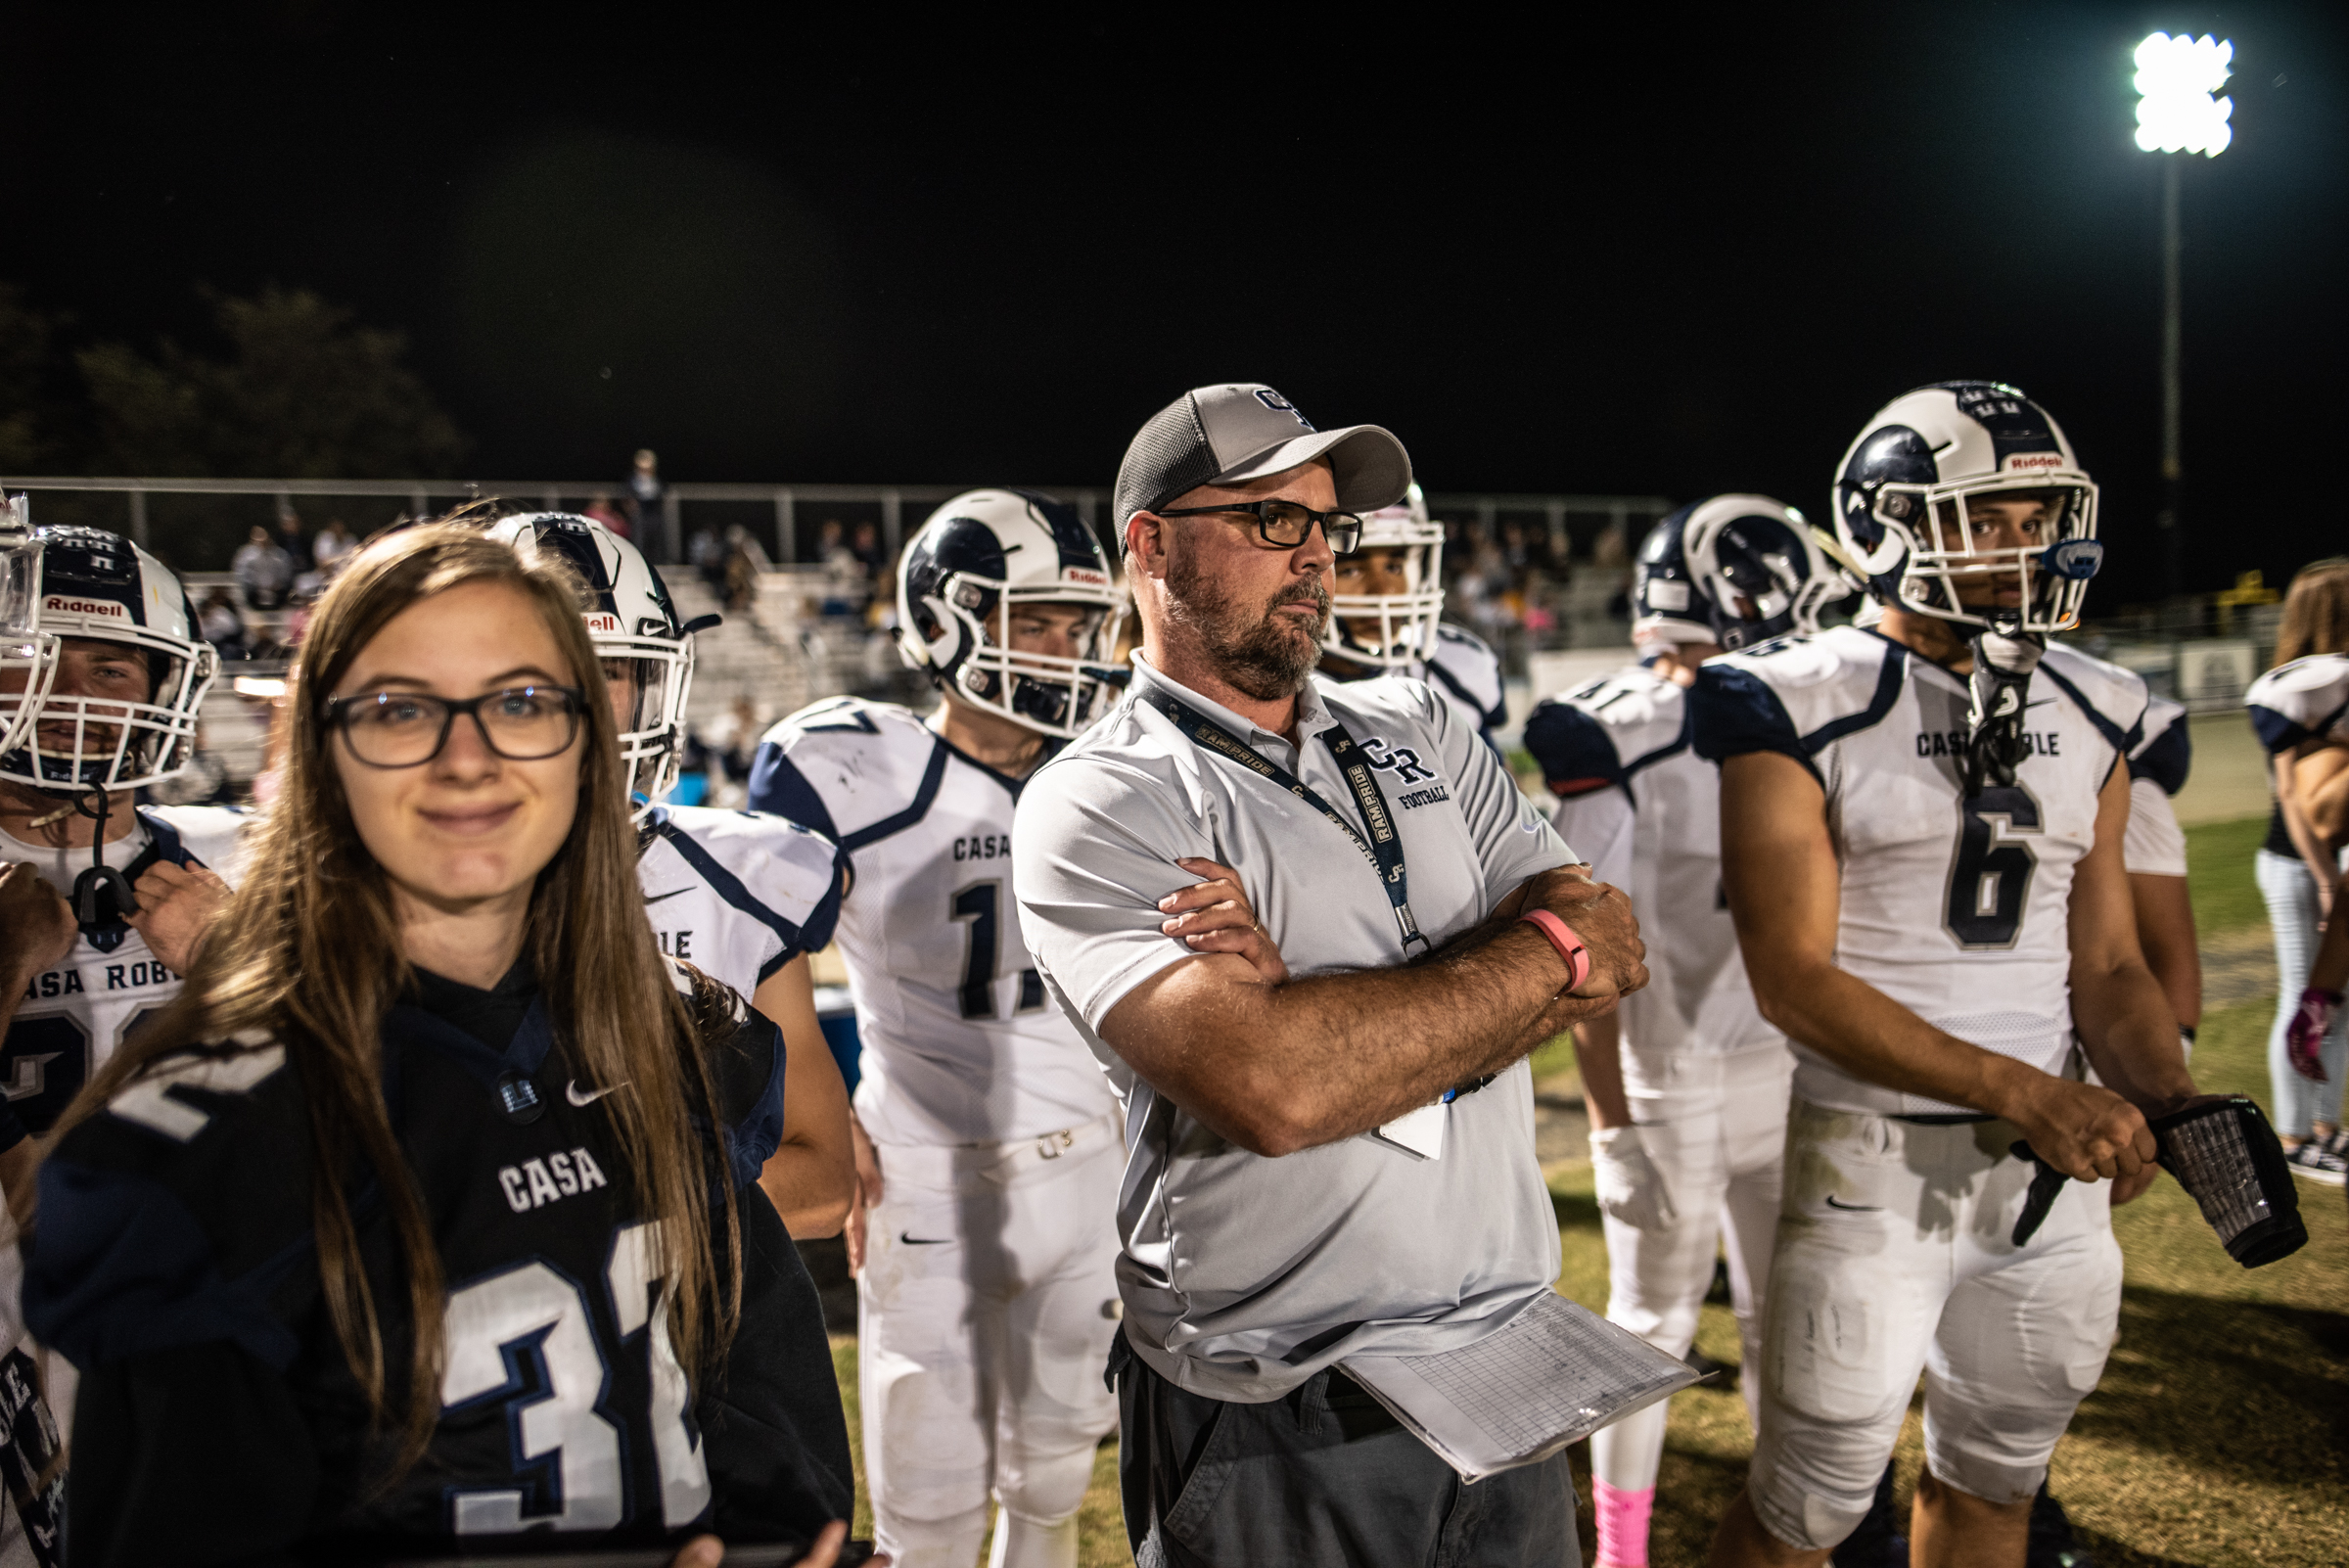
Football Life
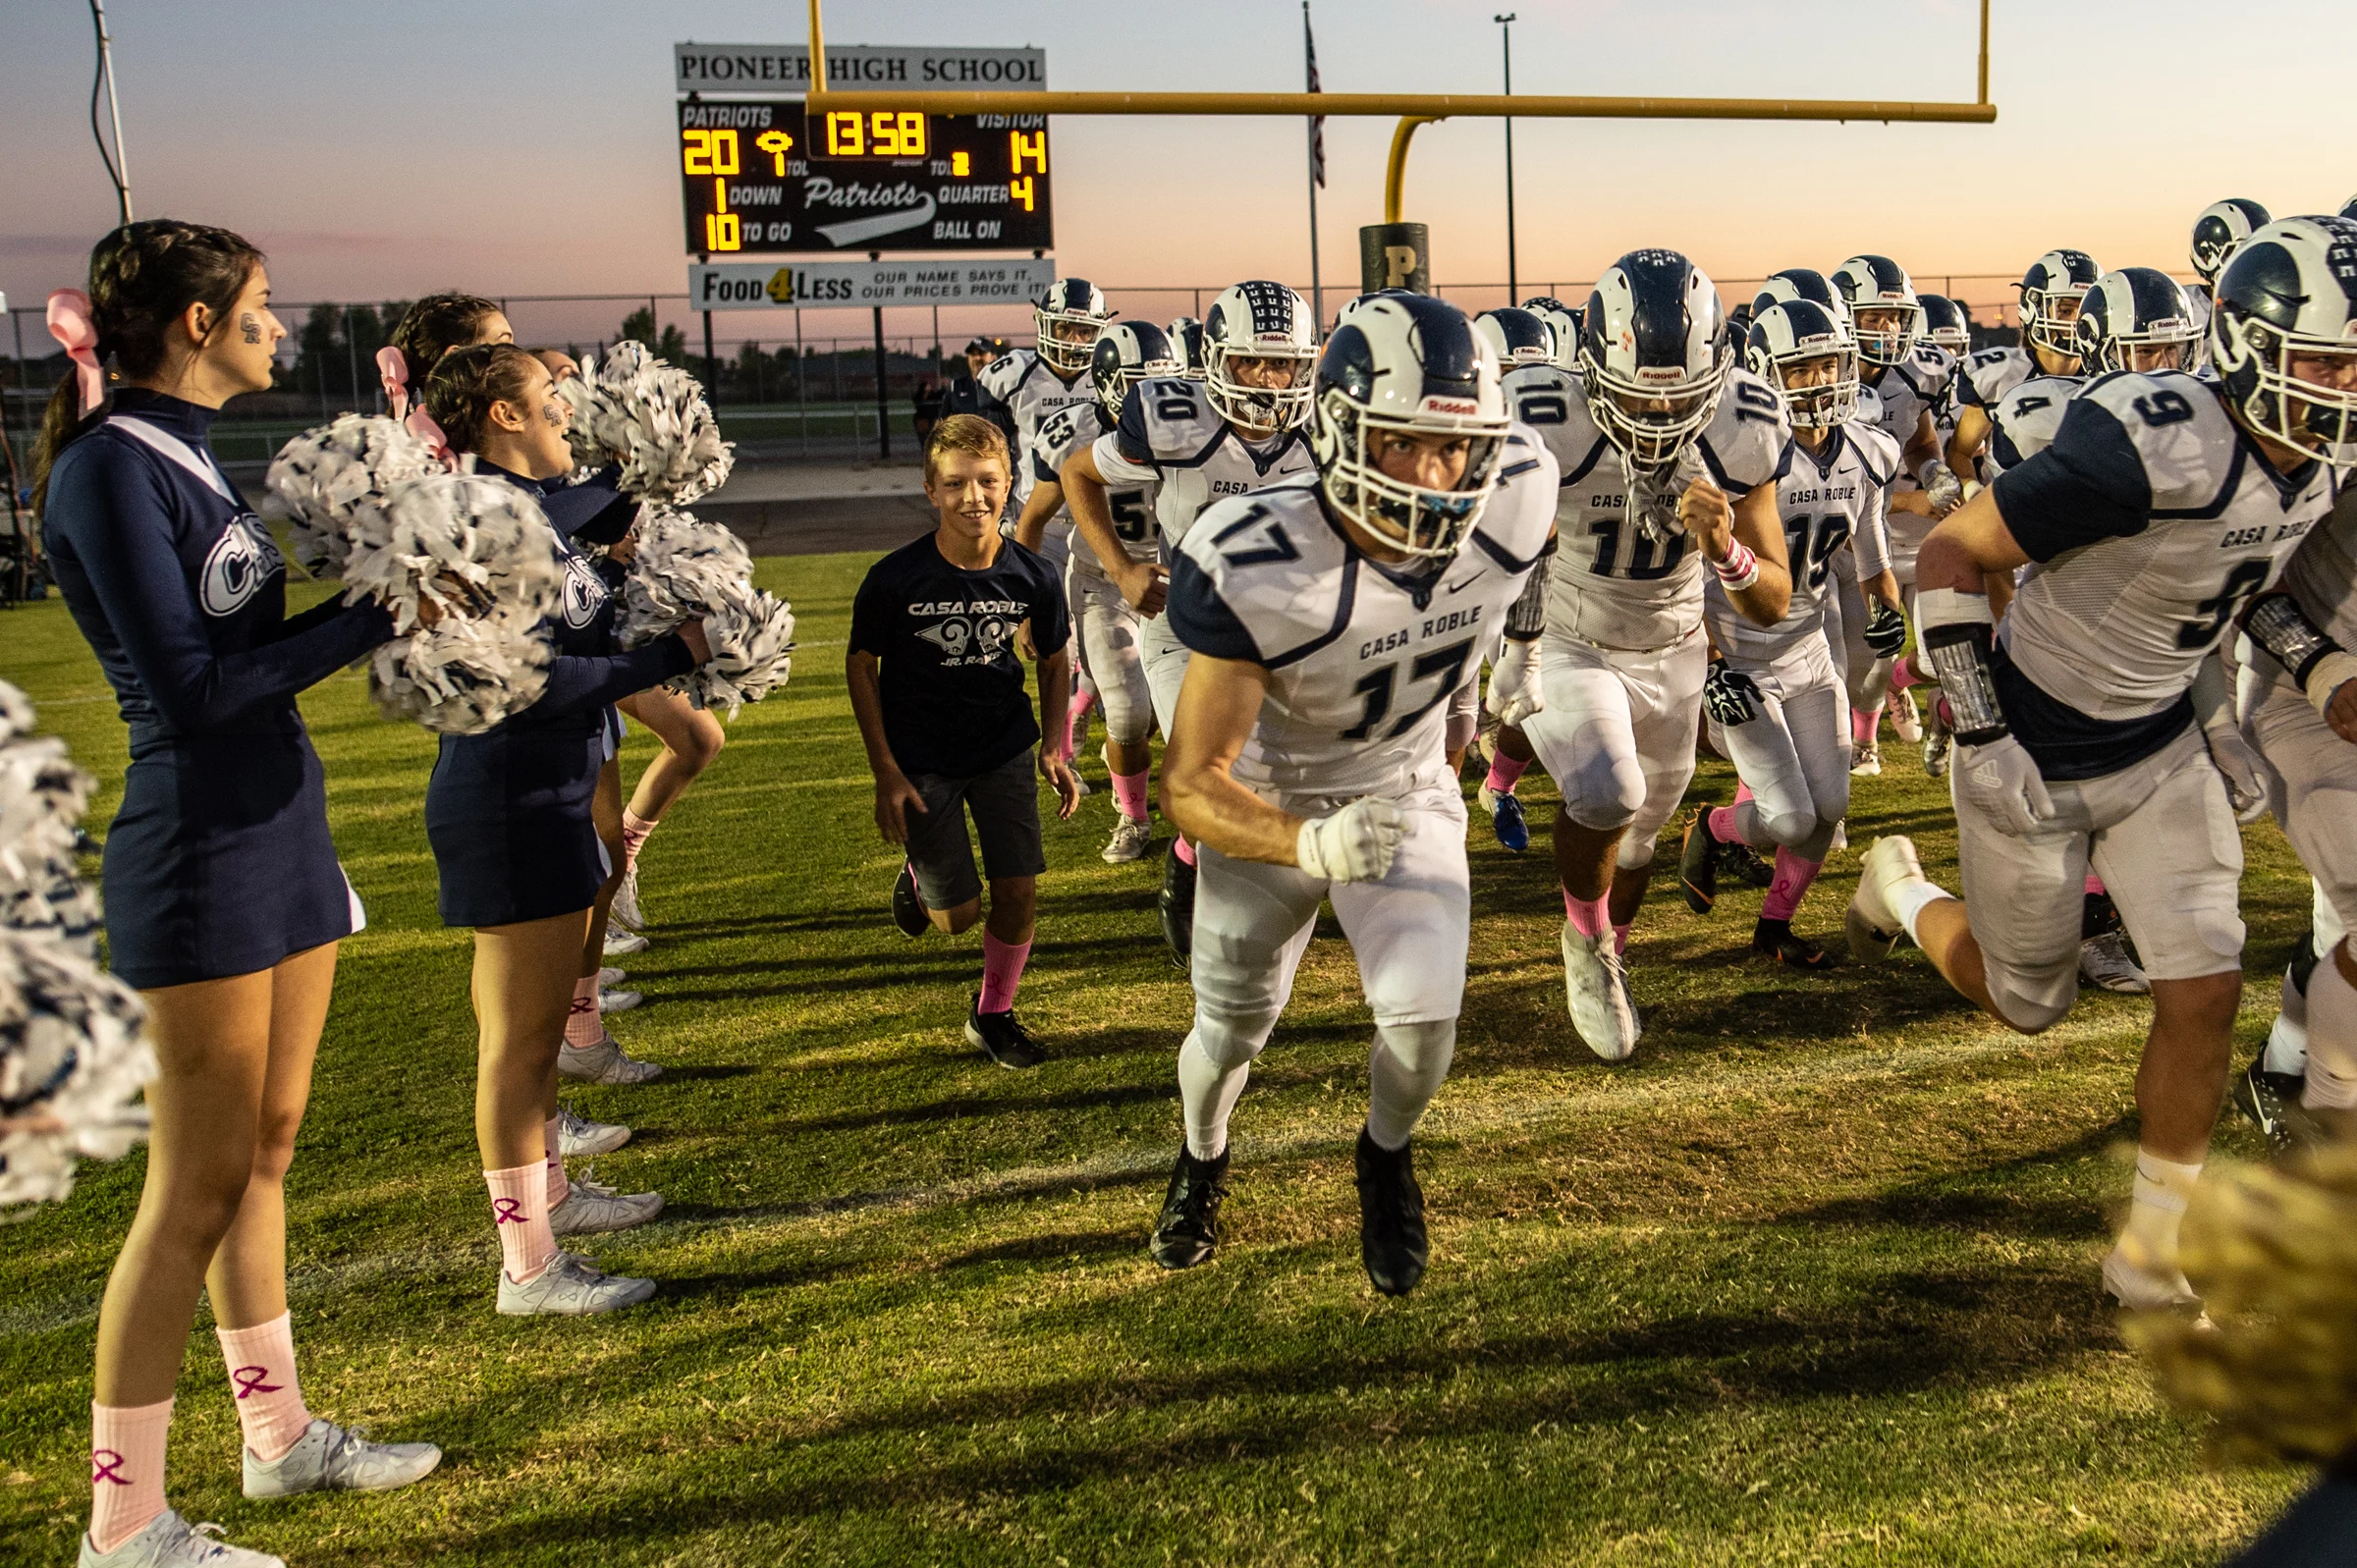
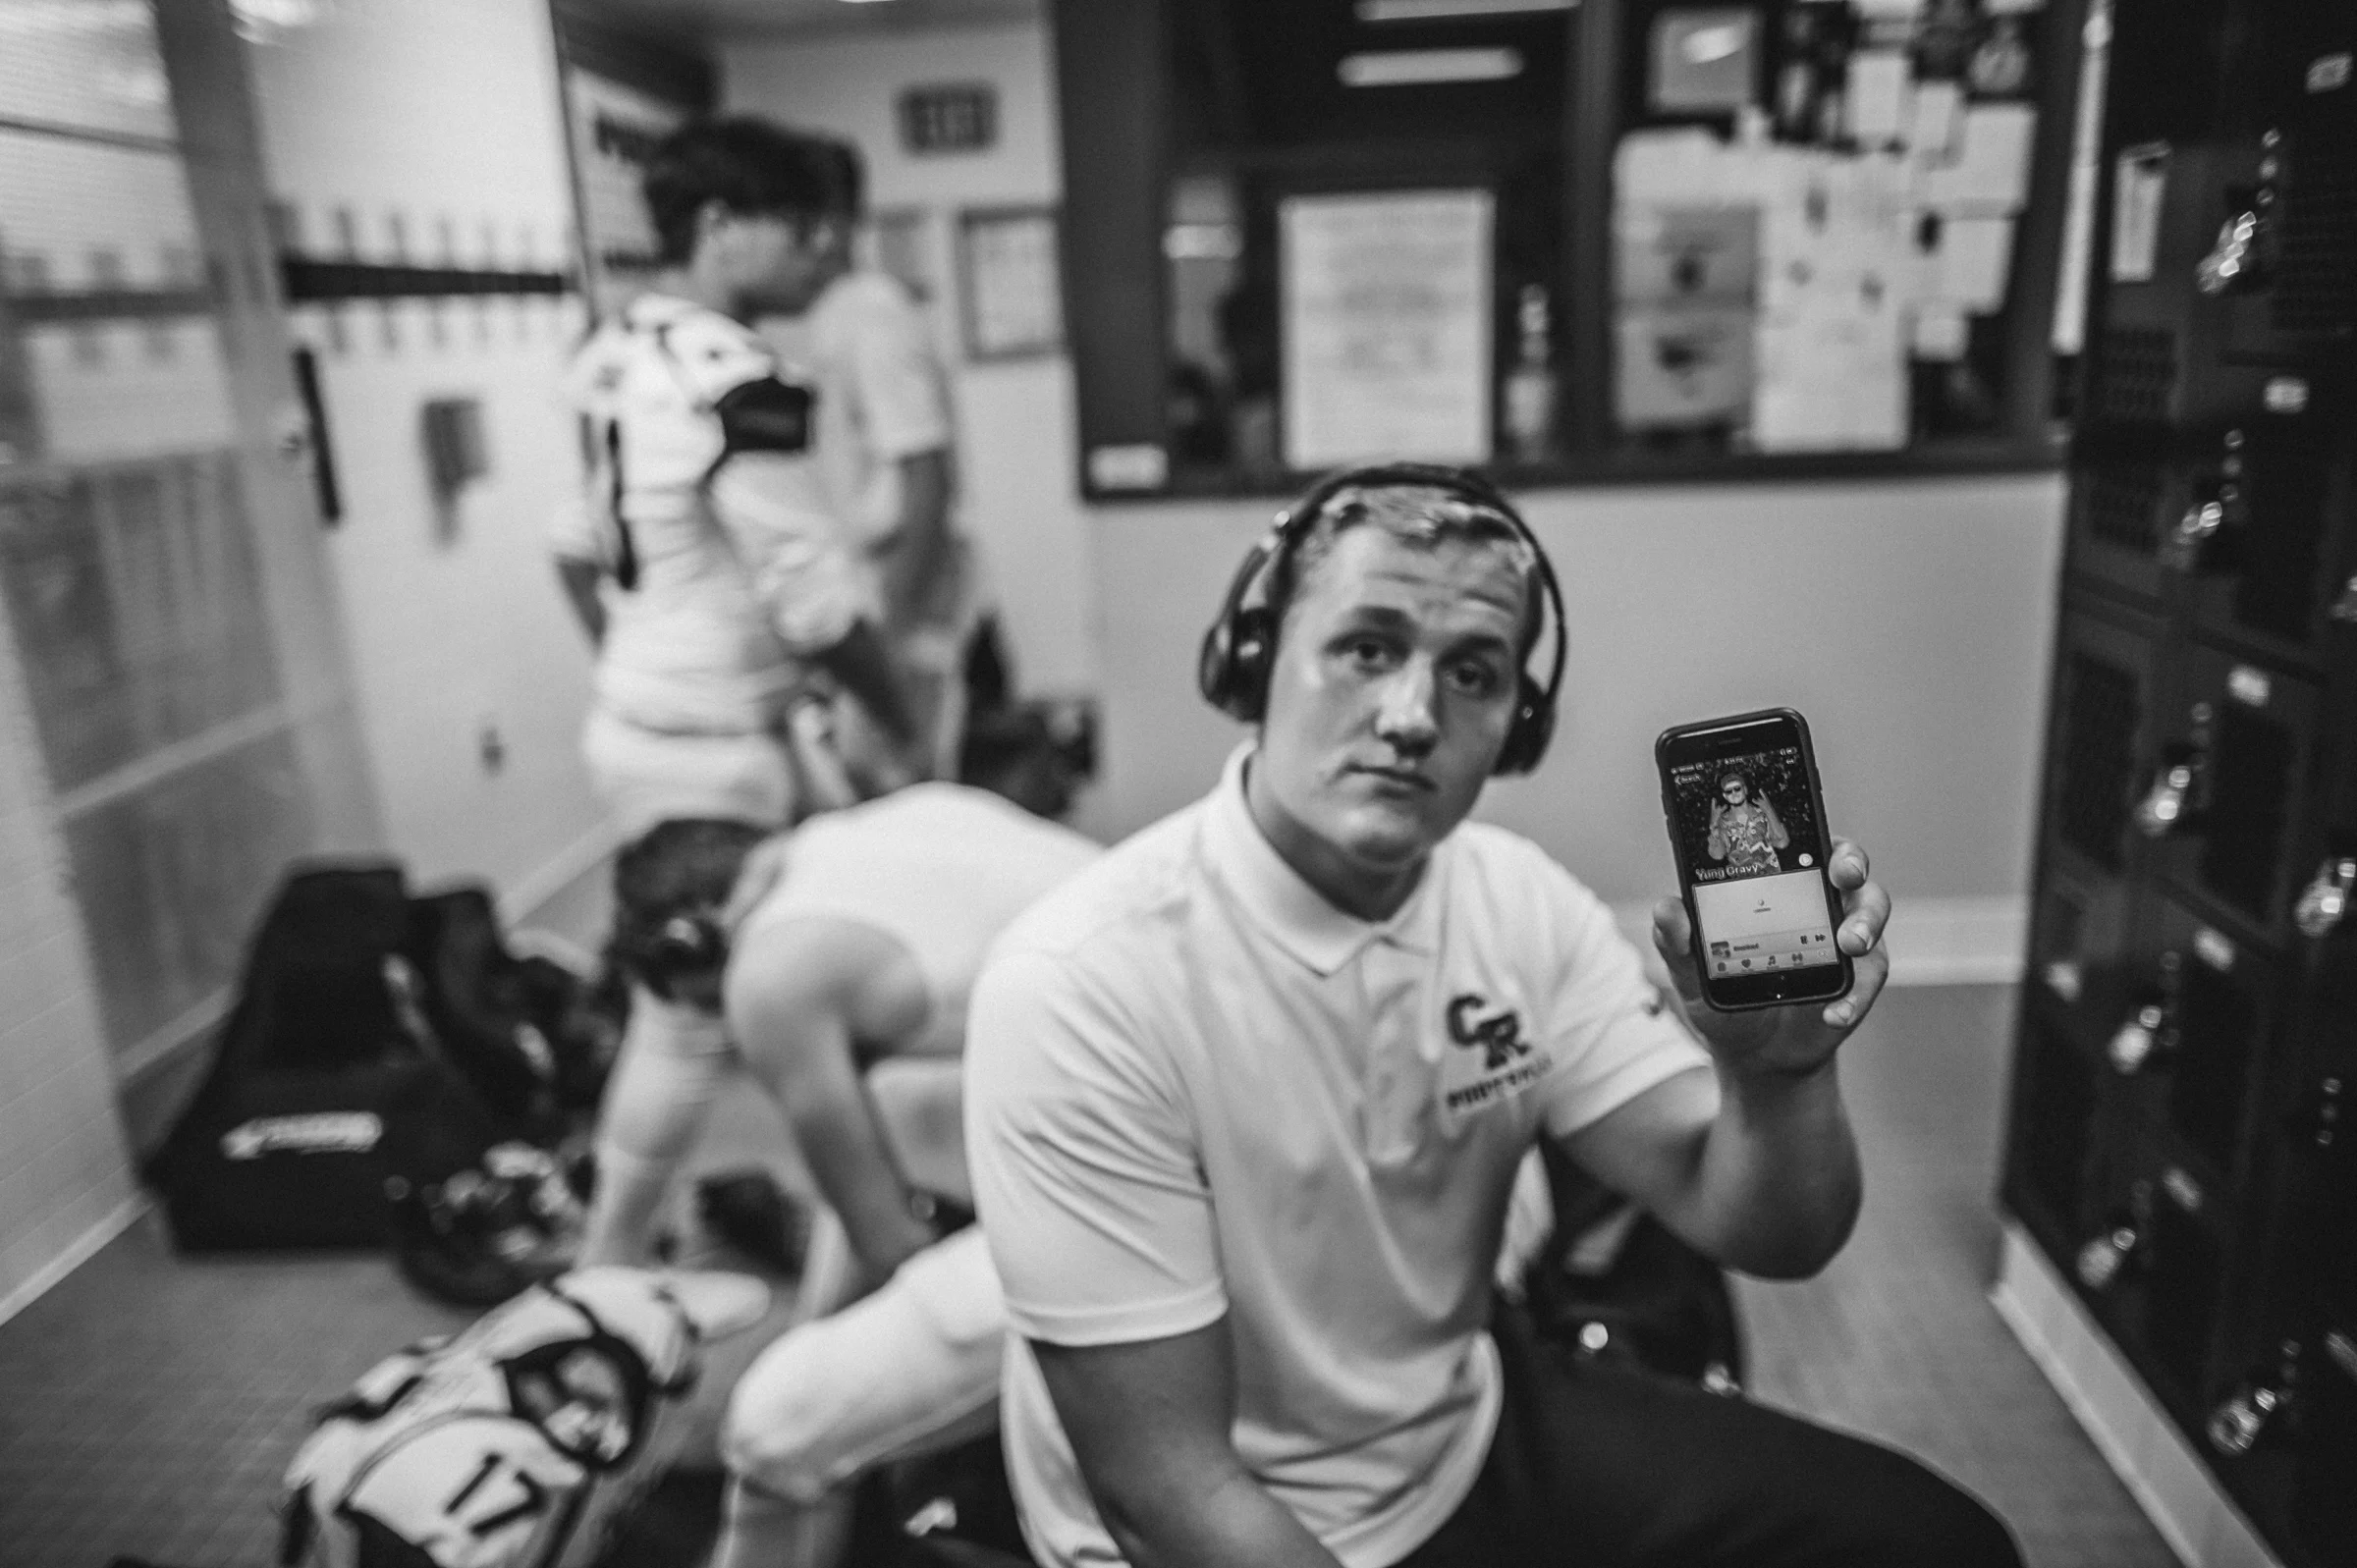
I've been photographing my boy's football teams for the past six years. It's totally a labor of love. Watching them on the field is about as good as it gets!
I've been photographing my boy's football teams for the past six years. It's totally a labor of love. Watching them on the field is about as good as it gets! I try to create images that I wish I had when I played. My youngest son is in his senior year and the last season he'll play football in high school. I've really been trying to the document this season in different ways.
On a recent away football game, I rented a Sigma 24mm art lens from my local camera store (Action Camera). I really wanted to get into the boy's space and not artificially. What do I mean by artificially well we all have a personal space that's probably an arms distance from the other person. If you enter the space with the zoom lens from a distance it doesn't feel as intimate, when you physically move into that space something changes and the image has more connection. It's something I try to do in my portrait work and wanted to bring that over to some of my sports images. I think is something that has roots in my early days with newspaper photography.
I have to say the Sigma 24 mm lens was a dream to work with it was very fast and I'm extremely happy with how it rendered the colors and tones. I think it's a lens that'll add to my bag permanently in the next year.


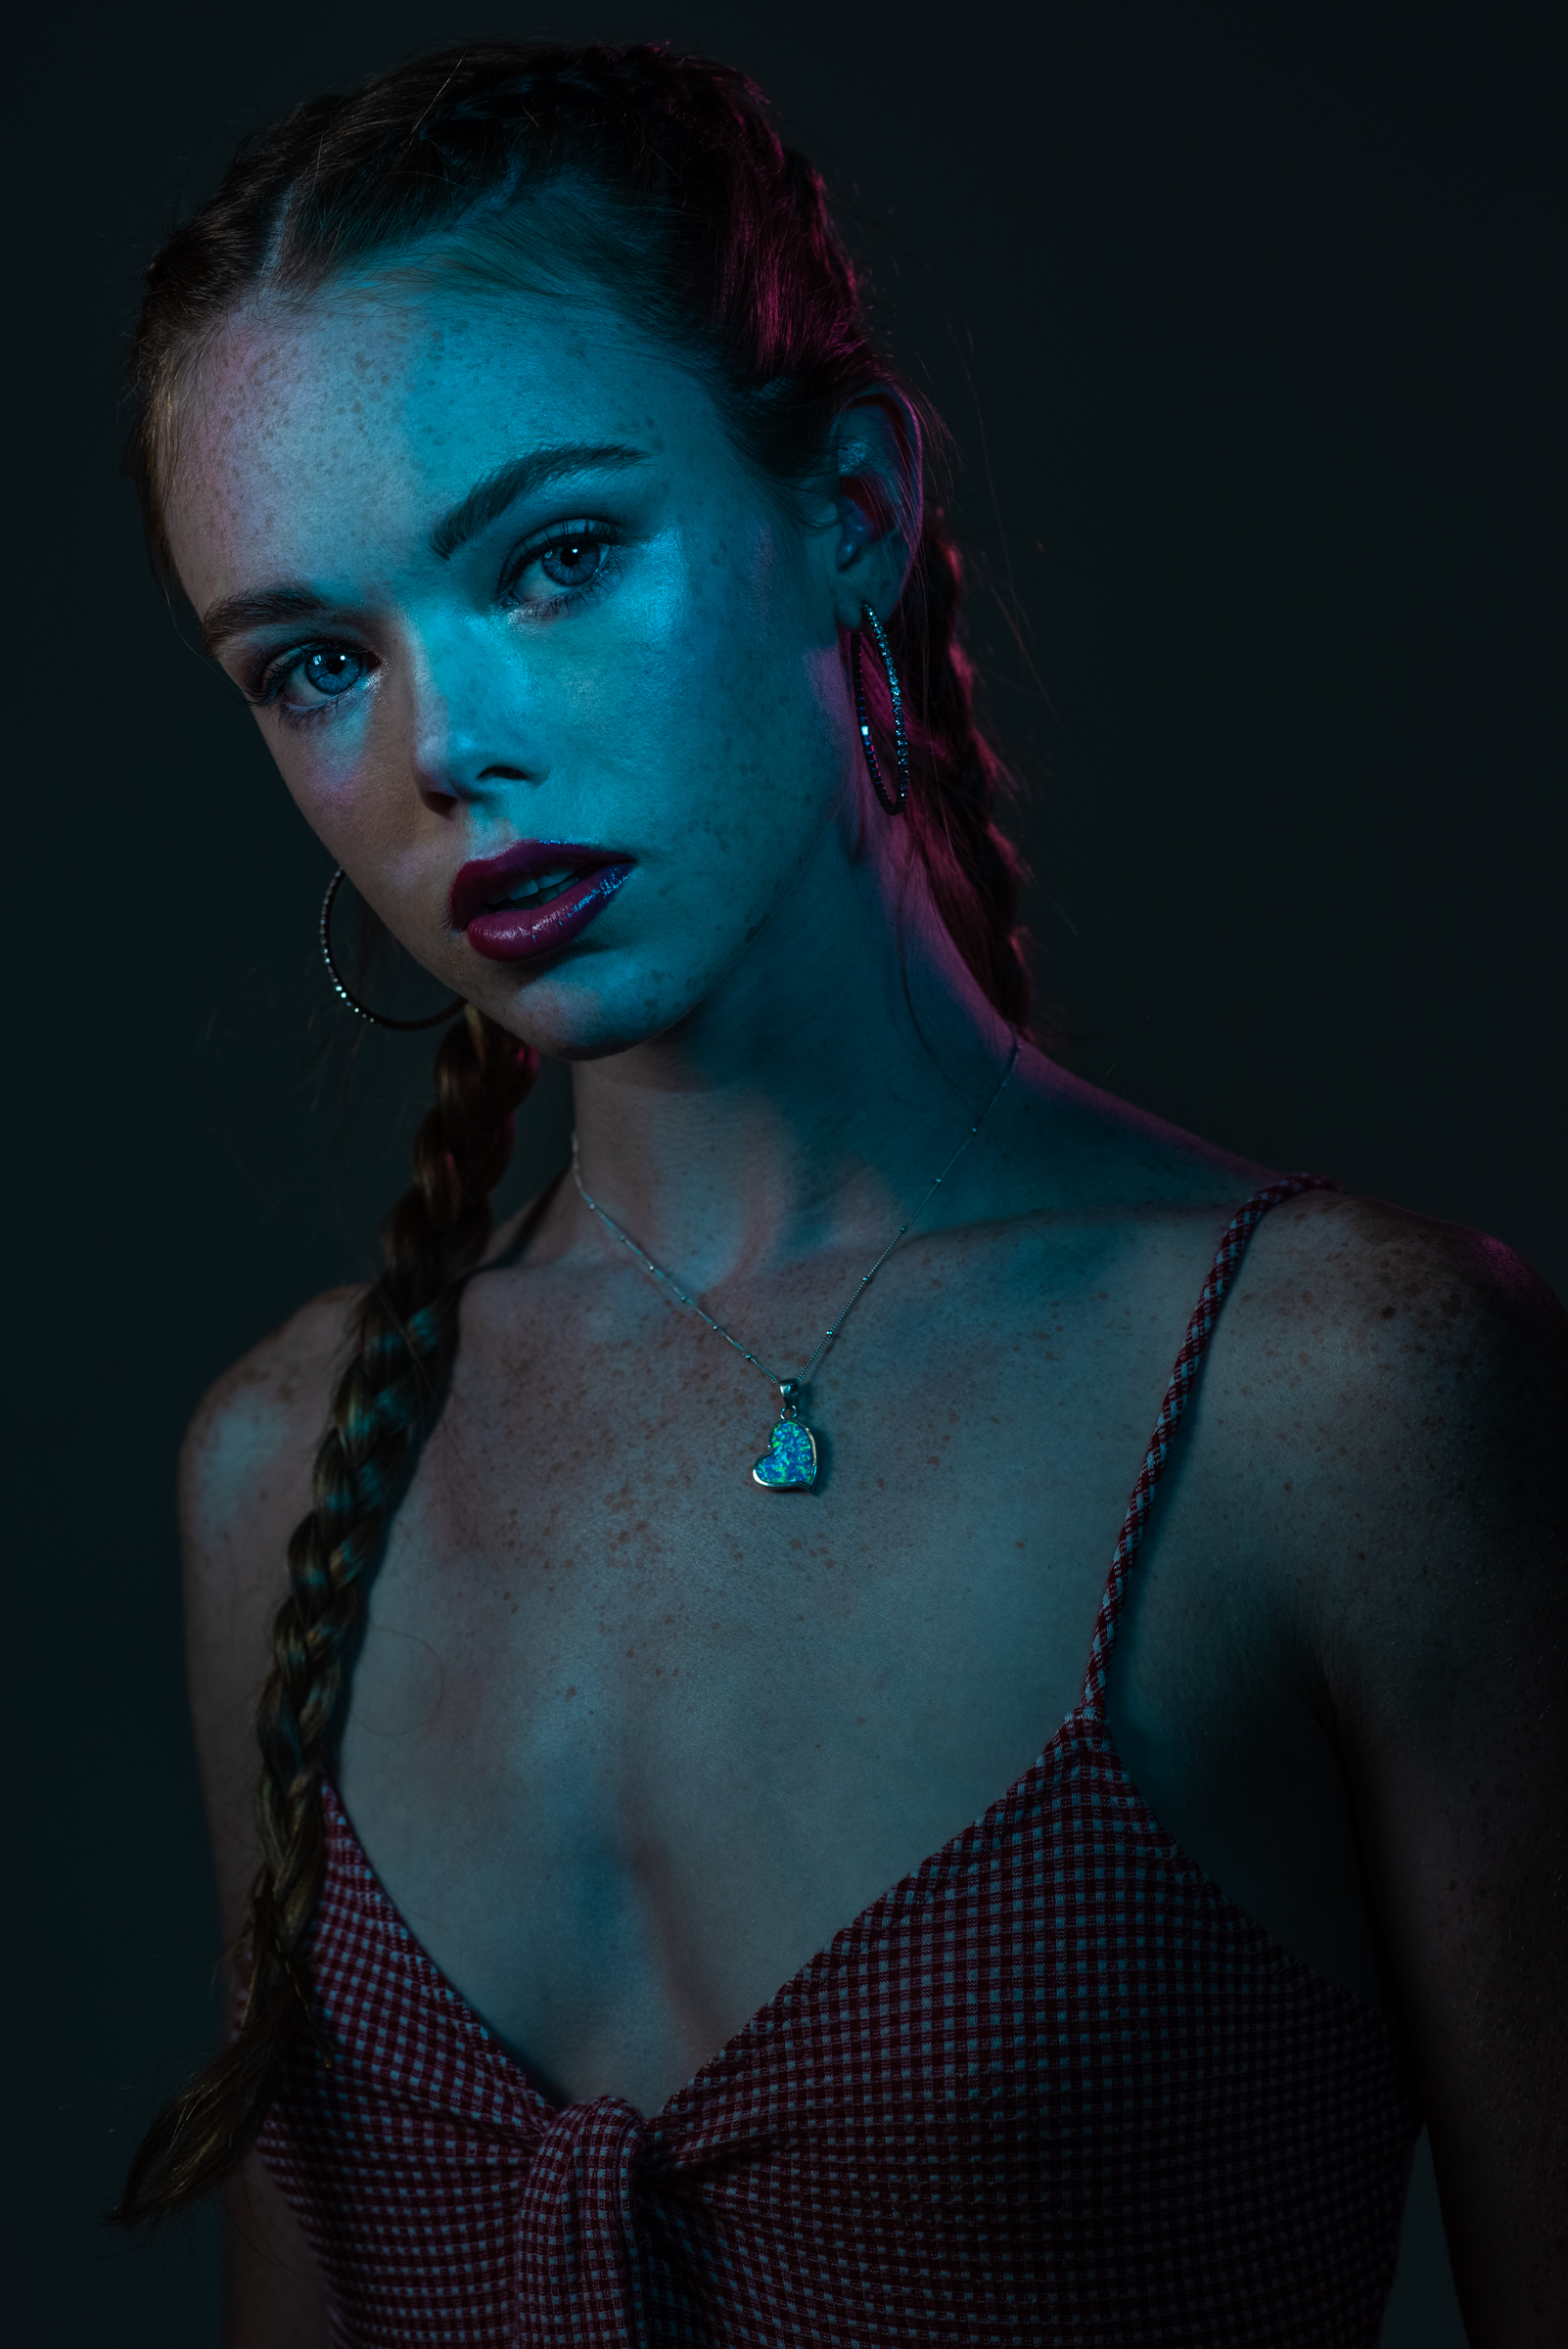
Portrait Shoot Progression
Over the years I've developed a rhythm which allows me to get to know the model, as well as what type of lighting works best for them. This week was a prime example; Emily was in my studio for a portrait session, and while I've worked with her in the past, this was her first portrait session with me. My normal progression is what I like to call, “no make up, makeup, and lighting.” For the no makeup look, I normally just use natural light from an open door. Typically I shoot these on a black background. This allows me to really focus on the subject’s face and learn what lighting and lenses are a good match for them. Once I get these shots done, I have the makeup artist begin the model’s first makeup look. By the time I get the last image, it's typically something a little more complex with the lighting.
I receive many questions regarding my workflow in photographing new models and faces, so I thought I would address some of them. This post is only about photographing models from talent agencies or bookings directly with a model.
Over the years I've developed a rhythm which allows me to get to know the model, as well as what type of lighting works best for them. This week was a prime example; Emily was in my studio for a portrait session, and while I've worked with her in the past, this was her first portrait session with me. My normal progression is what I like to call, “no make up, makeup, and lighting.” For the no makeup look, I normally just use natural light from an open door. Typically I shoot these on a black background. This allows me to really focus on the subject’s face and learn what lighting and lenses are a good match for them. Once I get these shots done, I have the makeup artist begin the model’s first makeup look. By the time I get the last image, it's typically something a little more complex with the lighting.

First image made with no makeup. For this I used the Sigma 35mm.
In the progression of Emily's images, I photographed her with no makeup for the first set. I loved how her freckles showcase the natural beauty she possesses. Next, I have the makeup artist add to her look while still keeping it simple. I work fairly rapidly throughout all the different looks. For each set up, I may only spend about 10 minutes. My goal is to get 3 to 4 really strong images from each look.
During last round of makeup, I normally let the makeup artist do something they've been dying to try. It's always good to allow collaboration with your team. Having the hairstylist or makeup artist use their creative juices can inspire me as well. There are times that this collaboration has produced some of my best images. All the looks put together in this type of session typically take about a three and a half hours.

For this image the makeup artist did minimal makeup. I want these as close to there real look as possible.
Finally, the equipment I use stays pretty consistent. I use my Nixon D4 & Nikon D810. The lenses I shoot with 85% of the time are the Sigma 35mm f1.4 Art Lens and the Nikon 85mm f1.8. For the lighting I use Phottix Indra 500 with various modifiers.
If you have any questions, I’m always open about how I do, what I do, so please drop me a note.
Happy Clicking!
Tim

