

Why I Don’t Believe in the “Ultimate Posing Guide”
Forget the “Ultimate Posing Guide.” True posing is about authenticity, not memorization. In this post, I break down how I approach posing as a conversation—not a command—and why the most natural movements often lead to the strongest images. Whether you’re a photographer or someone who hates being in front of the camera, there’s something here for you.
Mastering Your Gear: The Key to Elevating Your Photography
In the realm of photography, understanding the ins and outs of your equipment is not just about getting acquainted with your tools

Location Scouting
Scouting your own locations for photography can be a powerful tool for serving your clients. By taking the time to personally explore and evaluate different locations, you can gain a deeper understanding of the unique characteristics and potential of each location. This can help you to better visualize and plan for the types of shots you want to capture, and to identify any challenges or limitations that may arise during the shoot.

30 days with a 40
If you ever hang out with me you'll notice that for the most part, I am a prime lens shooter. Not that I don't like zoom lenses, but they don't have a great place in my bag for what I do. At the moment I have an 85mm prime and the 35mm prime, both from SIGMA.
Portrait Shoot Progression
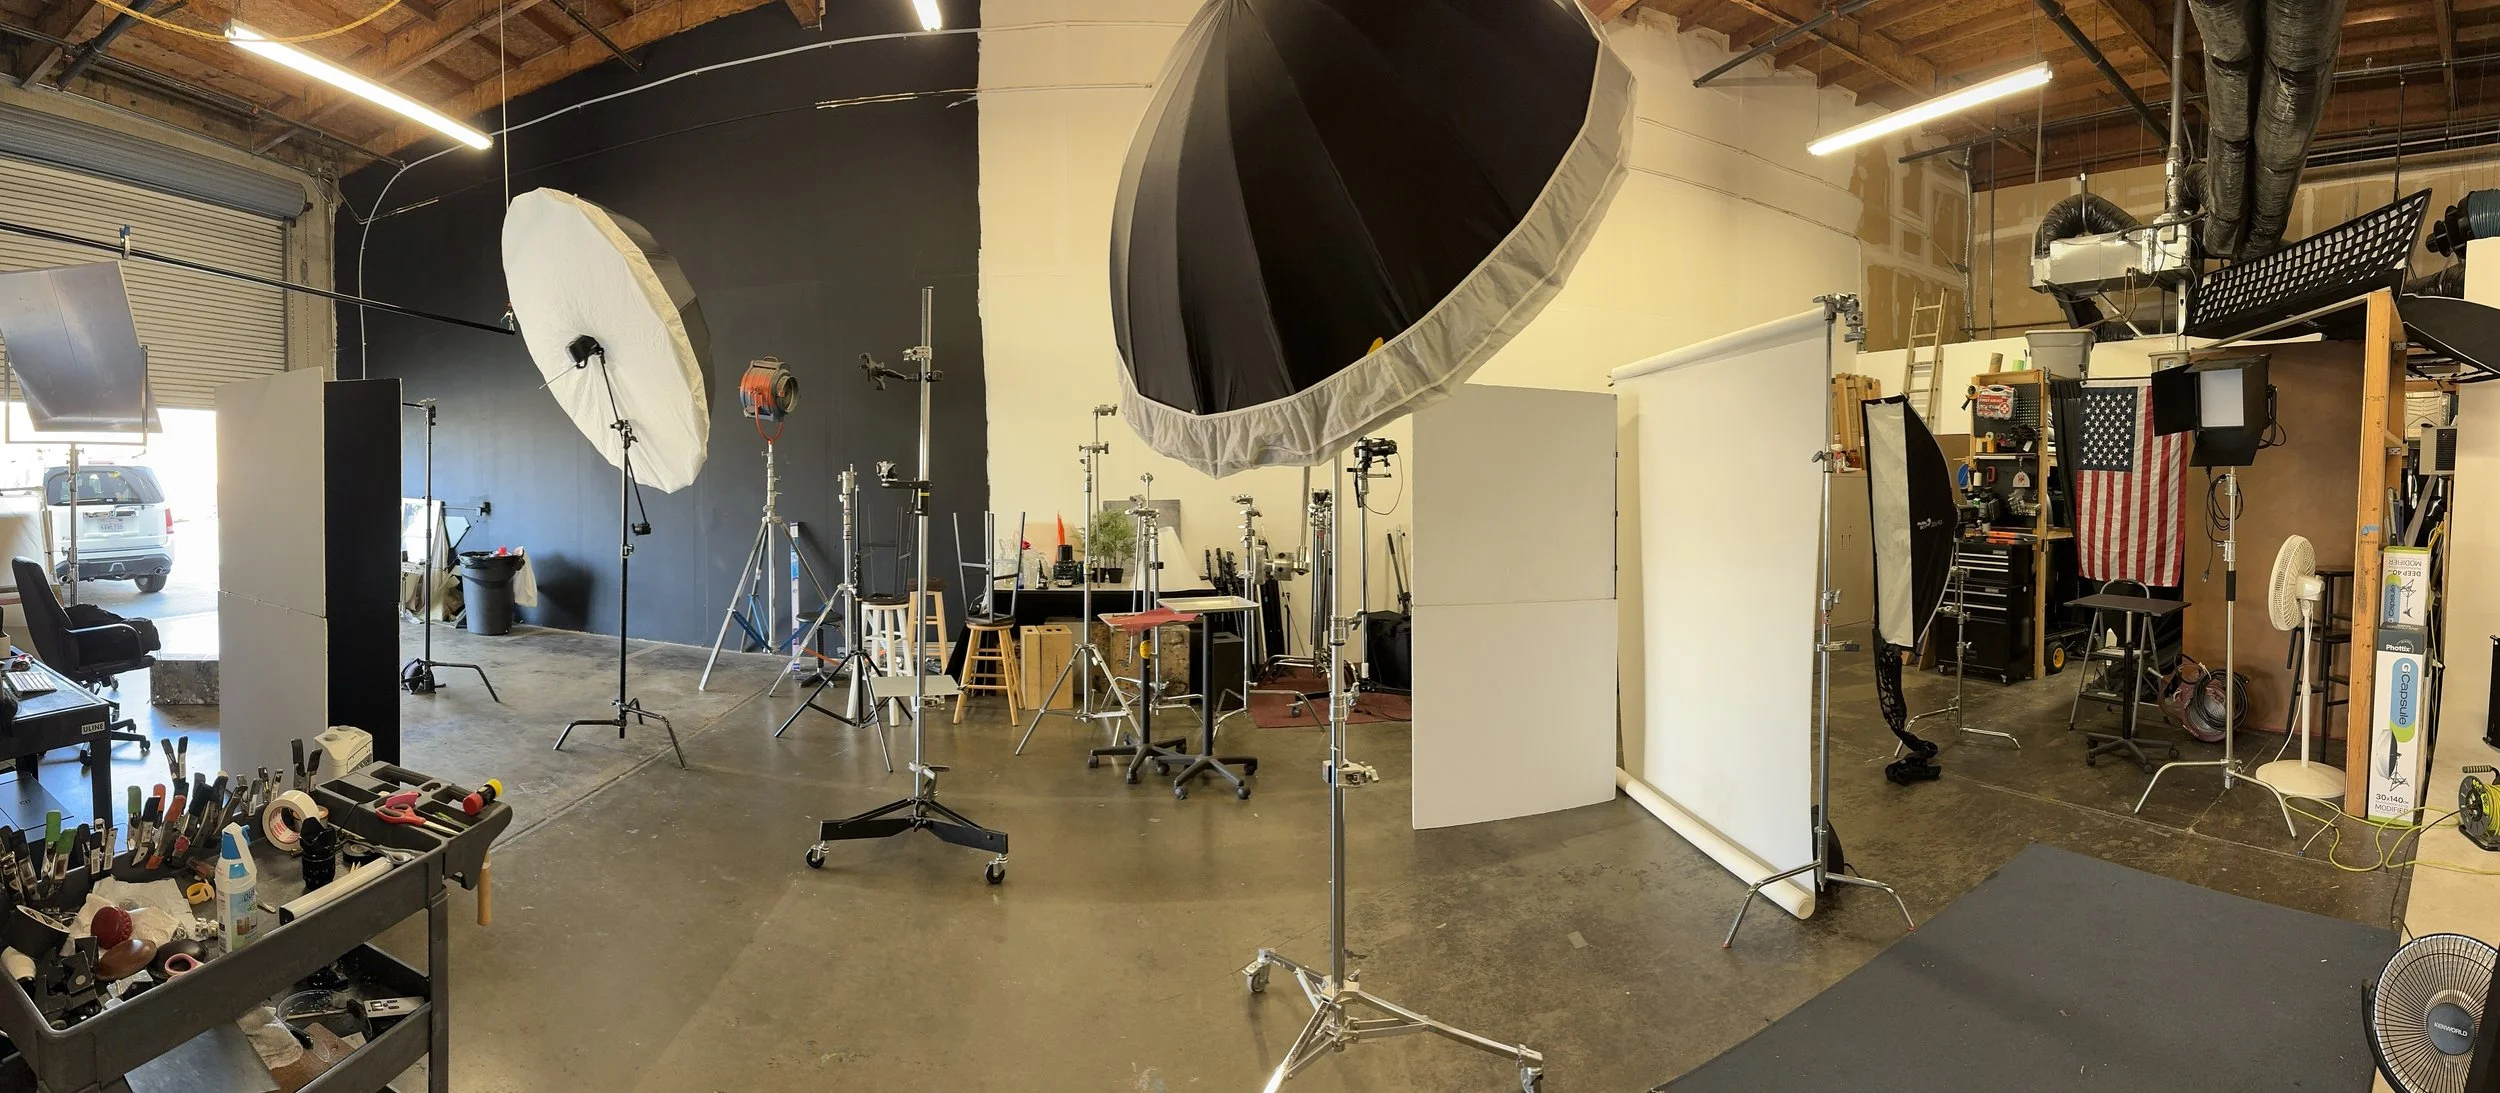
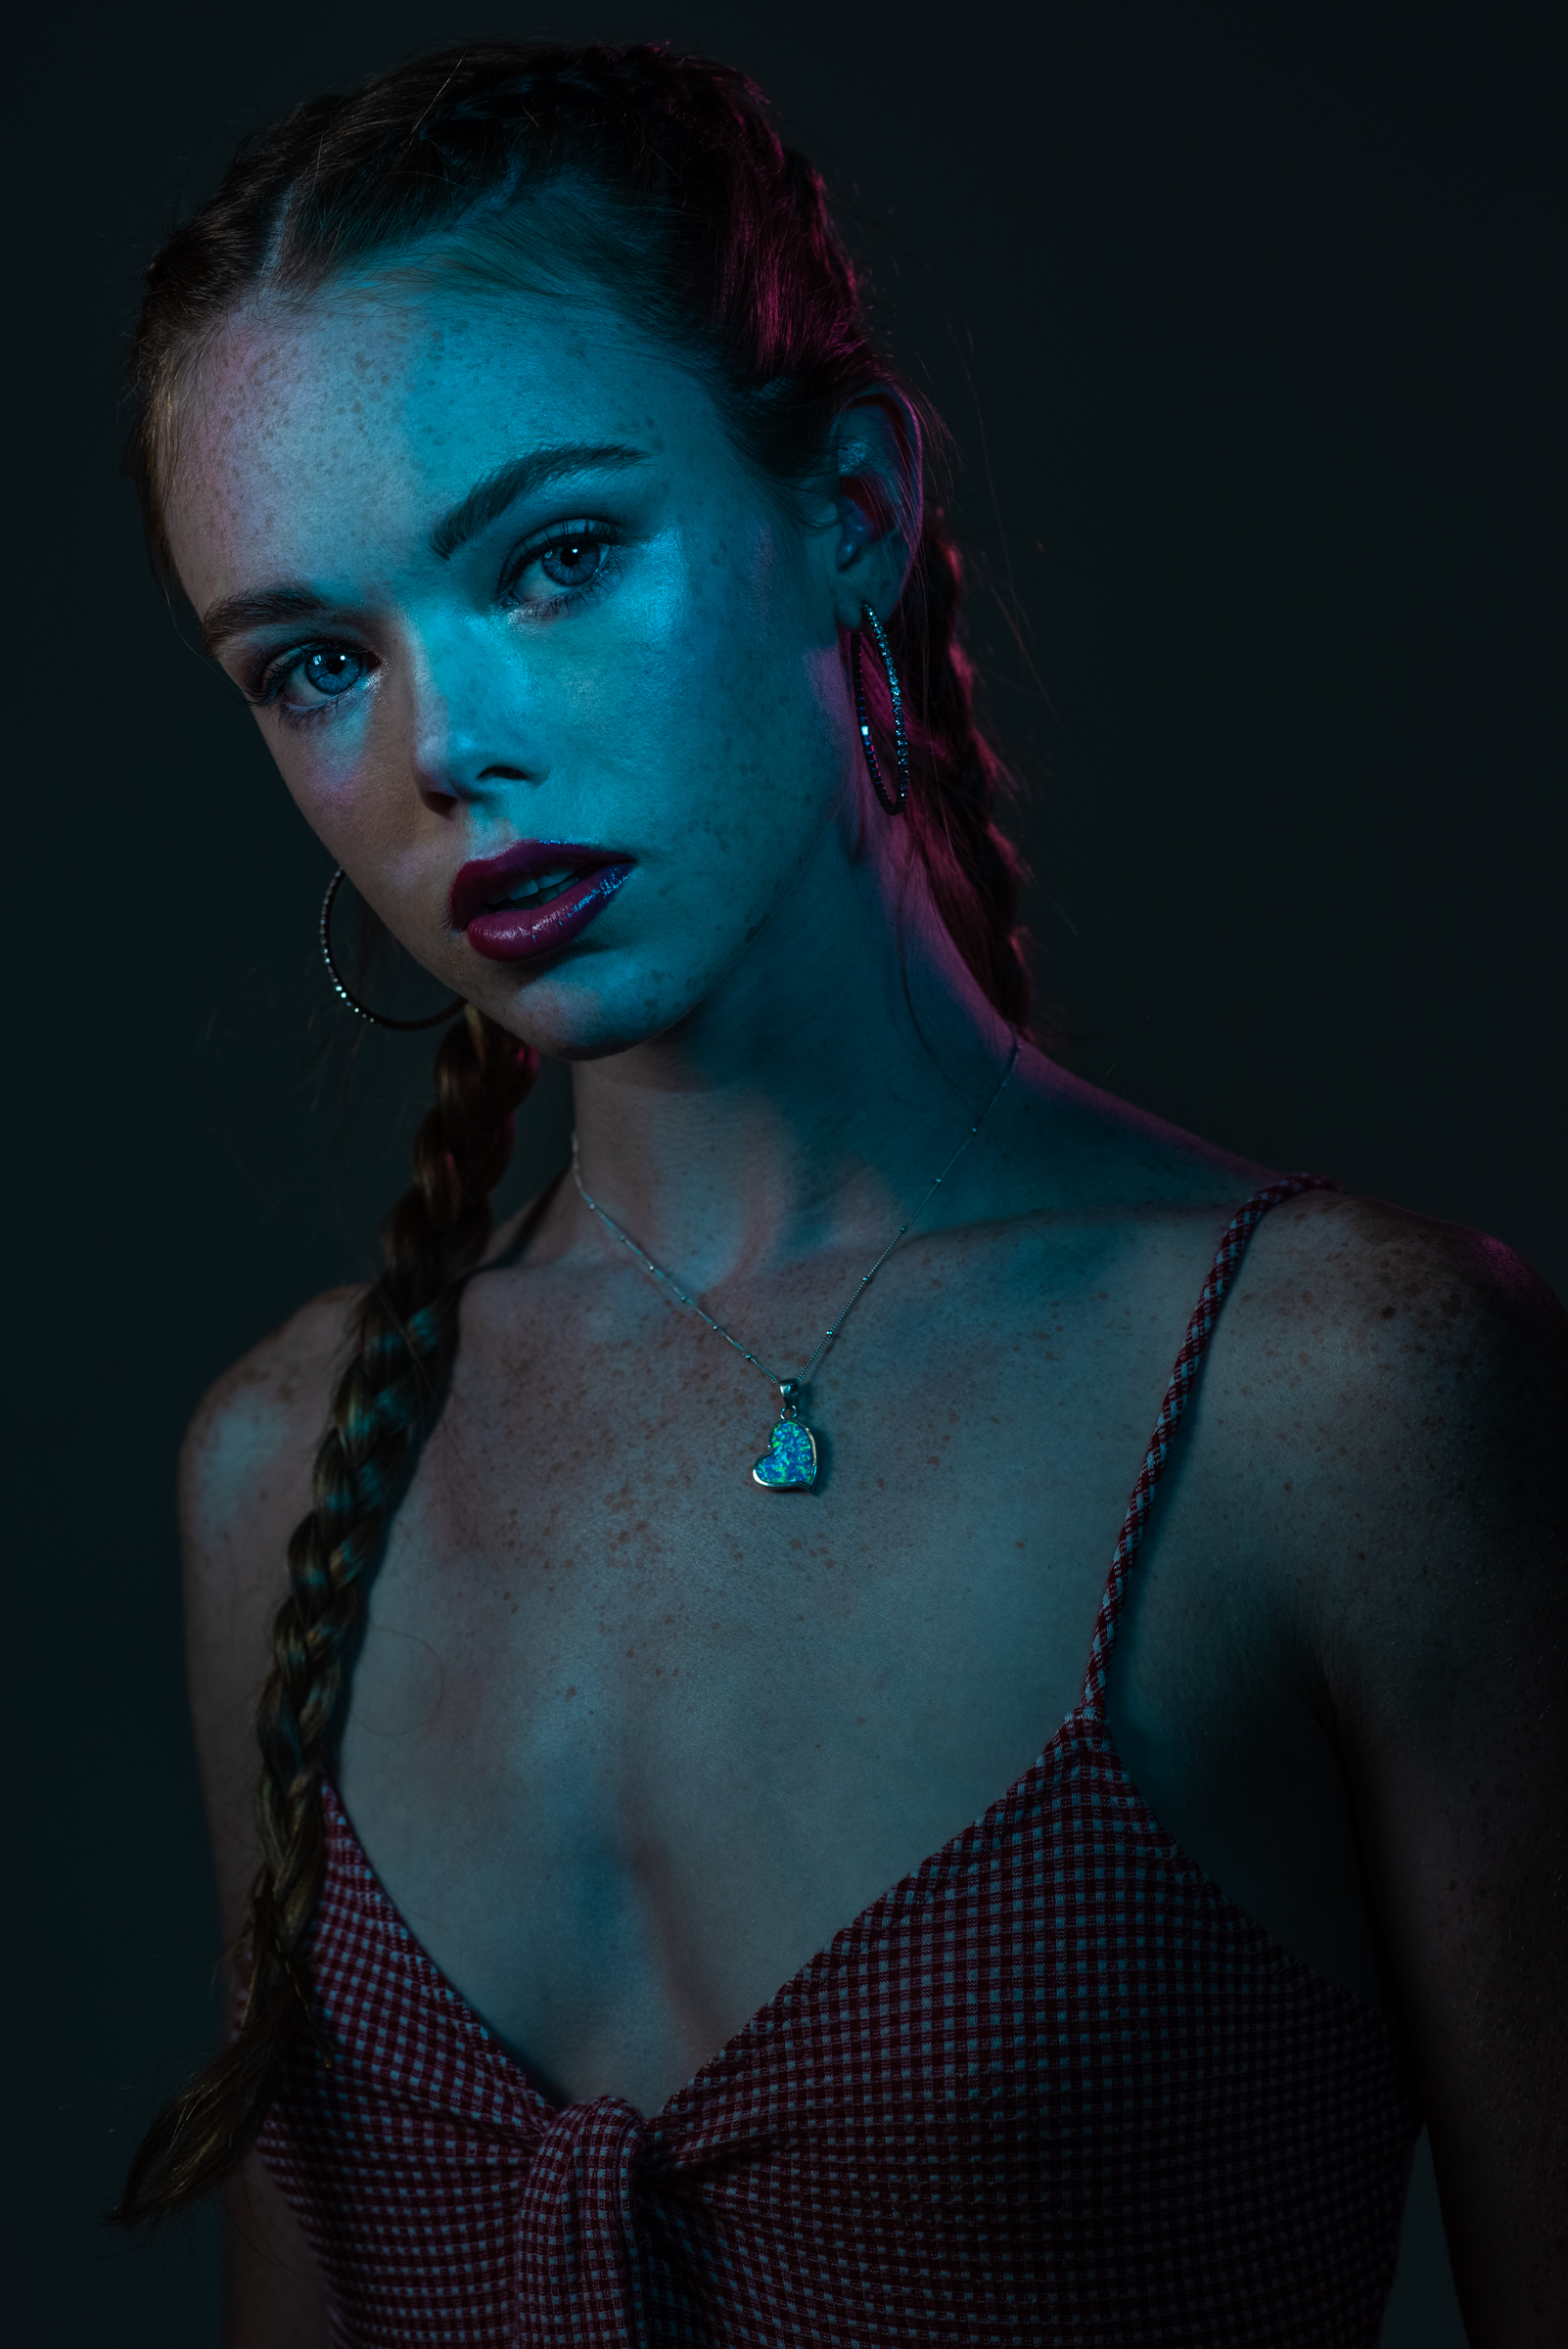
Over the years I've developed a rhythm which allows me to get to know the model, as well as what type of lighting works best for them. This week was a prime example; Emily was in my studio for a portrait session, and while I've worked with her in the past, this was her first portrait session with me. My normal progression is what I like to call, “no make up, makeup, and lighting.” For the no makeup look, I normally just use natural light from an open door. Typically I shoot these on a black background. This allows me to really focus on the subject’s face and learn what lighting and lenses are a good match for them. Once I get these shots done, I have the makeup artist begin the model’s first makeup look. By the time I get the last image, it's typically something a little more complex with the lighting.

Good Day Sacramento Visit
I was honored to be part of a segment on Good Day Sacramento on December 23, 2016 featuring getting better results from your iPhone. It took me a day to prepare for the show with some help from Action Camera in Roseville and to line up a model to use for some examples.