
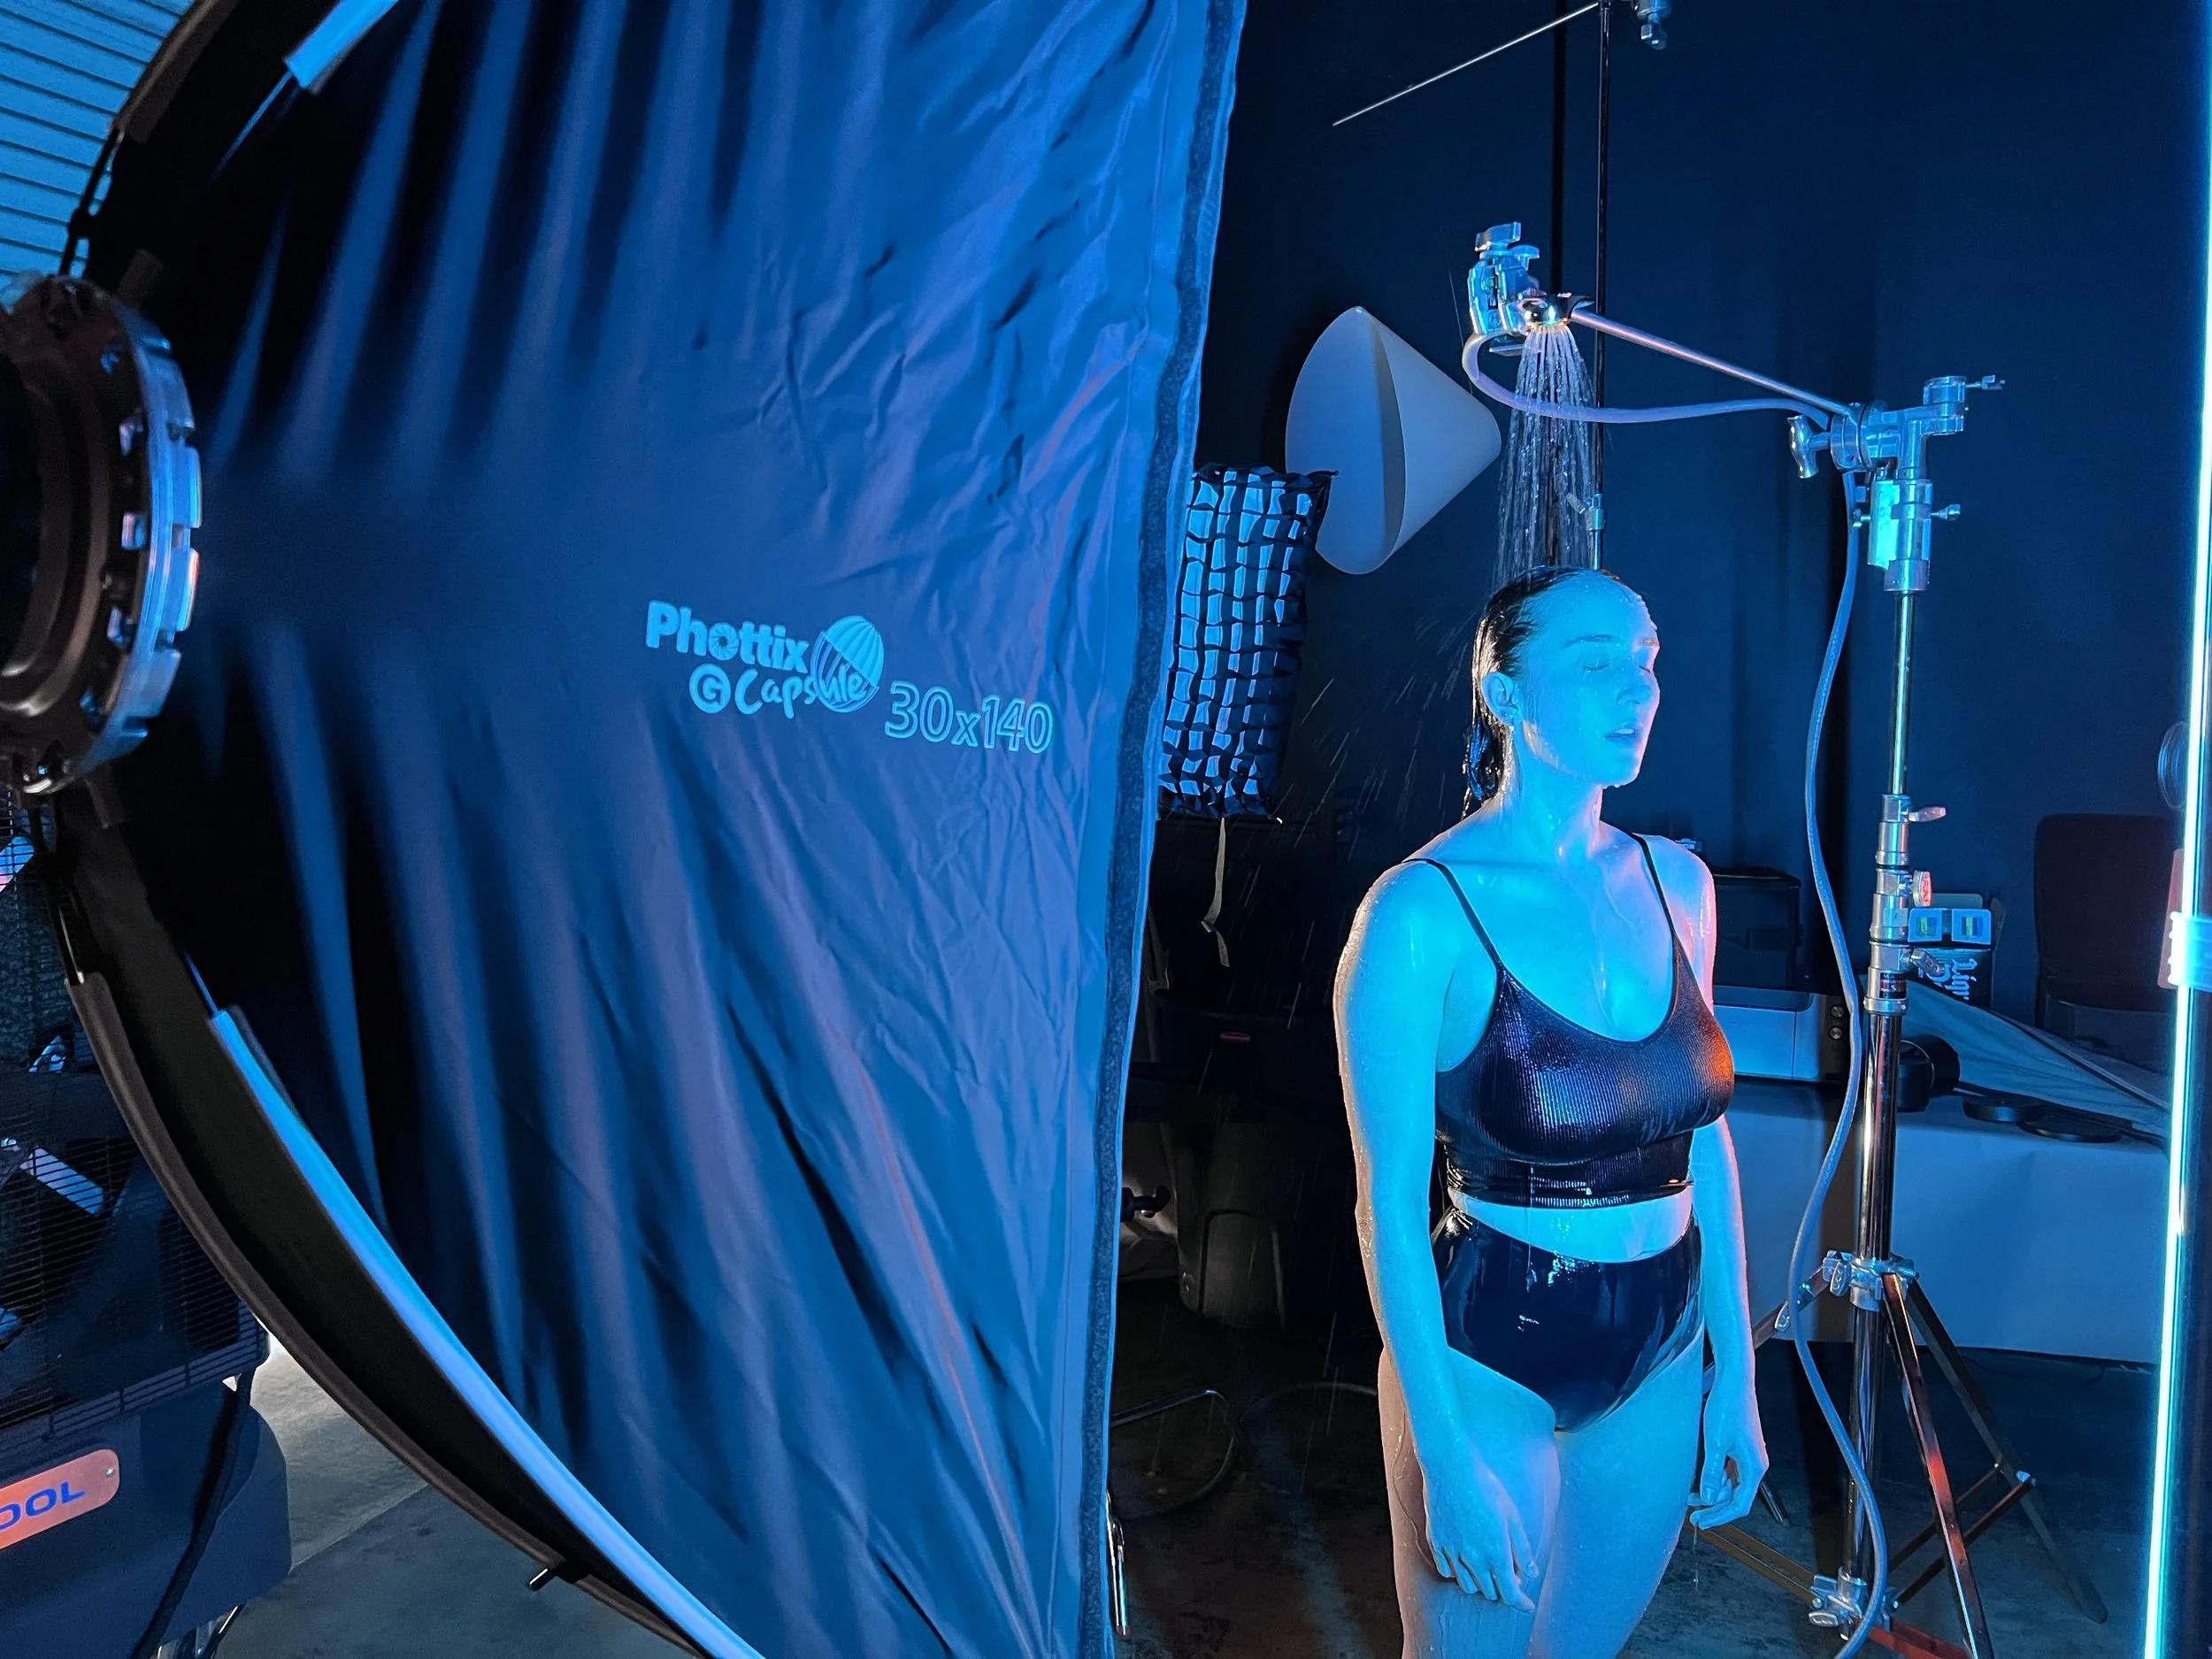
Mastering Light with Phottix
My camera and I have journeyed together for the past decade, chasing the elusive 'perfect' light. As a professional photographer, I've come to understand that light is not just a component of a photograph but the very essence of it. While a vast array of equipment plays a role in my photography, today, I want to focus on a particularly important element: lighting modifiers.
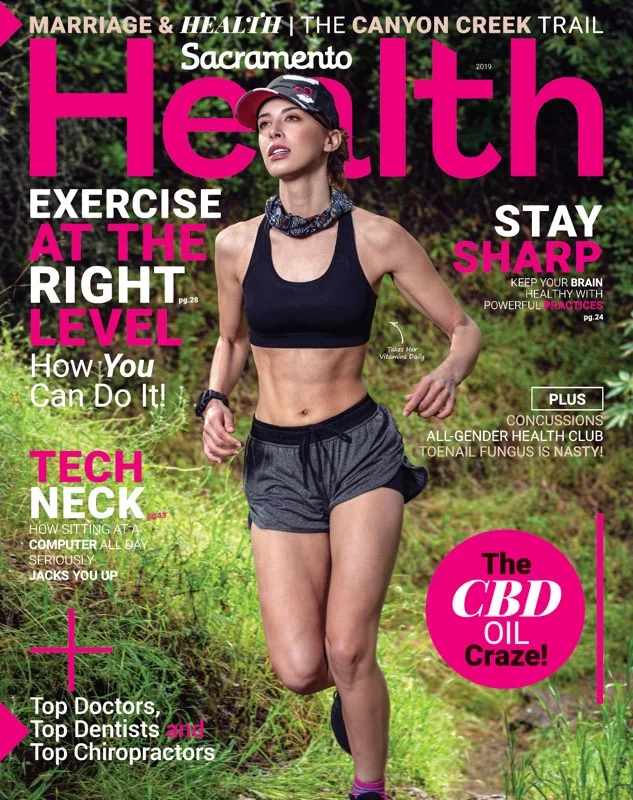
Run Cover
A few months back, we went on location for a cover shoot, for a special Sacramento magazine supplement.

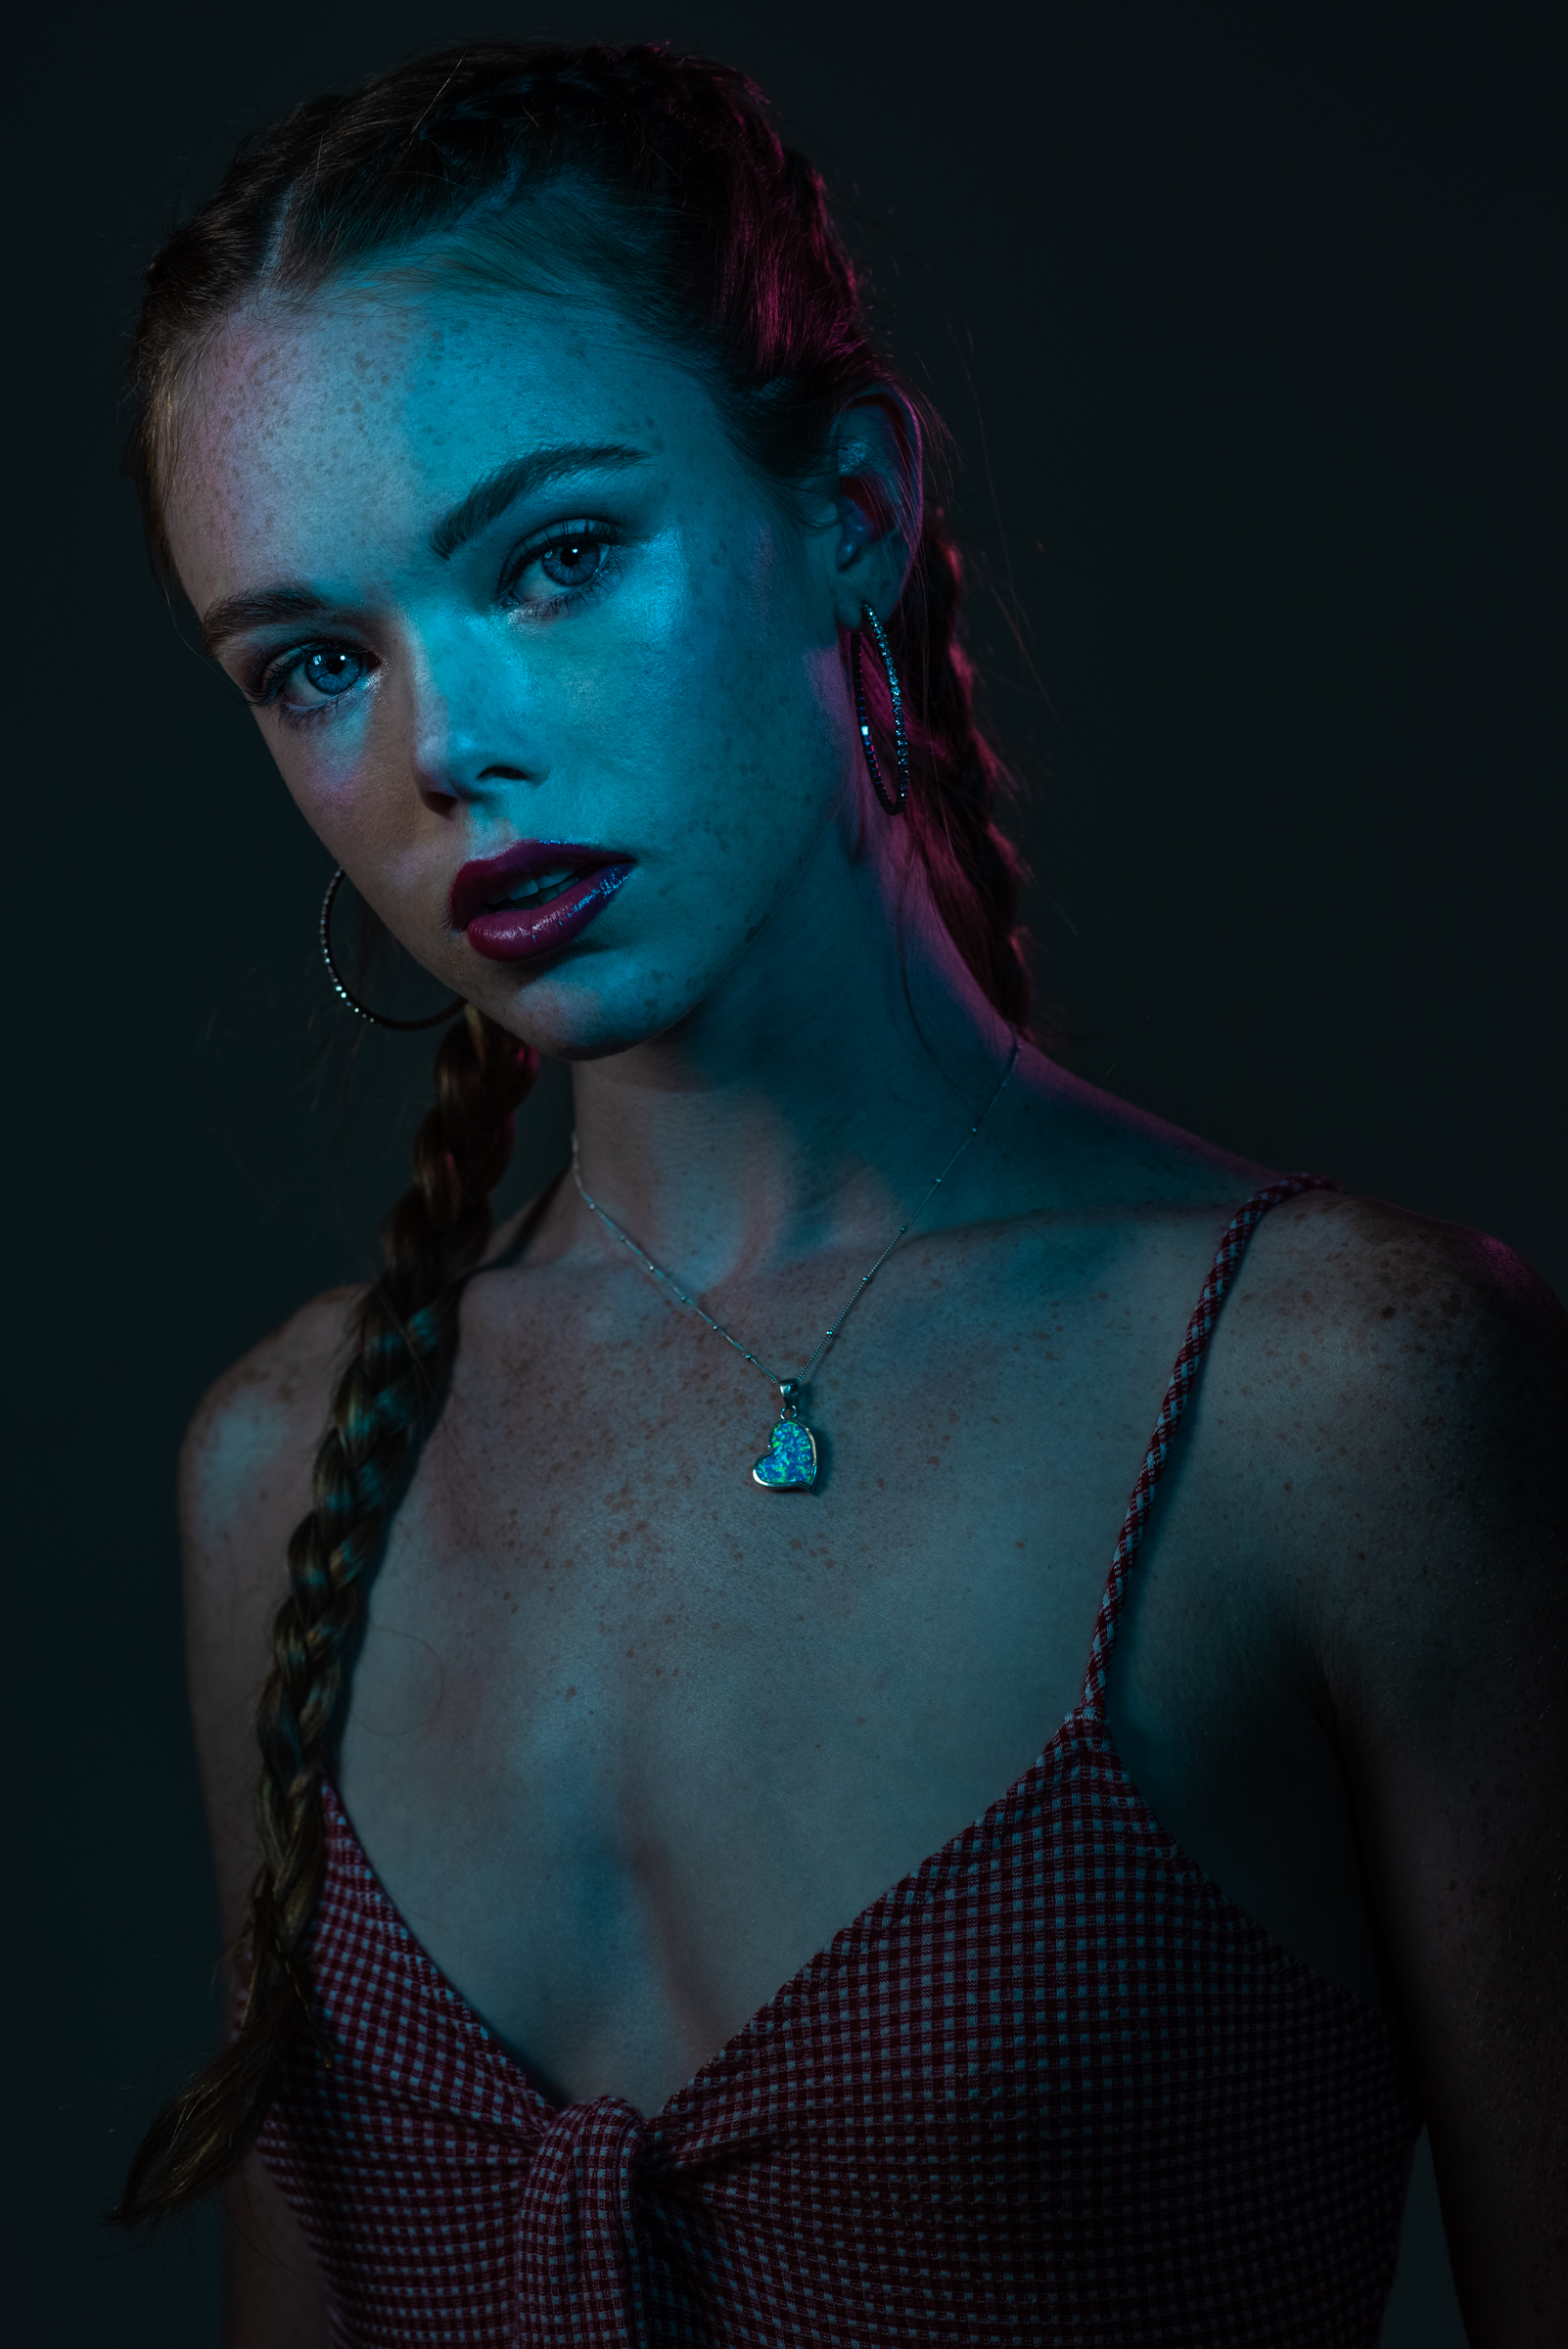
Color Test
I received an assignment, and in the description, the art director requested super-saturated colors for all the images. The one thing about gels and colors there are a million different combos and saturation levels. So glad I tested, his version of saturation was WAY more than mine. These are the test that got us on the same page..

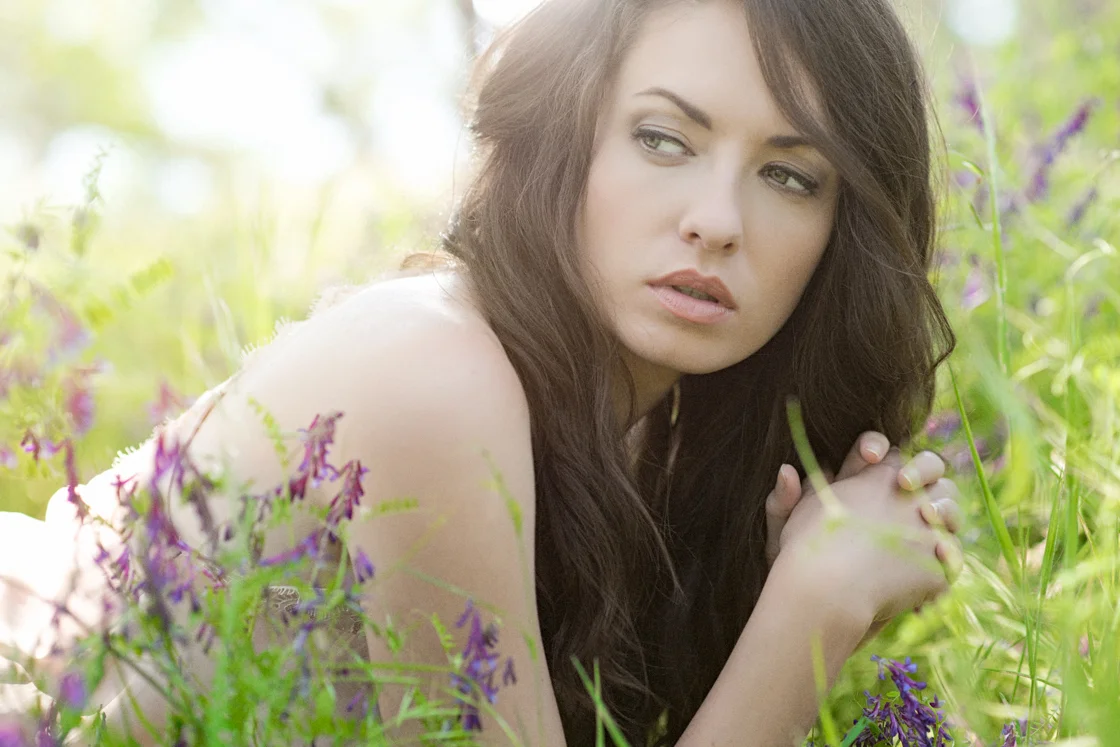
Photo Day - Early Session
Sunday marked another great outing at the Preston Castle this was the first of three photo days this year. This one took full advantage of early morning light which is always spectacular.
Portrait Shoot Progression
Over the years I've developed a rhythm which allows me to get to know the model, as well as what type of lighting works best for them. This week was a prime example; Emily was in my studio for a portrait session, and while I've worked with her in the past, this was her first portrait session with me. My normal progression is what I like to call, “no make up, makeup, and lighting.” For the no makeup look, I normally just use natural light from an open door. Typically I shoot these on a black background. This allows me to really focus on the subject’s face and learn what lighting and lenses are a good match for them. Once I get these shots done, I have the makeup artist begin the model’s first makeup look. By the time I get the last image, it's typically something a little more complex with the lighting.

Afternoon At The Preston Castle
We had another wonderful outing at the Preston Castle last Sunday. This session was from 12 noon to 4 in the afternoon. During other sessions I found that the light streams through the windows, and is constantly changing. With midday light most of the windows act like large soft boxes. With the age and deterioration of the windows it makes for some beautiful light.
XL Pro’s (Part 2) Outside
Once again I am very impressed with how the XL Pro’s worked. They’re so easy to deal with! They now have a permanent place in my lighting kit.